Finance
How To Change Credit Card On Oculus Quest 2
Published: October 23, 2023
Learn how to easily change your credit card on Oculus Quest 2 and manage your finance hassle-free. Follow our step-by-step guide now!
(Many of the links in this article redirect to a specific reviewed product. Your purchase of these products through affiliate links helps to generate commission for LiveWell, at no extra cost. Learn more)
Table of Contents
Introduction
Welcome to this guide on how to change the credit card on your Oculus Quest 2! The Oculus Quest 2 is a popular virtual reality headset that offers immersive gaming and media experiences. In order to purchase games, apps, and other content from the Oculus Store, users are required to link a credit card to their Oculus account.
However, there may come a time when you need to update or change the credit card information associated with your Oculus Quest 2. This could be due to a variety of reasons, such as a lost or expired credit card, or simply wanting to use a different card for purchases.
In this article, we will walk you through the step-by-step process of changing the credit card on your Oculus Quest 2 device. Whether you’re a new Oculus Quest 2 user or have been using the headset for a while, this guide will provide the necessary instructions to easily update your payment information.
Before we proceed, it’s important to note that you’ll need a reliable internet connection and access to the Oculus Quest 2 device. Additionally, it’s recommended to have your new credit card information ready, including the card number, expiry date, and CVV code.
In the following steps, we will cover how to access the Oculus Quest 2 settings, navigate to the payment section, remove the existing credit card, add a new credit card, verify the new card, and confirm the changes.
Now that we’ve covered the basics, let’s dive into the step-by-step process of changing the credit card on your Oculus Quest 2!
Step 1: Accessing the Oculus Quest 2 Settings
The first step in changing the credit card on your Oculus Quest 2 is to access the device’s settings. Follow these instructions:
- Put on your Oculus Quest 2 headset and power it on.
- From the home screen, navigate to the bottom toolbar, which displays icons for various options.
- Select the “Settings” icon. It is represented by a gear or cogwheel.
- You will be taken to the Oculus Quest 2 settings menu.
- Using the on-screen pointers or your controller, navigate through the settings options until you find “Payments”.
- Select “Payments” to proceed to the payment settings page.
Once you have successfully accessed the Oculus Quest 2 settings, you are one step closer to changing your credit card information. The next step will guide you through navigating to the payment section.
Step 2: Navigating to the Payment Section
Now that you’re in the Oculus Quest 2 settings menu, it’s time to navigate to the payment section. Follow these steps:
- Scroll down through the settings options until you find “Payments”.
- Select “Payments” to access the payment settings page.
- You will see the payment methods associated with your Oculus account, typically displayed as credit cards. If you’ve never linked a credit card before, this section may appear empty.
- At this stage, you will have the option to add a new credit card, remove an existing one, or make changes to your payment settings.
By successfully navigating to the payment section, you’ve reached the point where you can manage your credit card information. In the next step, we will guide you through the process of removing the existing credit card on your Oculus Quest 2.
Step 3: Removing the Existing Credit Card
If you want to change your credit card on Oculus Quest 2, you’ll first need to remove the existing credit card from your account. Here’s how to do it:
- In the payment settings page, locate the credit card you want to remove.
- Select the credit card to enter its details and options.
- Look for the “Remove” or “Delete” option and click on it.
- You may be prompted to confirm the removal. If so, select “Yes” to proceed.
Once you have successfully removed the existing credit card, you can proceed to the next step: adding a new credit card to your Oculus Quest 2 account.
It is important to note that removing the credit card does not cancel any active subscriptions or delete your account. It simply removes the associated payment method from your Oculus account.
Now that you’ve removed the existing credit card, let’s move on to the next step: adding a new credit card to your Oculus Quest 2.
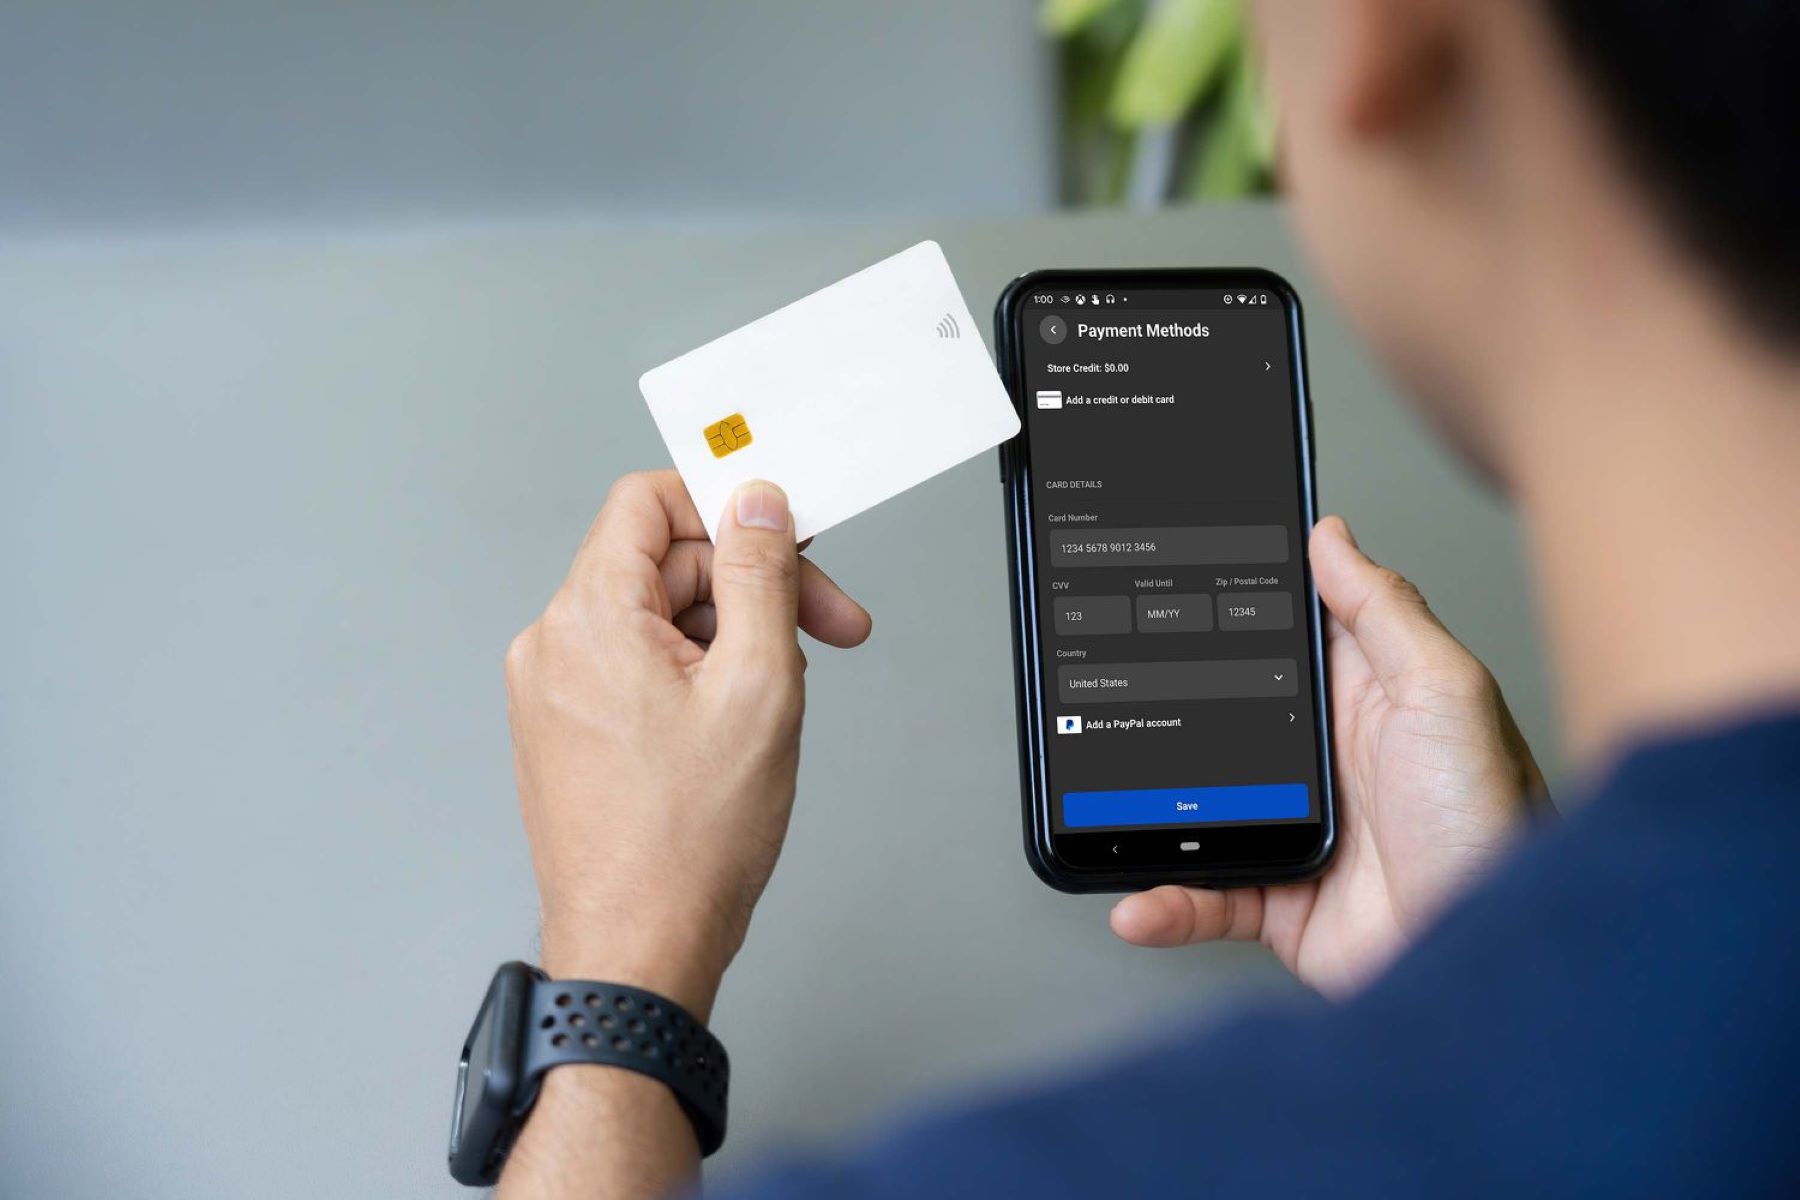
Step 4: Adding a New Credit Card
After removing the existing credit card from your Oculus Quest 2, it’s time to add a new credit card to your account. Here’s how you can do it:
- In the payment settings page, look for the option to add a new credit card. This is typically indicated by a button or link with the label “Add Payment Method” or similar.
- Select the “Add Payment Method” option.
- You will be presented with a form to enter your new credit card details.
- Enter the required information, which usually includes the card number, cardholder name, expiry date, and CVV code. Make sure to double-check the accuracy of the entered information to avoid any issues.
- Once you have entered the details, review them one more time to ensure accuracy.
- Select the “Save” or “Add” button to store the new credit card information to your Oculus account.
By following these steps, you have successfully added a new credit card to your Oculus Quest 2 account. However, before you can start using the new card for purchases, you’ll need to verify it.
In the next step, we’ll guide you through the verification process to ensure your new credit card is valid and ready to use.
Step 5: Verifying the New Credit Card
After adding a new credit card to your Oculus Quest 2 account, it is important to verify the card to ensure it is valid and ready to be used for purchases. Here’s how you can verify your new credit card:
- Access the payment settings page where you added the new credit card.
- Locate the newly added credit card in the list of payment methods.
- Select the credit card to view its details and options.
- Look for the “Verify” or “Verify Card” option and click on it.
- Follow the on-screen instructions to complete the verification process. This may involve providing additional information or authorizing a small charge to the credit card.
- Once the verification process is complete, you will receive a confirmation message indicating that your new credit card has been successfully verified.
Verifying your new credit card adds an extra layer of security and ensures that the card can be used for purchases on the Oculus Quest 2 platform. It also helps prevent fraud and unauthorized use of your credit card.
Now that you have successfully verified your new credit card, it’s time to move on to the final step: confirming the changes you made to your Oculus Quest 2 payment settings.
Step 6: Confirming the Changes
After going through the steps of removing the existing credit card, adding a new credit card, and verifying it, the final step is to confirm the changes you made to your Oculus Quest 2 payment settings. Here’s how to do it:
- Go back to the payment settings page where you made the changes.
- Review the payment methods listed to ensure that the old credit card has been removed and the new credit card is now displayed.
- If everything looks correct, you can proceed to make a test purchase or exit the settings.
- If you encounter any issues or the changes have not been applied correctly, double-check the steps you followed and try again. If the problem persists, it is recommended to reach out to Oculus customer support for further assistance.
With the changes confirmed, you can now enjoy using your new credit card for purchases on your Oculus Quest 2. Whether it’s buying new games, exploring virtual worlds, or enjoying immersive experiences, you have the peace of mind that your payment information is up to date.
Remember to regularly review and update your credit card information on your Oculus Quest 2 device to ensure smooth and uninterrupted access to content and to stay on top of your account.
Congratulations! You have successfully changed the credit card on your Oculus Quest 2 device. Enjoy your virtual reality adventures!
If you found this guide helpful, feel free to share it with other Oculus Quest 2 users who may need assistance with updating their payment information.
Conclusion
Changing the credit card on your Oculus Quest 2 is a straightforward process that allows you to update your payment information and ensure a seamless purchasing experience. Whether you need to replace an expired card or simply prefer to use a different one, following the steps outlined in this guide will help you navigate the Oculus Quest 2 settings and make the necessary changes.
We began by accessing the Oculus Quest 2 settings and navigating to the payment section. From there, we learned how to remove the existing credit card and add a new one. Verifying the new credit card added an additional layer of security and confirmed its validity. Finally, we concluded by confirming the changes made to our payment settings.
It’s important to note that regularly reviewing and updating your credit card information is essential for a smooth and uninterrupted experience on your Oculus Quest 2. By keeping your payment details up to date, you can easily make purchases, access new content, and enjoy the full range of experiences that the virtual reality world has to offer.
If you encounter any issues or have further questions regarding changing your credit card on the Oculus Quest 2, don’t hesitate to contact Oculus customer support. They will be able to assist you and provide any necessary guidance to ensure a successful update to your payment information.
Thank you for choosing this guide as your resource for changing the credit card on your Oculus Quest 2. We hope you found it informative and helpful. Now, go ahead and enjoy all the incredible virtual reality experiences that await you!
What's Hot
Latest Articles
Related Post

By: • Finance

By: • Finance


By: • Finance

By: • Finance

By: • Finance

By: • Finance

By: • Finance

By: • Finance

By: • Finance

By: • Finance

By: • Finance

By: • Finance


By: • Finance