Home>Finance>How To Use A Chase Credit Card Before It Arrives

Finance
How To Use A Chase Credit Card Before It Arrives
Published: October 26, 2023
Learn how to make the most of your Chase credit card even before it arrives. Discover helpful tips and tricks for managing your finances efficiently.
(Many of the links in this article redirect to a specific reviewed product. Your purchase of these products through affiliate links helps to generate commission for LiveWell, at no extra cost. Learn more)
Table of Contents
- Introduction
- Step 1: Activating your Chase credit card online
- Step 2: Adding your Chase credit card to mobile wallet apps
- Step 3: Using your Chase credit card for online purchases
- Step 4: Making in-store purchases using Chase credit card details
- Step 5: Enabling Chase QuickPay with Zelle for payments
- Step 6: Setting up automatic bill payments with your Chase credit card
- Step 7: Accessing your Chase credit card statement and transactions online
- Step 8: Contacting Chase customer service for assistance
- Conclusion
Introduction
Welcome to the world of Chase credit cards! Congratulations on securing your new Chase credit card. Whether you’ve just applied for one or recently received it in the mail, you might be eager to start using it. However, waiting for the physical card to arrive can be an exercise in patience. The good news is that you don’t have to wait for your Chase credit card to arrive to start enjoying its benefits.
In this article, we will guide you through the steps on how to use your Chase credit card before it arrives. From activating your card online to making online and in-store purchases, we’ve got you covered. Let’s dive in and explore the various ways you can maximize your Chase credit card right away.
Before we jump into the details, let’s take a moment to highlight some of the advantages of using a Chase credit card:
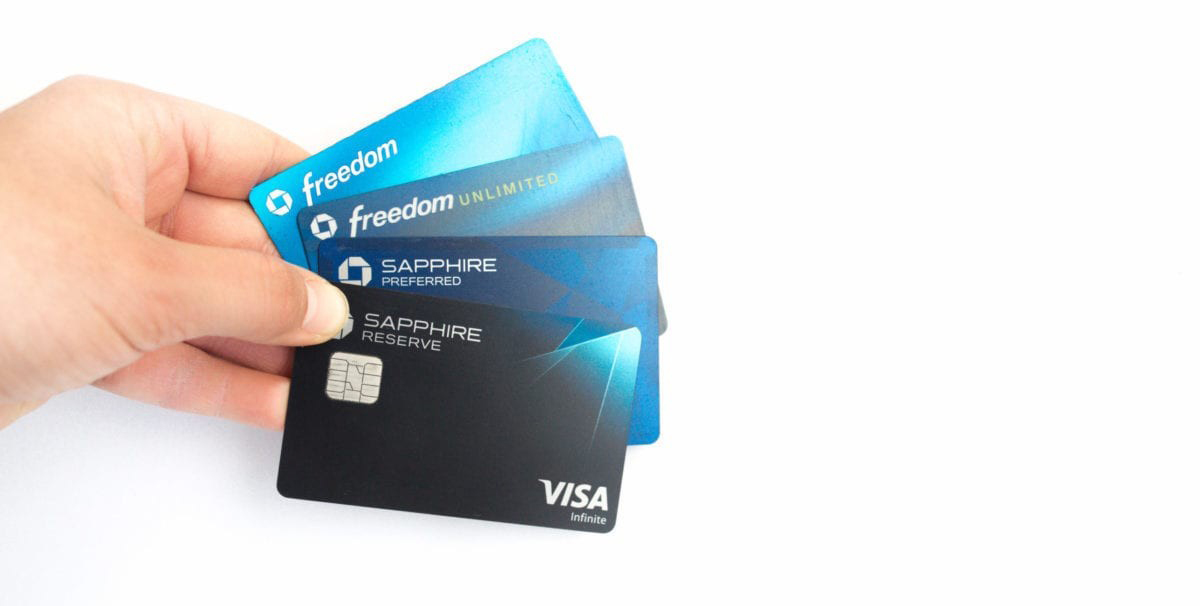
- Rewards and cashback: Chase credit cards offer a variety of rewards programs, including cashback, travel rewards, and more. By using your card wisely, you can earn valuable rewards on your daily spending.
- Fraud protection: Chase provides robust fraud protection measures, keeping your financial information safe and offering peace of mind.
- Flexible payment options: Chase offers convenient payment options such as online payments, mobile wallet apps, and more, making it easy to manage your credit card balance.
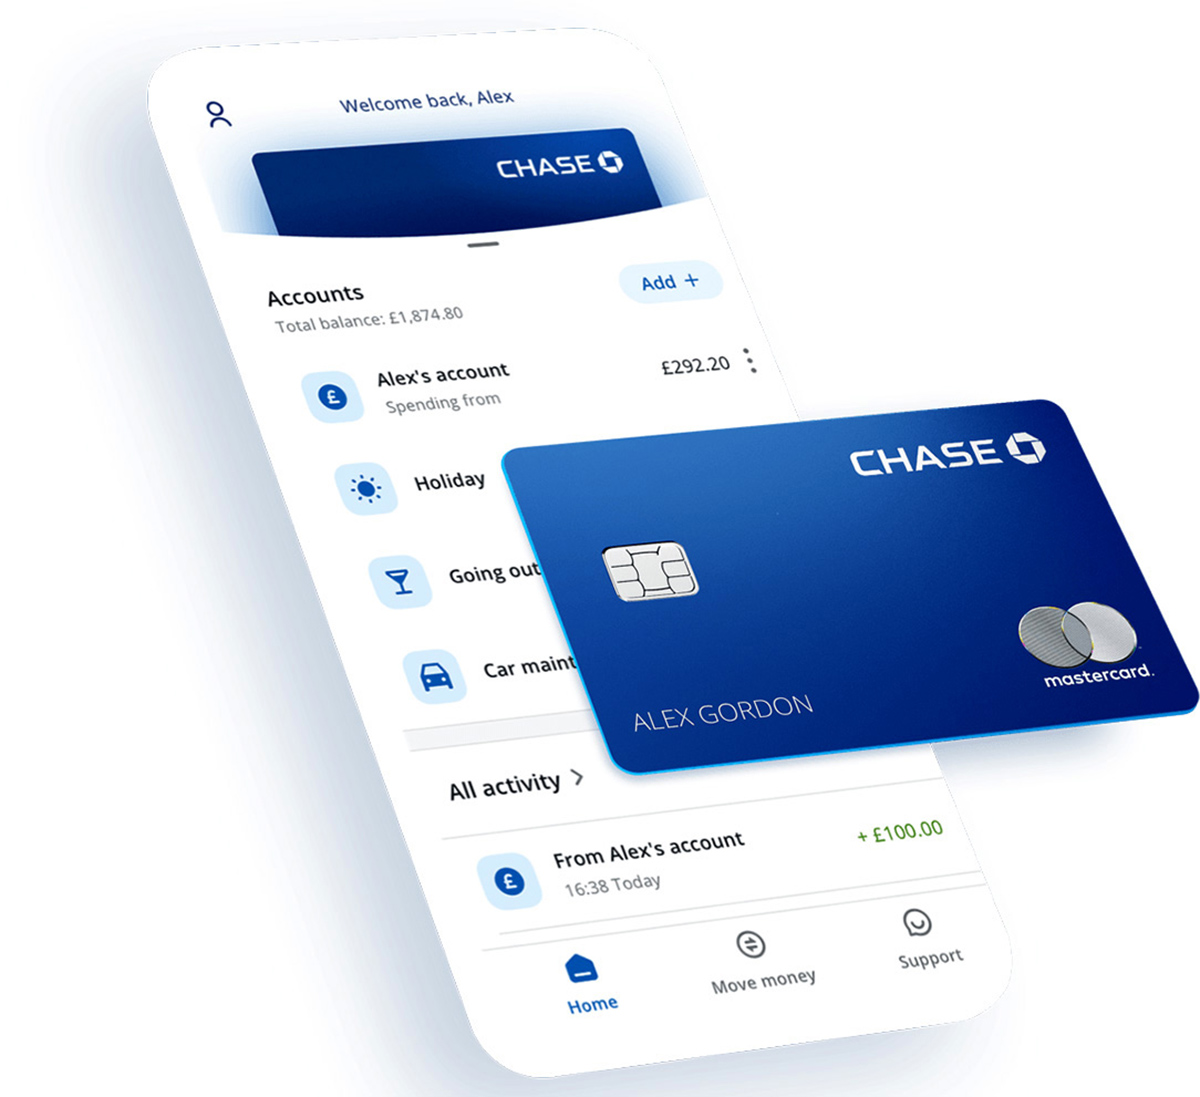
- Access to financial tools: Chase provides access to online banking, statements, and transaction history, giving you a comprehensive overview of your financial activities.
Now that you have a clear understanding of the benefits of using a Chase credit card, let’s explore the step-by-step process of how to make the most of your card before it arrives.
Step 1: Activating your Chase credit card online
The first step to using your Chase credit card before it arrives is to activate it online. Follow these simple steps:
- Visit the Chase website: Go to the official Chase website and locate the “Credit Card Activation” section.
- Provide necessary information: Enter the required information, such as your credit card number, name, and the last four digits of your Social Security number.
- Verify your identity: Some additional verification steps may be required, such as answering security questions or providing your date of birth.
- Set your PIN: Once your identity is verified, you will be prompted to set a Personal Identification Number (PIN) for your credit card. This PIN will be used for ATM cash withdrawals and other transactions that require a PIN.
- Confirmation: After completing the activation process, you will receive a confirmation message indicating that your Chase credit card is now active and ready for use.
It’s important to note that Chase credit cards typically need to be activated within a specific timeframe after receiving them. Be sure to check the instructions provided with your card for any specific activation deadlines.
Activating your Chase credit card online allows you to access the card’s benefits and start using it for online and in-store purchases. Additionally, activating your card online also ensures that you can monitor your card’s usage and manage your account through Chase’s online banking platform.
Now that your Chase credit card is activated, let’s move on to the next step: adding your Chase credit card to mobile wallet apps.
Step 2: Adding your Chase credit card to mobile wallet apps
In today’s digital age, mobile wallet apps have become increasingly popular for convenient and secure transactions. By adding your Chase credit card to mobile wallet apps, you can easily make purchases using your smartphone or other mobile devices. Here’s how to do it:
- Choose a mobile wallet app: There are several mobile wallet apps available, such as Apple Pay, Google Pay, and Samsung Pay. Determine which app is compatible with your device and download it from your app store.
- Open the mobile wallet app: Once the app is installed, open it and follow the on-screen instructions to set it up. This typically involves creating an account and linking your preferred payment methods.
- Add your Chase credit card: In the settings or payment options section of the app, look for the option to add a credit or debit card. Select “Add Card” and enter your Chase credit card details, including the card number, expiration date, and security code.
- Verify your card: Depending on the app and your card issuer’s policies, you may need to verify your card for security purposes. This can be done through a text message, email, or by contacting Chase customer service.
- Start using your mobile wallet: Once your Chase credit card is successfully added and verified, you can start using your mobile wallet app for purchases at participating retailers. Simply unlock your device, select the app, and follow the prompts to complete the transaction.
Adding your Chase credit card to mobile wallet apps offers a convenient and secure way to make purchases without needing your physical card. It eliminates the need to carry multiple cards in your wallet and provides an additional layer of security through the use of tokenization.
Now that you have your Chase credit card added to a mobile wallet app, let’s move on to step 3: using your Chase credit card for online purchases.
Step 3: Using your Chase credit card for online purchases
Online shopping has become a popular way to shop for a wide range of products and services. With your Chase credit card, you can make secure online purchases and take advantage of various discounts and rewards. Here’s how you can use your Chase credit card for online purchases:
- Select your items: Browse through your favorite online retailers and select the items you want to purchase.
- Proceed to checkout: Once you have added all the desired items to your shopping cart, proceed to the checkout page.
- Enter your Chase credit card details: At the checkout page, enter your Chase credit card information, including the card number, expiration date, and security code. Ensure that the website is secure and reputable before entering your card details.
- Verify the purchase: Some online retailers may require additional verification steps, such as entering a one-time password sent to your registered mobile number or email address. Follow the instructions provided to complete the purchase.
- Review the payment confirmation: After successfully completing the purchase, review the payment confirmation page or email to ensure that the transaction went through and the correct amount was charged to your Chase credit card.
Using your Chase credit card for online purchases offers convenience and added protection. Chase credit cards often come with fraud protection features, including real-time alerts and purchase protection, which can help safeguard your online transactions.
Remember to keep track of your online purchases and review your Chase credit card statement regularly to ensure accuracy and detect any unauthorized transactions. Online shopping can be a convenient way to make purchases, but it’s important to be vigilant and protect your financial information.
Now that you know how to use your Chase credit card for online purchases, let’s move on to step 4: making in-store purchases using your Chase credit card details.
Step 4: Making in-store purchases using Chase credit card details
While waiting for your physical Chase credit card to arrive, you can still make in-store purchases using your Chase credit card details. Here’s how:
- Open your mobile wallet app: Open the mobile wallet app on your smartphone or mobile device that contains your Chase credit card details.
- Select the card: From the list of cards in your mobile wallet app, select your Chase credit card as the default payment method.
- Approach the payment terminal: When you’re ready to make a purchase at a physical store, look for the contactless payment symbol at the payment terminal or ask the cashier if they accept mobile payments.
- Tap or scan your device: Depending on the payment terminal, you may need to tap your device to the terminal or scan a QR code displayed on the terminal’s screen.
- Authorize the transaction: Follow the prompts on your device to authorize the payment. This may involve using your device’s biometric authentication (such as fingerprint or Face ID) or entering your device’s passcode.
- Verify the payment: Once the transaction is authorized, the payment terminal will display a confirmation message. Review the payment amount and verify that it matches your purchase before leaving the store.
Using your Chase credit card details for in-store purchases allows you to take advantage of the convenience of mobile payments without the physical card. It’s important to note that not all stores accept mobile payments. Make sure to look for the contactless payment symbol or inquire with the store before attempting to use your mobile wallet app.
Keep in mind that when making in-store purchases with your mobile wallet app, the payment is processed through the app and not directly through your physical card. Therefore, it’s crucial to regularly monitor your Chase credit card statement to track your transactions and ensure their accuracy.
Now that you’re familiar with making in-store purchases using your Chase credit card details, let’s move on to step 5: enabling Chase QuickPay with Zelle for payments.
Step 5: Enabling Chase QuickPay with Zelle for payments
Chase QuickPay with Zelle is a feature offered by Chase that allows you to send and receive money quickly and securely to friends, family, and other individuals. Enabling this feature will enable you to make payments using your Chase credit card details. Here’s how to enable Chase QuickPay with Zelle:
- Log in to your Chase online banking account: Visit the official Chase website and log in to your online banking account using your username and password.
- Navigate to “QuickPay with Zelle”: Once logged in, navigate to the “Pay & transfer” section of your account and select “QuickPay with Zelle.”
- Confirm your email and phone number: If you haven’t already done so, confirm your email address and phone number associated with your Chase account. This is required to use Chase QuickPay with Zelle.
- Link your Chase credit card: Under the “Linked Accounts” section, select “Add Account” and choose your Chase credit card from the options presented. Follow the prompts to link your card to Chase QuickPay with Zelle.
- Choose your payment method: In the Chase QuickPay with Zelle settings, ensure your Chase credit card is set as the default payment method for sending money.
- Send money using Chase QuickPay with Zelle: To make a payment using your Chase credit card, enter the recipient’s email address or phone number, specify the amount, and select your Chase credit card as the payment source.
- Verify the transfer: Review the payment details and confirm the transfer. The recipient will receive a notification informing them of the payment, and the amount will be deducted from your Chase credit card.
Enabling Chase QuickPay with Zelle provides a convenient way to send money to individuals directly from your Chase credit card. It’s a useful feature for reimbursing friends, splitting bills, or making payments to service providers.
Keep in mind that certain transaction limits may apply when using Chase QuickPay with Zelle. Make sure to familiarize yourself with these limits and any associated fees before initiating a transaction.
Now that you know how to enable Chase QuickPay with Zelle, let’s move on to step 6: setting up automatic bill payments with your Chase credit card.
Step 6: Setting up automatic bill payments with your Chase credit card
To ensure that your bills are paid on time and avoid late payment fees, setting up automatic bill payments with your Chase credit card can be a convenient solution. By automating your bill payments, you can save time and have peace of mind knowing that your payments will be made promptly. Here’s how to set up automatic bill payments with your Chase credit card:
- Log in to your Chase online banking account: Visit the official Chase website and log in to your online banking account using your username and password.
- Navigate to the “Pay & transfer” section: Once logged in, navigate to the “Pay & transfer” section of your account to access the bill payment options.
- Set up a payment account: If you haven’t already done so, add your biller as a payment account by entering the necessary information, such as the biller’s name, account number, and payment address.
- Schedule automatic payments: Once the payment account is set up, select your biller from the list and choose the option to set up automatic recurring payments.
- Select your Chase credit card as the payment source: When prompted to choose a payment source, select your Chase credit card as the preferred method of payment for the bills.
- Set payment frequency and amount: Specify how often you want the payments to be made (e.g., monthly, bi-monthly, etc.) and the amount to be paid. Ensure that you have sufficient credit available on your card to cover the payments.
- Review and confirm: Before finalizing the setup, review the payment schedule and amount to ensure accuracy. Once confirmed, the automatic bill payments will be set up using your Chase credit card.
Setting up automatic bill payments with your Chase credit card offers convenience and peace of mind. It eliminates the need to manually make payments each month and reduces the risk of forgetting to pay a bill. Remember to review your Chase credit card statement regularly to ensure that the payments are processed correctly.
It’s also important to keep track of any changes in your bills, such as due date changes or payment amounts, and update your automatic bill payment settings accordingly to avoid any potential issues.
Now that you know how to set up automatic bill payments with your Chase credit card, let’s move on to step 7: accessing your Chase credit card statement and transactions online.
Step 7: Accessing your Chase credit card statement and transactions online
One of the benefits of having a Chase credit card is the ability to access your credit card statement and track your transactions online. By monitoring your statement and transactions regularly, you can stay informed about your spending, identify any unauthorized charges, and maintain control over your finances. Here’s how you can access your Chase credit card statement and transactions online:
- Log in to your Chase online banking account: Visit the official Chase website and log in to your online banking account using your username and password.
- Locate your credit card account: Once logged in, navigate to the section that displays your accounts, and select your Chase credit card account.
- Access your statement: Within your credit card account, look for the option to view your statement or transactions. This may be labeled as “Statements” or “Account Activity.”
- Select the desired statement period: Choose the statement period you want to review. Typically, you can select the current statement or previous statement periods.
- View and download your statement: Once you’ve selected the statement period, you can now view your credit card statement online. You may have the option to download it as a PDF file for your records.
- Review your transactions: In addition to viewing your statement, explore the section that displays your recent transactions. Here, you can see the date, amount, and description of each transaction made using your Chase credit card.
- Monitor your transactions regularly: Make it a habit to check your credit card transactions regularly, either weekly or monthly, to ensure they are accurate and to identify any suspicious or unauthorized activity.
Accessing your Chase credit card statement and transactions online gives you a comprehensive overview of your spending and helps you keep track of your financial activities. It’s important to review your transactions regularly to detect any potential errors or fraudulent charges, and report them to Chase promptly if needed.
By staying informed about your credit card transactions, you can maintain control over your finances and make informed decisions about your spending habits. Now that you know how to access your Chase credit card statement and transactions online, let’s move on to step 8: contacting Chase customer service for assistance.
Step 8: Contacting Chase customer service for assistance
While using your Chase credit card, you may encounter situations where you need assistance or have questions. In such cases, it’s important to know how to contact Chase customer service for support. Whether you need help with a transaction, have a billing inquiry, or need assistance with your account, Chase customer service is there to assist you. Here are a few ways to contact Chase customer service:
- Phone support: The most direct way to reach Chase customer service is by calling their dedicated phone number for credit card inquiries. Look for the phone number on the back of your credit card or visit the Chase website for the appropriate contact information.
- Live chat: Chase also offers a live chat feature on their website, allowing you to chat with a customer service representative in real-time. This can be a convenient option if you prefer not to talk on the phone or have a quick question.
- Email support: If your inquiry is less urgent, you can also reach out to Chase customer service via email. Visit the Chase website and locate the contact page to send an email inquiry.
- Social media: Another option is to reach out to Chase customer service through their social media channels. Many companies, including Chase, have dedicated support teams that respond to inquiries and provide assistance through platforms like Twitter or Facebook.
- In-person support: If you prefer face-to-face assistance, you can visit a local Chase branch and speak with a representative in person. Use the Chase branch locator on their website to find a location near you.
When contacting Chase customer service, be prepared to provide relevant information such as your credit card number, account details, and any relevant transaction or issue you need assistance with. It’s also helpful to have any relevant documentation, such as receipts or statements, readily available for reference.
Remember, Chase customer service is there to help you with any questions or concerns you may have. Don’t hesitate to reach out when you need assistance, as they are dedicated to ensuring a positive and efficient customer experience.
With the knowledge of how to contact Chase customer service for assistance, you now have all the necessary information to make the most of your Chase credit card, even before it arrives. From activating your card to using it for online and in-store purchases, setting up automatic bill payments, and accessing your statements and transactions online, you can leverage your Chase credit card’s benefits and convenience right from the start.
Enjoy the convenience, security, and rewards that come with using your Chase credit card, and make the most of your financial journey!
Conclusion
Congratulations! You now have a comprehensive understanding of how to make the most of your Chase credit card even before it arrives. By following the steps outlined in this guide, you can activate your card, add it to mobile wallet apps, make online and in-store purchases, set up automatic bill payments, and access your statements and transactions online. These features and benefits are designed to enhance your financial experience and provide convenience, security, and rewards.
Using your Chase credit card before it arrives allows you to start enjoying its perks and rewards without delay. From earning cashback on your purchases to benefiting from robust fraud protection measures, Chase credit cards offer a range of advantages. By adding your card to mobile wallet apps, you can make easy and secure payments using your smartphone or other mobile devices. Additionally, setting up automatic bill payments helps you stay on top of your financial obligations and avoid late payment fees.
Remember to monitor your credit card statements and transactions regularly. This allows you to track your spending, verify the accuracy of your transactions, and detect any potential fraudulent activity promptly. If you have any questions or need assistance, Chase customer service is always available to provide support through various channels.
With your Chase credit card in hand, you now have the tools and knowledge to make the most of your financial journey. Maximize your rewards, manage your expenses, and enjoy the convenience that comes with using a Chase credit card. Whether you’re making everyday purchases, shopping online, or paying bills, your Chase credit card is a valuable tool that can make your financial life easier and more rewarding.
Start using your Chase credit card before it arrives and experience the many benefits it has to offer. Embrace the convenience, security, and financial empowerment that come with being a Chase credit cardholder. Cheers to your financial success!
What's Hot
Latest Articles
Related Post

By: • Finance

By: • Finance
By: • Finance

By: • Finance
By: • Finance
By: • Finance

By: • Finance

By: • Finance

By: • Finance


By: • Finance