Finance
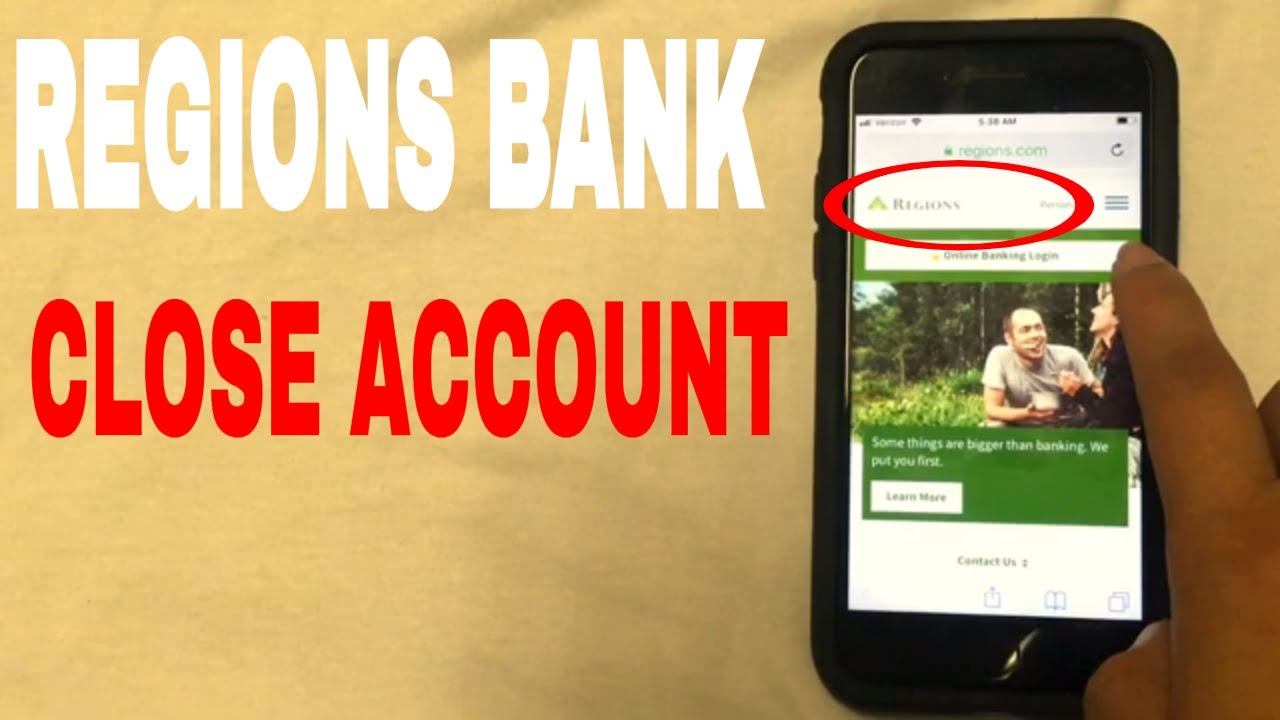
How To Close A Regions Checking Account
Published: October 27, 2023
Learn how to close your Regions checking account and manage your finances effectively with our easy-to-follow guide. Take control of your banking today!
(Many of the links in this article redirect to a specific reviewed product. Your purchase of these products through affiliate links helps to generate commission for LiveWell, at no extra cost. Learn more)
Table of Contents
Introduction
When it comes to managing your finances, finding the right checking account is essential. However, circumstances may arise where you find it necessary to close your current account, whether it’s due to changing banks, relocating, or simply wanting to switch account types. Closing a checking account is a process that requires careful consideration and a series of steps to ensure a smooth transition.
In this article, we will guide you through the steps to close a Regions checking account. Regions Bank is a reputable financial institution known for its comprehensive banking services. Whether you’ve been a long-time customer or recently opened an account, we will provide you with the necessary information and steps to facilitate a hassle-free account closure.
Before proceeding with the account closure process, it’s important to note that closing your Regions checking account may have specific consequences, such as the loss of certain benefits or fees associated with early closure. It is recommended to review the terms and conditions of your account and consult with a bank representative to fully understand any potential implications.
Now, let’s dive into the step-by-step process of closing a Regions checking account, ensuring you’re well-prepared and informed throughout the process.
Step 1: Gather necessary information
Before initiating the account closure process, it’s crucial to gather all the necessary information related to your Regions checking account. This will ensure a smoother and more efficient closure process.
Here are the key pieces of information you’ll need:
- Account details: Take note of your Regions checking account number, which can typically be found on your account statements, online banking portal, or checkbook. This information will be required when communicating with the bank.
- Personal identification: Make sure to have your valid government-issued identification on hand, such as your driver’s license, passport, or ID card. This will be necessary to verify your identity when interacting with the bank representatives.
- Contact information: Ensure that you have the most up-to-date contact information associated with your account. This includes your mailing address, phone number, and email address. It’s important to provide accurate contact details to receive any necessary communications during the account closure process.
- Outstanding transactions: Take stock of any pending transactions or outstanding checks associated with your Regions checking account. This will allow you to ensure that all transactions are cleared and prevent any potential complications during the closure process.
- Joint account holders: If your Regions checking account is jointly held with another individual, make sure to communicate and coordinate with them throughout the closure process. Both parties will need to provide consent and follow the required steps for account closure.
By gathering all the necessary information beforehand, you’ll be well-prepared to move forward with closing your Regions checking account. This will help to avoid delays, confusion, and any potential issues that may arise during the account closure process.
Step 2: Transfer or close existing transactions
Before closing your Regions checking account, it’s important to ensure that all existing transactions are either transferred to a new account or closed to avoid any financial complications. This step will help ensure a smooth transition and prevent any unintended consequences.
Here are some key actions you should take:
- Transfer recurring payments: Identify any recurring payments linked to your Regions checking account, such as mortgage or utility bills. Reach out to the respective service providers and update your payment information with your new account details to avoid any disruption in bill payments.
- Update direct deposit information: If you receive direct deposits, such as your salary or government benefits, be sure to inform your employer or the relevant payers about the account closure. Provide them with your new account details so that future deposits will be redirected accordingly.
- Close automatic transfers: If you have set up any automatic transfers, such as scheduled transfers to savings accounts or other financial institutions, make sure to cancel or redirect them to your new account to prevent any unintended transfers from occurring.
- Clear outstanding checks: If you have any outstanding checks issued from your Regions checking account, it’s crucial to ensure that they are either cashed or marked as void. Reach out to the recipients of those checks and communicate the account closure so that they are aware of the necessary arrangements.
- Avoid new transactions: As you approach the account closure date, it’s advisable to avoid initiating new transactions or writing new checks from your Regions checking account. This will help simplify the closure process and prevent any complicating factors.
By taking these actions to transfer or close existing transactions, you’ll minimize the risk of any financial disruptions or complications during the account closure process. It’s essential to be proactive and thorough in ensuring that all your financial obligations are properly addressed before proceeding to the next step.
Step 3: Cancel any direct deposits or recurring payments
One of the crucial steps in closing your Regions checking account is to cancel any direct deposits or recurring payments that are linked to your account. This ensures that your incoming funds are redirected to your new account and that you won’t miss any bill payments. Follow these steps to cancel direct deposits and recurring payments:
- Contact your employer or payer: If you have direct deposits set up, such as your salary or government benefits, notify your employer or the relevant payer about the account closure. Provide them with your new account details so they can update their records and redirect future deposits to your new account.
- Notify service providers: Reach out to any service providers that have recurring payments linked to your Regions checking account, such as utility companies, insurance providers, or subscription services. Provide them with your new account information to ensure a seamless transition and uninterrupted payments.
- Update online platforms: If you have any online platforms that store your payment information, such as e-commerce websites or payment apps, make sure to update your payment method with your new account details. This will prevent any payment failures or delays in the future.
- Monitor and verify changes: After notifying your employer, payers, and service providers, it’s important to monitor your new account to ensure that the changes are implemented correctly. Check your new account statements to verify that the direct deposits are being redirected and that recurring payments are being debited from the correct account.
- Review old account statements: Even after canceling direct deposits and recurring payments, it’s advisable to monitor your old Regions checking account for a few months to ensure that no unexpected deposits or charges occur. This will help you identify and address any potential issues or discrepancies.
By canceling direct deposits and recurring payments linked to your Regions checking account, you’ll avoid any disruptions in your incoming funds and ensure that your bills are paid on time. This step is crucial in smoothly transitioning to your new account while maintaining financial stability.
Step 4: Transfer remaining funds
As you move forward with closing your Regions checking account, it’s important to transfer the remaining funds to your new account or withdraw them in a suitable manner. This will help ensure that you have access to your money and prevent any potential complications during the account closure process. Follow these steps to transfer the remaining funds:
- Review your account balance: Take a moment to review your Regions checking account balance. This will give you an idea of how much money you need to transfer or withdraw.
- Transfer to a new account: If you have opened a new checking account with another bank, consider transferring the funds directly from your Regions checking account to your new account. You can initiate this transfer through online banking, by visiting a branch, or by contacting the bank’s customer service.
- Withdraw in cash: If you prefer to have the remaining funds in cash, visit the nearest Regions Bank branch and request a cash withdrawal. Make sure to bring your identification and any necessary withdrawal forms to facilitate the process.
- Close any linked accounts: If you have any linked accounts, such as savings accounts or credit cards, with Regions Bank, it’s a good idea to close them in conjunction with closing your checking account. This will help streamline your banking activities and simplify your financial management.
- Leave a minimum balance (optional): Some banks may require you to maintain a minimum balance in your checking account to avoid fees or account closure charges. Check the terms and conditions of your Regions account to see if there is a minimum balance requirement. If so, leave the required amount in your account to fulfill the requirements.
By transferring the remaining funds from your Regions checking account, you’ll ensure that your money is safely moved to your new account or withdrawn in a manner that suits your needs. Remember to keep any necessary documentation or receipts as proof of transaction for future reference.
Step 5: Request account closure
After completing the necessary steps to transfer funds and close any linked accounts, it’s time to officially request the closure of your Regions checking account. Properly communicating your request to the bank will ensure that your account is closed effectively and efficiently. Follow these guidelines to request account closure:
- Contact Regions Bank: Reach out to Regions Bank through the appropriate channels to request the closure of your checking account. You can do this by calling their customer service line, visiting a branch in person, or sending a written request via mail or email. Provide the necessary details, including your account number and personal identification information, to validate your request.
- Verification process: The bank representative may ask you some questions to verify your identity and confirm that you are the account holder. Be prepared to provide accurate and detailed information to ensure a smooth verification process.
- Account closure documentation: Depending on the bank’s procedures, they may require you to sign a document or fill out a specific form to authorize the closure of your Regions checking account. Follow their instructions and ensure that all required documentation is completed accurately.
- Request confirmation: After submitting your request for account closure, ask the bank representative for confirmation of the closure. This can be in the form of an email, letter, or printed confirmation slip. Retain this documentation for your records, as it serves as evidence of the closure.
By properly communicating your request and following the bank’s instructions, you can ensure a smooth and documented closure of your Regions checking account. It’s advisable to keep copies of all correspondence and closure documentation for future reference.
Step 6: Verify account closure
After requesting the closure of your Regions checking account, it is important to verify that the account has been successfully closed. This final step ensures that all actions have been properly executed and that you no longer have any obligations or access to the account. Follow these steps to verify the closure of your Regions checking account:
- Monitor account activity: Keep an eye on your Regions online banking portal or check your account statements periodically to ensure that no new transactions or charges are being recorded. This confirms that the account has been closed and that no unauthorized activity is taking place.
- Confirm zero balance: Check your final account statement or contact Regions Bank to confirm that the account balance is zero. This indicates that all funds have been transferred or withdrawn and no residual amounts remain. If there are any remaining funds, follow up with the bank to resolve the issue.
- Check for access: Attempt to log in to your online banking portal or use your Regions debit card to ensure that you no longer have access to the closed checking account. If you encounter any issues or find that you are still able to access the account, contact the bank immediately to rectify the situation.
- Verify closure in writing: Request written confirmation from Regions Bank that your checking account has been closed. This can be in the form of an email, letter, or closure confirmation document. Retain this documentation for your records as evidence of the closure.
By following these verification steps, you can have peace of mind knowing that your Regions checking account has been successfully closed. Should any issues or discrepancies arise during the verification process, promptly communicate with Regions Bank to resolve them. Once the closure is confirmed, you can focus on managing your finances through your new checking account or alternative banking options.
Conclusion
Closing a Regions checking account may seem like a daunting task, but by following the necessary steps outlined in this guide, you can smoothly navigate through the process. By gathering the necessary information, transferring or closing existing transactions, canceling direct deposits and recurring payments, transferring remaining funds, requesting account closure, and verifying the closure, you can ensure a seamless transition to a new banking arrangement.
Remember to thoroughly review the terms and conditions of your Regions checking account to understand any potential fees or implications associated with early closure. Additionally, stay organized throughout the process by keeping track of important documents, confirmations, and any communication with the bank.
By taking the time to properly close your account, you can avoid any unwanted surprises, maintain control over your finances, and minimize any potential disruptions to your banking activities. It is always recommended to consult with a Regions Bank representative for specific guidance and to address any questions or concerns you may have during the account closure process.
Once your Regions checking account is closed, you can continue managing your financial needs with confidence and explore the banking options that best suit your goals and preferences.
What's Hot
Latest Articles
Related Post

By: • Finance

By: • Finance
By: • Finance
By: • Finance

By: • Finance
By: • Finance

By: • Finance

By: • Finance

By: • Finance
By: • Finance

By: • Finance


By: • Finance

By: • Finance

By: • Finance