
Finance
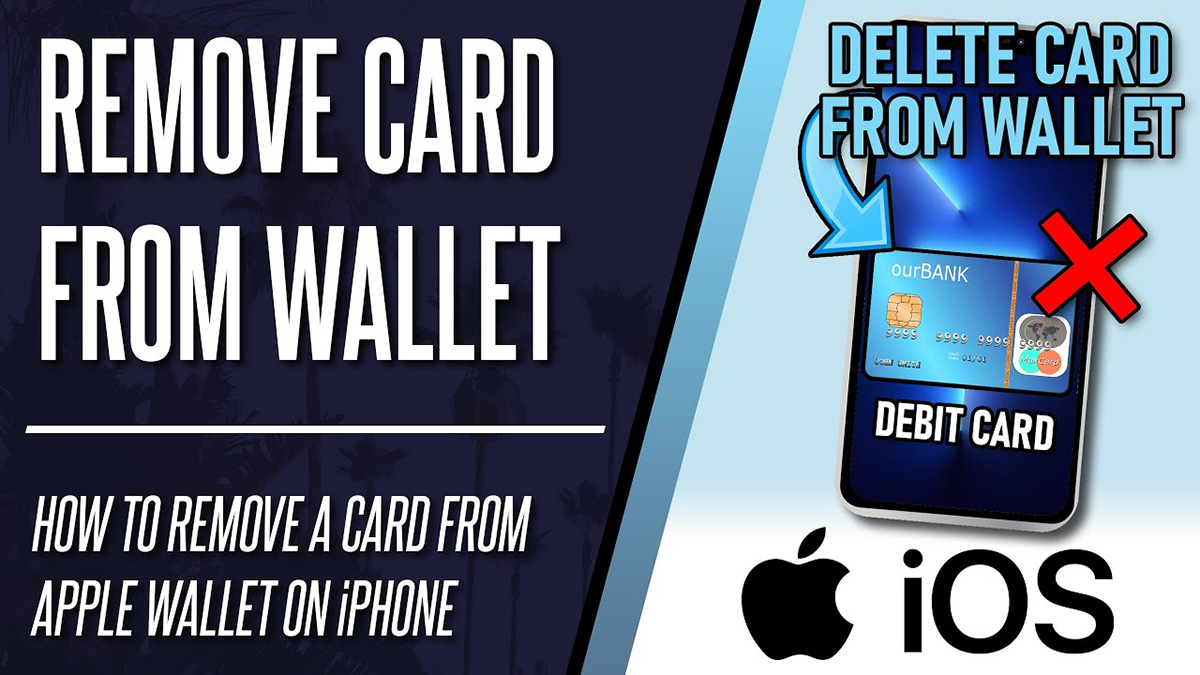
How To Delete A Credit Card From Apple Wallet
Published: November 4, 2023
Learn how to remove a credit card from your Apple Wallet and manage your finances more effectively.
(Many of the links in this article redirect to a specific reviewed product. Your purchase of these products through affiliate links helps to generate commission for LiveWell, at no extra cost. Learn more)
Table of Contents
Introduction
Apple Wallet, formerly known as Passbook, is a convenient digital wallet app that allows users to store and manage various types of digital cards, including credit cards, debit cards, loyalty cards, boarding passes, and more. With the increasing popularity of mobile payments and the rise of contactless transactions, many users have added their credit cards to Apple Wallet for easy access and secure payments.
However, there may come a time when you need to delete a credit card from Apple Wallet. Perhaps you’ve lost the physical card and had it replaced, or maybe you’ve decided to stop using a particular card and want to remove it from your digital wallet for security purposes. Whatever the reason may be, deleting a credit card from Apple Wallet is a straightforward process that can be done in just a few simple steps.
In this guide, we will walk you through the step-by-step instructions on how to delete a credit card from Apple Wallet. Whether you’re using an iPhone or an iPad, the process is virtually the same. So, without further ado, let’s dive in and learn how to remove a credit card from your Apple Wallet.
Step 1: Open Apple Wallet
The first step in deleting a credit card from Apple Wallet is to open the app itself. Apple Wallet is pre-installed on all iPhones and iPads, so you can easily locate it on your device.
To open Apple Wallet, simply locate the app on your device’s home screen. It is represented by a white icon with a blue background and an image that resembles three overlapping credit cards. Tap on the icon to launch the app.
Once the Apple Wallet app is open, you will see a screen that displays all the cards and passes you have added to your digital wallet, including credit cards, debit cards, boarding passes, event tickets, and more. At the top of the screen, you may also see a carousel that showcases featured cards or passes, which you can swipe left or right to navigate through.
Now that you have successfully opened Apple Wallet, let’s move on to the next step and delete the credit card you no longer wish to have in your digital wallet.
Step 2: Select the credit card to delete
After opening Apple Wallet, the next step is to select the credit card that you want to delete from your digital wallet. Apple Wallet provides a user-friendly interface that makes it easy to locate and manage your stored cards.
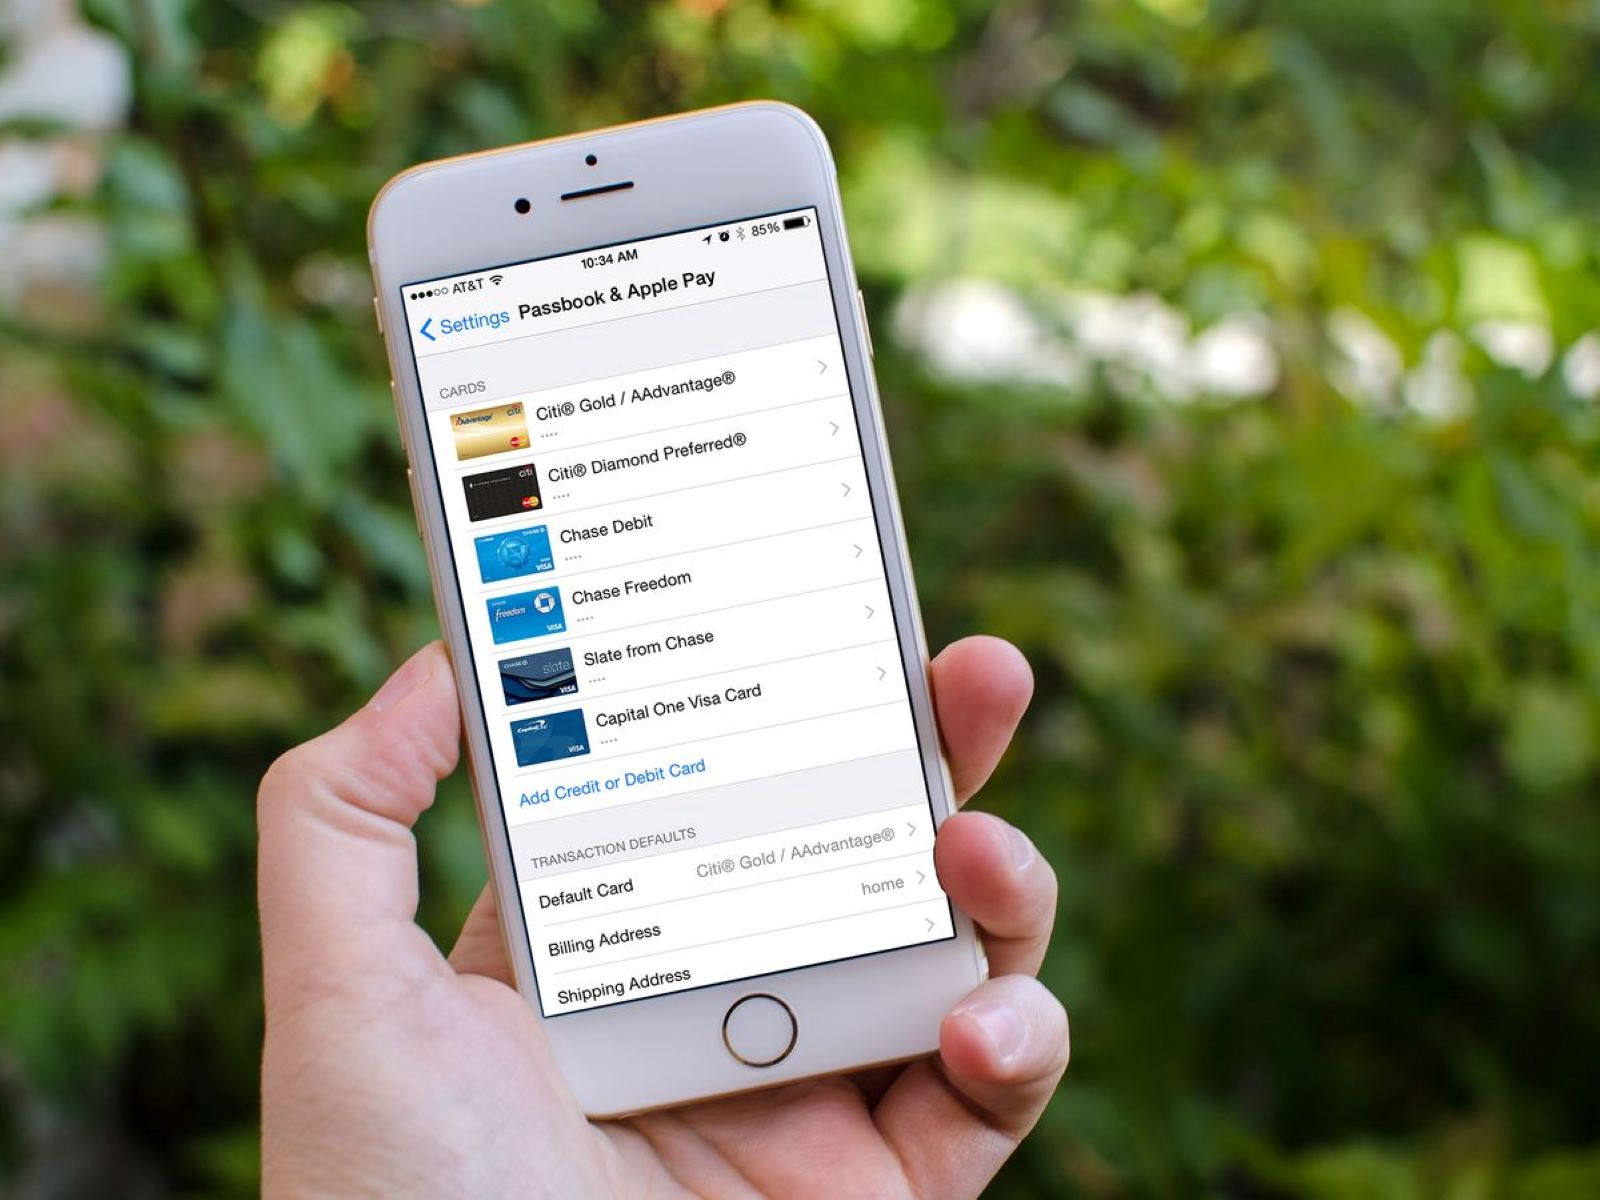
To select the credit card you wish to remove, scroll through the list of cards displayed on the screen. The cards are arranged in a grid-like format, with each card represented by its respective logo or image, along with the last four digits of the card number.
Take your time to find the specific credit card you want to delete. You can swipe up or down to scroll through the list, or you can use your finger to quickly scroll through the cards on the screen. You may also use the search function at the top of the screen to quickly locate the card by typing its name or the last four digits of the card number.
Once you have located the desired credit card, tap on it to select it. The card will expand to display more details, including the cardholder’s name, the card number, the expiry date, and any additional information that may be associated with the card, such as rewards or benefits.
By selecting the credit card, you are now ready to proceed to the next step and initiate the deletion process.
Step 3: Tap on the “…” button
Once you have selected the credit card you want to delete from Apple Wallet, the next step is to tap on the “…” button. This button is located somewhere on the card details screen and provides access to additional options and settings for the selected card.
The “…” button is represented by three dots arranged vertically in a small, compact icon. It is commonly found in the top right corner of the screen, but the exact placement may vary depending on the version of Apple Wallet you are using and the device you are using it on.
To tap on the “…” button, simply navigate to the card details screen and locate the button. Once you have found it, use your finger to tap on it. This will bring up a menu of options related to the selected credit card.
On the menu that appears after tapping the “…” button, you may see various options related to the selected card, such as “Edit,” “Share Card,” “View Transactions,” and more. However, for the purpose of deleting a credit card, we will focus on the option that allows you to remove the card from your Apple Wallet.
Now that you have successfully tapped on the “…” button, you are ready to move on to the next step and choose the option to remove the selected credit card.
Step 4: Choose “Remove Card” option
After tapping on the “…” button in Apple Wallet, a menu of options related to the selected credit card will appear on the screen. Among these options, you need to choose the “Remove Card” option to delete the credit card from your digital wallet.
To choose the “Remove Card” option, carefully scan the menu that appears on the screen after tapping the “…” button. Look for the option that specifically mentions removing or deleting the card. It may be labeled as “Remove Card,” “Delete Card,” or something similar.
Once you have located the correct option, use your finger to tap on it. This action will initiate the process of removing the selected credit card from Apple Wallet.
Keep in mind that when you choose the “Remove Card” option, a confirmation prompt may appear, asking you to confirm your decision. This is an additional step to ensure that you genuinely want to delete the card from your digital wallet. If such a prompt appears, carefully read the message on the prompt and proceed accordingly.
Apple takes data security seriously, so it’s important to understand that removing a credit card from Apple Wallet does not delete any data related to your card from your bank or credit card provider. It only removes the card’s information from your Apple Wallet, preventing you from accessing it for future transactions.
Now that you have successfully chosen the “Remove Card” option, it’s time to move on to the final step and confirm the removal of the credit card.
Step 5: Confirm the removal
After selecting the “Remove Card” option in Apple Wallet, it’s important to confirm the removal of the credit card before it is permanently deleted from your digital wallet. This step acts as a safeguard to prevent accidental deletion of a card.
Once you have chosen the “Remove Card” option, a confirmation prompt will appear on the screen. The prompt will typically display a message asking you to confirm whether you want to proceed with the removal of the selected credit card.
Read the confirmation message carefully, as it will usually provide additional information about the consequences of removing the card. For example, it may mention that any associated loyalty points or rewards will also be deleted, or that the card will no longer be available for mobile payments.
If you are certain that you want to delete the credit card from Apple Wallet, go ahead and tap on the confirmation button. This button is usually labeled as “Remove” or “Delete,” but the label may vary slightly depending on the version of Apple Wallet you are using.
Once you have confirmed the removal of the credit card, Apple Wallet will immediately initiate the deletion process. The card will be removed from your digital wallet, and you will no longer be able to use it for transactions or access its details through the app.
It’s important to note that removing a credit card from Apple Wallet does not affect your actual physical credit card or your account with the issuing bank. It only removes the card’s information from the digital wallet on your device.
Congratulations! You have successfully navigated through the process of deleting a credit card from Apple Wallet. By following these steps, you can easily manage and organize the cards in your digital wallet and maintain control over the information stored in Apple Wallet.
Conclusion
Deleting a credit card from Apple Wallet is a simple and straightforward process that can be done in just a few easy steps. Whether you need to remove a lost or replaced card, or simply want to declutter your digital wallet, Apple Wallet provides a user-friendly interface that allows you to manage and organize your stored cards with ease.
In this guide, we have walked you through the step-by-step process of deleting a credit card from Apple Wallet. We started by opening the app and selecting the specific credit card you wanted to remove. Next, we tapped on the “…” button to access additional options, and then chose the “Remove Card” option to initiate the removal process. Finally, we confirmed the removal and ensured that the credit card was successfully deleted from Apple Wallet.
It’s important to remember that removing a credit card from Apple Wallet only removes the card’s information from the digital wallet on your device. It does not delete any data or affect your physical credit card or your account with the issuing bank. Furthermore, the process may vary slightly depending on the version of Apple Wallet you are using and the device you are using it on.
By following these steps, you can effectively manage and organize the cards stored in your Apple Wallet, ensuring that only the cards you need are easily accessible. Whether you use Apple Wallet for convenient mobile payments or to keep all your important cards in one place, the ability to delete credit cards provides you with greater control and security over your digital wallet.
So, the next time you need to remove a credit card from Apple Wallet, simply refer back to this guide and follow the steps outlined. With just a few taps, you can keep your digital wallet organized and tailored to your specific needs.


