Home>Finance>How To Remove An Insurance Card From Apple An Wallet
Finance
How To Remove An Insurance Card From Apple An Wallet
Published: November 17, 2023
Learn how to remove an insurance card from Apple Wallet with these simple steps. Manage your finances easily and securely.
(Many of the links in this article redirect to a specific reviewed product. Your purchase of these products through affiliate links helps to generate commission for LiveWell, at no extra cost. Learn more)
Table of Contents
Introduction
Welcome to our guide on how to remove an insurance card from Apple Wallet. The Apple Wallet is a convenient and secure way to store various digital cards, including credit cards, boarding passes, event tickets, and even insurance cards. However, there may be instances when you need to remove an insurance card from your Apple Wallet, whether it’s because you no longer have coverage or you simply want to declutter your digital wallet.
Removing an insurance card from Apple Wallet is a straightforward process that can be done in just a few simple steps. In this article, we will walk you through the process, providing detailed instructions along the way. Whether you’re an iPhone user or an iPad owner, follow these steps to quickly and easily remove an insurance card from your Apple Wallet.
Before we dive into the steps, it’s important to note that removing an insurance card from Apple Wallet doesn’t cancel or change your coverage in any way. It simply removes the digital representation of your insurance card from your device. You should always consult with your insurance provider directly if you have any questions regarding your coverage.
Now, let’s get started with the first step in removing an insurance card from Apple Wallet.
Step 1: Access Your Apple Wallet
The first step in removing an insurance card from Apple Wallet is to access the app on your iPhone or iPad. The Apple Wallet app is a pre-installed application that comes with iOS devices, so you don’t need to download it separately. Here’s how to access your Apple Wallet:
- Locate and tap on the “Wallet” app icon on your home screen. It has a white icon with a blue outline of a wallet.
- If you have multiple screens or folders on your device, you may need to browse through them to find the Wallet app.
- Once you’ve found the Wallet app, tap on it to open it.
Alternatively, you can also access Apple Wallet by double-clicking the home button (or swiping up from the bottom on devices without a home button) to bring up the app switcher, then locating and tapping on the Wallet app card.
Once you have successfully opened Apple Wallet, you are ready to proceed to the next step of removing your insurance card.
Step 2: Find the Insurance Card
After accessing your Apple Wallet, the next step is to locate the insurance card that you want to remove. Apple Wallet organizes your digital cards in a user-friendly and intuitive manner, making it easy to find the card you’re looking for. Here’s how to find your insurance card:
- In the Apple Wallet app, you will see a list of your digital cards, including credit cards, boarding passes, and tickets.
- Scroll through the list to find your insurance card. The cards are arranged in a stacked format, with the most recently added card appearing at the top.
- If you have many cards in your Apple Wallet, you might need to swipe down to reveal more cards.
- If you remember the name or logo of your insurance provider, you can also use the search feature at the top of the screen. Simply tap on the search bar and enter the name of your insurance company to quickly locate the card.
Once you have found your insurance card, you’re ready to move on to the next step of removing it from Apple Wallet.
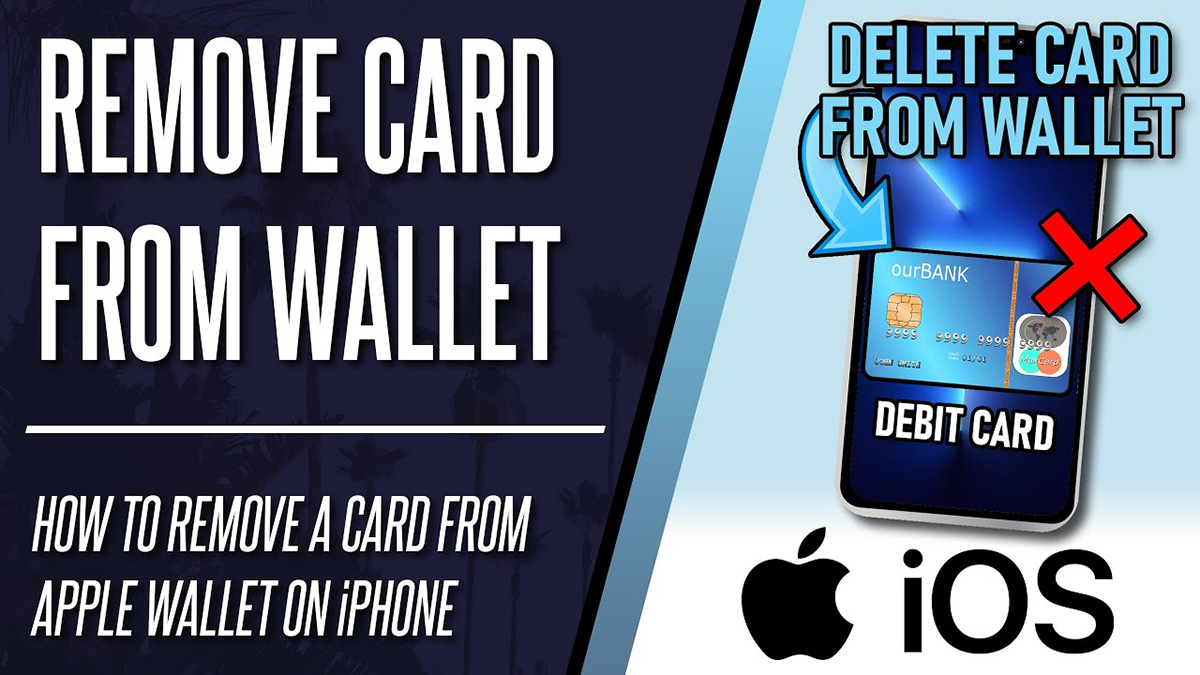
Step 3: Remove the Insurance Card
Now that you have located your insurance card in Apple Wallet, it’s time to remove it. Removing an insurance card from Apple Wallet is a simple process that can be done with just a few taps. Follow these steps to remove the insurance card:
- In the Apple Wallet app, tap and hold your finger on the insurance card that you want to remove. A menu will appear.
- On the menu, look for the option that says “Remove Pass” or “Delete Pass,” and tap on it.
- A confirmation message will appear, asking if you are sure you want to remove the card. Review the message to ensure you are removing the correct card, then tap on “Remove” or “Delete” to confirm.
After confirming the removal, the insurance card will be deleted from your Apple Wallet. You will no longer see the card in your list of digital cards.
It’s important to note that removing the insurance card from Apple Wallet does not affect your actual insurance coverage. The card is simply deleted from your device, but your insurance policy remains intact. If you need to access your insurance information in the future, you may need to request a physical card or use alternative methods provided by your insurance provider.
Congratulations! You have successfully removed the insurance card from Apple Wallet. If you need to remove any other digital cards, simply repeat the above steps.
Step 4: Confirm Removal
After tapping on “Remove” or “Delete” to remove the insurance card from Apple Wallet, a confirmation message will appear asking if you are sure you want to proceed with the removal. It’s important to take a moment to carefully review the message and ensure that you are removing the correct card.
In the confirmation message, you may see details about the insurance card, such as the name of the insurance provider and any associated policy numbers. This information can help you verify that you are removing the correct card.
If you are certain that you want to remove the insurance card, go ahead and tap on “Remove” or “Delete” to confirm the removal. The card will be immediately deleted from your Apple Wallet, and you will no longer see it in your list of digital cards.
On the other hand, if you realize that you selected the wrong card or you are unsure about removing it, you can tap on “Cancel” or “Back” to cancel the removal process. This will ensure that your insurance card remains in your Apple Wallet.
Remember, removing the insurance card from Apple Wallet only removes the digital representation of the card from your device. It does not cancel or affect your actual insurance coverage. If you have any concerns or questions about your insurance policy, it is always recommended to contact your insurance provider directly.
Now that you have confirmed the removal, you can proceed to the next step (optional) or conclude the process by closing the Apple Wallet app.
Step 5: Restart Apple Wallet (Optional)
After removing the insurance card from Apple Wallet, you have the option to restart the app. Restarting Apple Wallet can help ensure that all changes and updates are properly applied, and it can also refresh the app if you plan on adding new cards or using other features. Here’s how you can restart Apple Wallet:
- Close the Apple Wallet app completely by pressing the home button (or swiping up from the bottom on devices without a home button) to exit the app.
- Swipe through your active apps or go back to your home screen.
- Locate the Apple Wallet app icon and tap on it to reopen the app.
By restarting Apple Wallet, you will have a fresh session of the app and can proceed with any other actions you need to take, such as adding new cards or managing existing ones. Restarting also ensures that any changes made to your digital wallet, including the removal of the insurance card, are properly implemented and reflected in the app.
However, it’s important to note that restarting Apple Wallet is optional. If you have completed the removal process and don’t need to perform any additional actions, you can simply close the app without restarting.
With the insurance card successfully removed and Apple Wallet restarted (if desired), you have now completed the process of removing an insurance card from Apple Wallet. Congratulations!
Remember, if you ever need to add an insurance card or any other digital cards back to Apple Wallet, the process is as simple as adding a new card from within the app. Enjoy the convenience of a clutter-free digital wallet!
Conclusion
Removing an insurance card from Apple Wallet is a quick and straightforward process that allows you to declutter your digital wallet. By following the steps outlined in this guide, you can easily remove an insurance card from your Apple Wallet app on your iPhone or iPad.
Remember, removing the insurance card from Apple Wallet does not affect your actual coverage. It simply removes the digital representation of the card from your device. If you ever need to access your insurance information or have any concerns about your coverage, be sure to reach out to your insurance provider directly.
Once you have successfully removed the insurance card from Apple Wallet, you may also consider restarting the app to ensure that all changes are properly applied. However, this step is optional and can be skipped if you don’t have any further actions to perform in the app.
We hope this guide has been helpful in assisting you with removing an insurance card from Apple Wallet. Enjoy the convenience of a clutter-free digital wallet, and stay organized with your important digital cards!
Thank you for reading, and if you have any further questions or need additional assistance, feel free to reach out. Happy managing your Apple Wallet!
What's Hot
Latest Articles
Related Post

By: • Finance

By: • Finance

By: • Finance

By: • Finance

By: • Finance

By: • Finance

By: • Finance
By: • Finance

By: • Finance
By: • Finance

By: • Finance

By: • Finance

By: • Finance

By: • Finance