Finance
How To Edit An Insurance Card
Published: November 10, 2023
Learn how to edit an insurance card in a few simple steps. This finance guide will help you make necessary changes to your insurance information easily.
(Many of the links in this article redirect to a specific reviewed product. Your purchase of these products through affiliate links helps to generate commission for LiveWell, at no extra cost. Learn more)
Table of Contents
- Introduction
- Step 1: Gather necessary materials
- Step 2: Scan or take a photo of the insurance card
- Step 3: Open image editing software
- Step 4: Import the scanned/photo image
- Step 5: Use the selection tool to isolate the card
- Step 6: Adjust brightness and contrast if needed
- Step 7: Edit the necessary information on the card
- Step 8: Save the edited image
- Step 9: Print the new insurance card
- Conclusion
Introduction
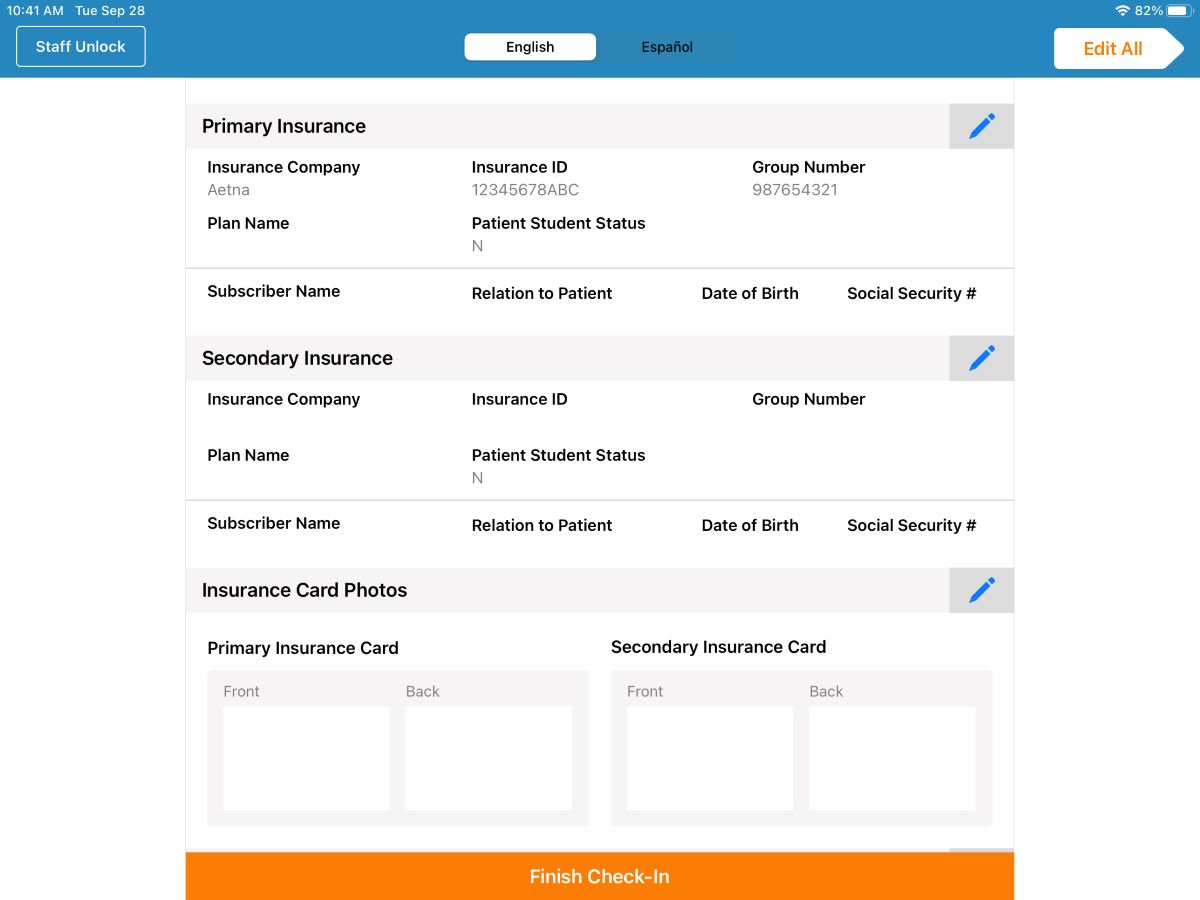
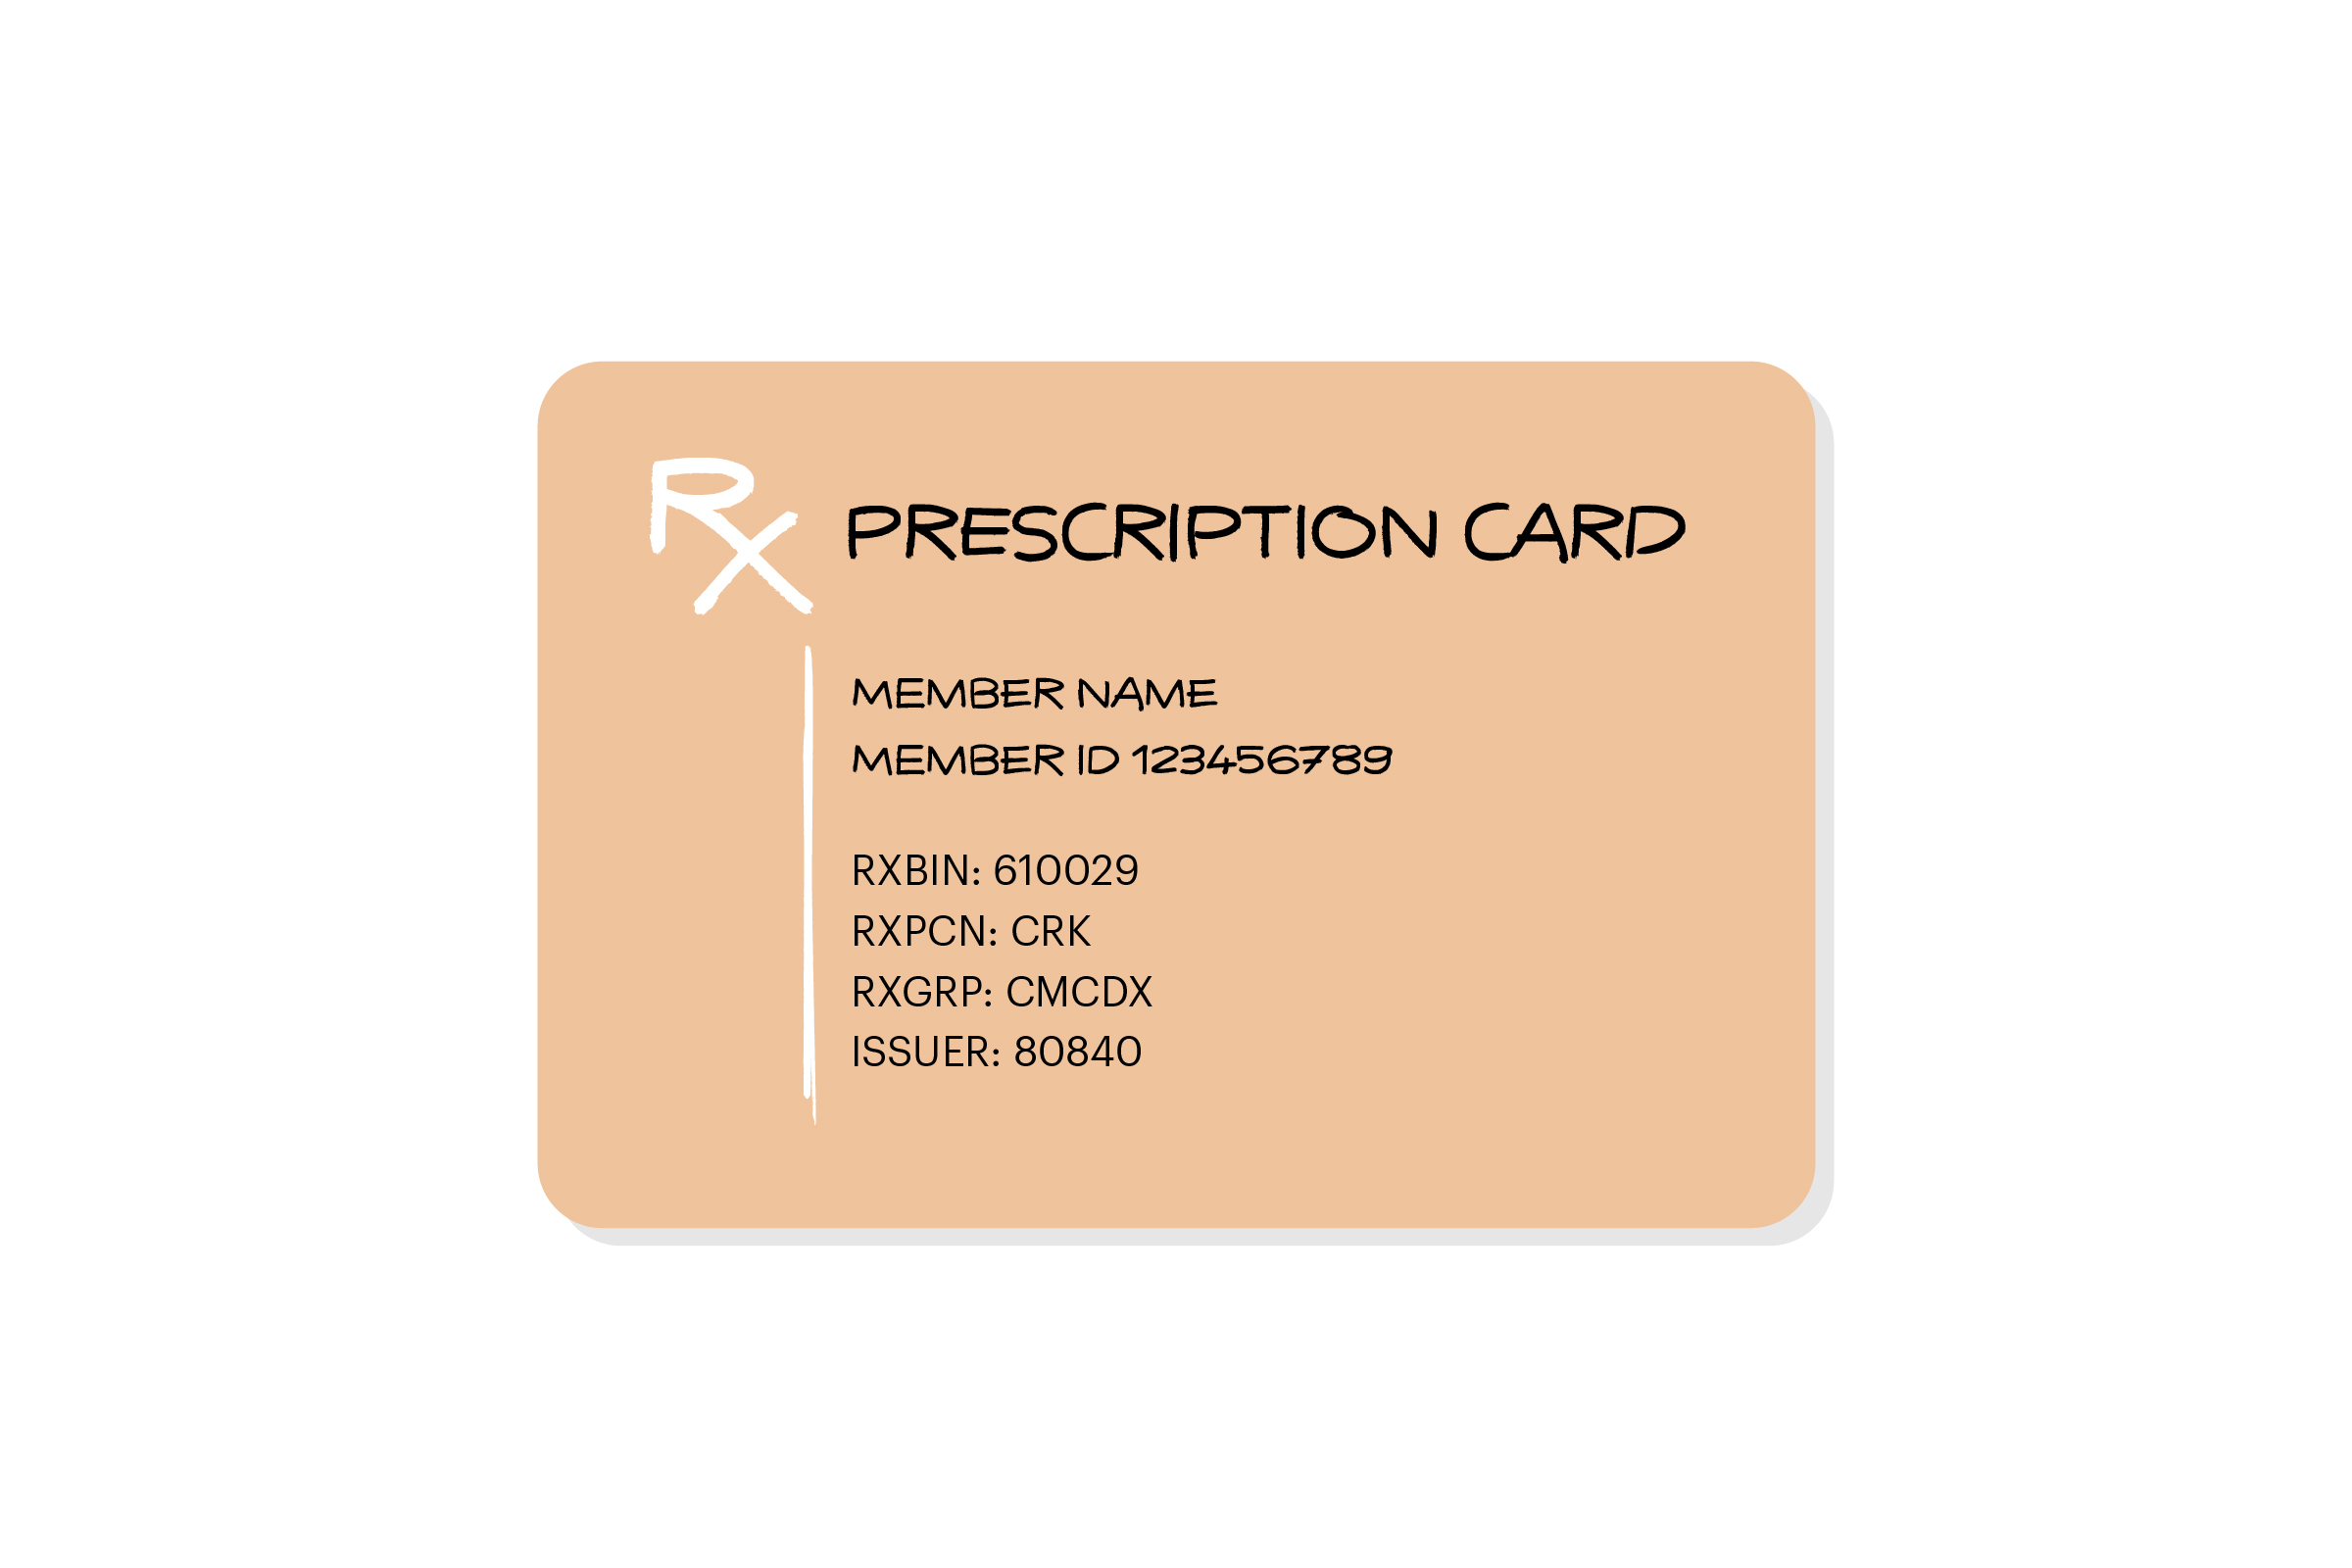
Having an accurate and up-to-date insurance card is essential for individuals from all walks of life. This small piece of plastic can provide crucial information about your insurance coverage and serve as proof during medical emergencies or when accessing various healthcare services.
However, there may be times when you need to make changes to your insurance card. It could be due to a change in coverage, personal information, or other relevant details. In such cases, it is essential to know how to edit your insurance card effectively.
Editing an insurance card may seem daunting at first, but with the right tools and a few simple steps, it can be easily accomplished. In this guide, we will walk you through the process of editing an insurance card, from gathering the necessary materials to saving the edited image.
Whether you’ve recently moved, switched insurance providers, or obtained a new policy, editing your insurance card can ensure that it reflects the most accurate and current information. So, let’s get started!
Step 1: Gather necessary materials
Before you begin editing your insurance card, it’s important to gather all the necessary materials to ensure a smooth and hassle-free process. Here’s what you’ll need:
- A physical copy of your insurance card: This can be the original card issued by your insurance provider or a photocopy of it.
- A scanner or smartphone with a good camera: If you have a scanner, it will provide high-quality scans of your insurance card. Alternatively, you can use your smartphone to take a clear photo of the card.
- Image editing software: You will need access to image editing software, such as Adobe Photoshop, GIMP, or Paint.NET, to edit the scanned or photographed image of your insurance card.
- A computer or device with internet access: This is necessary to download image editing software if you don’t have it already. It is also useful for accessing any online resources or tutorials that can assist you during the editing process.
Once you have gathered these materials, you are ready to move on to the next step of editing your insurance card. Make sure you have a well-lit and clutter-free workspace to work comfortably. Having all the necessary materials at hand will help streamline the editing process and ensure that you have everything you need to make the necessary changes to your insurance card.
Step 2: Scan or take a photo of the insurance card
Once you have gathered all the necessary materials, the next step is to scan or take a clear photo of your insurance card. This step is crucial as it provides you with a digital copy of the card that you can edit.
If you have a scanner, follow these steps:
- Place your insurance card face down on the scanning bed.
- Open the scanning software on your computer and select the appropriate settings for your scan, such as resolution and file format.
- Click on the “Scan” button to start the scanning process.
- Once the scan is complete, save the scanned image to your computer in a location where you can easily access it.
If you don’t have a scanner, you can use the camera on your smartphone to take a photo of your insurance card:
- Ensure that you have good lighting and a steady hand.
- Place your insurance card on a clean surface with a contrasting background (e.g., a white tablecloth or a dark solid-colored surface).
- Open the camera app on your smartphone and frame the insurance card in the viewfinder.
- Ensure that the card is in focus and take the photo.
- Once the photo is captured, transfer it to your computer for editing.
Whichever method you choose, make sure that the scanned or photographed image is clear and legible, capturing all the necessary information on the card. This will facilitate the editing process and ensure that your changes are accurate and easy to read.
Step 3: Open image editing software
Now that you have a digital copy of your insurance card, it’s time to open image editing software to begin the editing process. There are several options available, ranging from professional software like Adobe Photoshop to free alternatives like GIMP and Paint.NET. Choose the one that you are most comfortable using or that is readily available on your computer.
If you already have image editing software installed on your computer, simply locate and open the program. If you don’t have any image editing software installed, you can easily download and install one from reputable sources online. Most software providers offer free trials or basic versions that will suffice for editing your insurance card.
Once you have the software open, you will typically see a blank canvas or workspace where you can import and edit images. Familiarize yourself with the different tools and features available in the software. This will help you navigate the editing process more efficiently.
It’s important to note that different software may have slightly different user interfaces and terminology. If you are using a specific software for the first time, take some time to explore the interface and get comfortable with the basic functions and layout. There are numerous online tutorials and guides available that can help you learn the basics of using the software.
With your image editing software open and ready to use, you are now ready to proceed to the next step of importing your scanned or photographed image of the insurance card into the software.
Step 4: Import the scanned/photo image
Now that your image editing software is open, it’s time to import the scanned or photographed image of your insurance card into the program. This will allow you to work directly on the digital copy and make any necessary edits.
To import the image, follow these steps:
- Locate the “Import” or “Open” function in the image editing software. This is typically found under the “File” menu or as a button on the toolbar.
- Click on “Import” or “Open” and navigate to the location where you saved the scanned or photographed image of your insurance card.
- Select the image file and click on “Open” to import it into the software.
Once the image is imported, it will be displayed on the canvas or workspace of the image editing software. Take a moment to ensure that the image is clear and properly aligned.
If the image appears too large or small on the canvas, you can use the resizing tools within the image editing software to adjust its dimensions. This will help ensure that you have enough space to make the necessary edits to the insurance card without compromising its legibility.
Now that the image of your insurance card is imported into the software, you’re ready to move on to the next step: using the selection tool to isolate the card and prepare it for editing.
Step 5: Use the selection tool to isolate the card
After importing the image of your insurance card into the image editing software, the next step is to use the selection tool to isolate the card itself. This will allow you to make edits specifically to the card without affecting any surrounding elements or backgrounds.
Most image editing software offers a variety of selection tools, such as the rectangular or elliptical selection tool, the lasso tool, or the magic wand tool. The specific tool you choose will depend on the shape and complexity of your insurance card.
Here’s how to use the selection tool to isolate the card:
- Select the appropriate selection tool from the toolbar or menu of the image editing software.
- Draw a selection outline around the borders of your insurance card, ensuring that you include all the necessary information on the card.
- Adjust the selection as needed to ensure that it accurately covers the card’s dimensions. Most selection tools allow you to resize or fine-tune the selection outline.
- Once you are satisfied with the selection, use the “Crop” or “Cut” function in the image editing software to remove any excess areas outside of the selection.
By isolating the card using the selection tool, you can focus solely on editing the relevant information without making changes to the rest of the image. This step helps maintain the original layout and design of the card while allowing you to make alterations where necessary.
With the card isolated and the unnecessary elements removed, you’re now ready to move on to the next step: adjusting the brightness and contrast of the image, if needed.
Step 6: Adjust brightness and contrast if needed
After isolating the card using the selection tool, you may find that the image requires some adjustments to the brightness and contrast. This step is important to ensure that the card is clear and easily readable.
Here’s how to adjust the brightness and contrast in your image editing software:
- Locate the “Brightness” and “Contrast” options in the software. These are usually found in the toolbar or under the “Image” or “Adjustments” menu.
- Adjust the brightness slider to make the image brighter, or darker, based on your preference and the legibility of the card. Be cautious not to overbrighten or oversaturate the image, as it can make the text difficult to read.
- Similarly, adjust the contrast slider to enhance the difference between light and dark shades in the image. This can help make the text and other details on the card stand out more.
- Continuously assess the changes you make by comparing the image to the original card. Ensure that the edited image retains the necessary details and legibility.
- Once you are satisfied with the adjustments, save your progress to preserve the changes made.
It’s important to note that not all images will require adjustments to the brightness and contrast. However, if you find that the scanned or photographed image is too dark or lacks clarity, tweaking the brightness and contrast can significantly improve the overall quality of the card.
Remember, the goal is to make the necessary information on the insurance card easily readable while maintaining the card’s original appearance. With the brightness and contrast adjusted, you’re now ready to proceed to the next step: editing the necessary information on the card itself.
Step 7: Edit the necessary information on the card
With the image properly adjusted, it’s time to edit the necessary information on your insurance card. This step allows you to update any outdated or incorrect details, such as your name, policy number, or insurance provider.
Here are some guidelines to follow as you edit the information on the card:
- Use the text editing tools in your image editing software to add or modify the text on the card. This may include changing names, updating policy numbers, or adjusting contact information.
- Ensure that the font, size, and color of the edited text match the original card as closely as possible. Consistency in the appearance of the information will help maintain the card’s authenticity.
- Double-check the accuracy of the edited information. It’s essential to carefully review and proofread all changes to ensure that there are no errors or typos.
- If you encounter any challenges while editing the text, such as finding the right font or mimicking specific formatting, use online resources or tutorials for guidance.
Remember, it is crucial to handle the editing process with care. The goal is to make the necessary changes while ensuring that the newly edited information seamlessly integrates with the rest of the card, making it indistinguishable from the original in terms of appearance and quality.
Once you have completed editing the necessary information, take a moment to review the entire card and confirm that all changes are accurate and visually cohesive. This step will help ensure that the final version of your insurance card reflects the updated and correct information.
With the information on your insurance card now updated, it’s time to proceed to the next step: saving the edited image.
Step 8: Save the edited image
After making the necessary edits to your insurance card, it’s important to save the edited image to preserve your changes and create a digital copy of the updated card.
Follow these steps to save the edited image:
- Locate the “Save” or “Export” function in your image editing software. This option is typically found under the “File” menu or as a button on the toolbar.
- Choose a file format for your edited image. Popular formats include JPEG, PNG, and PDF. Consider the purpose of the edited image and its compatibility with different devices and platforms when selecting the format.
- Specify the desired filename and destination folder where you want to save the edited image on your computer. It’s recommended to choose a location that is easily accessible and organized for future reference.
- Adjust any additional settings, such as image quality or resolution, based on your preference and the intended use of the edited image.
- Click “Save” or “Export” to save the edited image with your desired changes.
By saving the edited image, you create a digital version of your updated insurance card that can be easily shared, printed, or stored for future use. It’s a good practice to keep both the original image and the edited version for record-keeping purposes.
Before finalizing the saving process, take a moment to verify that the saved image accurately reflects the changes you made. Open the saved image to ensure that it maintains the desired quality, resolution, and clarity.
Lastly, remember to securely store the digital copy of your edited insurance card in a safe and confidential location to prevent any unauthorized access to your personal information.
With the edited image of your insurance card now saved, you have successfully completed the process. You can move on to the final step: printing the new insurance card.
Step 9: Print the new insurance card
After editing and saving the image of your insurance card, the final step is to print the new version of the card. Printing a physical copy allows you to have a tangible and readily accessible proof of your updated insurance information.
Here’s what you need to do to print the new insurance card:
- Make sure you have a reliable printer and an adequate supply of high-quality printing paper. It’s advisable to use a paper type that closely resembles the original card to maintain consistency.
- Open the saved image file of your edited insurance card on your computer.
- Click on the “Print” option in your image viewing software or use the keyboard shortcut (usually Ctrl+P on Windows or Command+P on Mac).
- Ensure that the printer is properly connected to your computer and turned on.
- Check the print settings, such as paper size, orientation, and print quality, to ensure they match your desired output. Adjust any necessary settings based on your preferences.
- Click on the “Print” button to start the printing process.
- Wait for the printer to complete the printing task, and retrieve the printed insurance card from the output tray.
Once you have the printed card in your hands, carefully examine it to confirm that the printed version accurately reflects the changes you made during the editing process. Check for any smudges or imperfections and make sure the text and graphics are clear and legible.
It’s important to remember that the printed insurance card may not be accepted in all situations. Some healthcare providers or institutions may require an official card issued by your insurance provider, so be sure to check with your insurer to determine their guidelines for accepting digital or printed copies of the card.
By printing the new insurance card, you now have a physical copy that reflects the updated information. Keep it in a safe place, alongside your other important documents, as it serves as proof of your insurance coverage.
Congratulations! You have successfully completed all the steps to edit and print your new insurance card. Your updated card is now ready to be used whenever necessary.
Conclusion
Editing an insurance card may seem like a daunting task, but with the right materials and steps, it can be easily accomplished. Having an accurate and up-to-date insurance card is crucial for accessing healthcare services and providing proof of insurance coverage.
In this guide, we walked through the process of editing an insurance card, starting from gathering the necessary materials to printing the new card. By following the steps outlined, you can ensure that your insurance card reflects the most accurate and current information.
Remember, it’s important to handle the editing process with care, paying attention to details like font, size, and color to maintain the card’s authenticity. Take the time to review and proofread all changes to ensure accuracy and legibility.
Additionally, it’s essential to store both the original and edited versions of your insurance card securely. Safeguarding the digital and physical copies will help prevent any unauthorized access or misuse of your personal information.
Lastly, it’s important to understand that the acceptance of printed or digital insurance cards may vary among healthcare providers and institutions. Always check with your insurance provider or the institution in question to determine their specific requirements.
By successfully editing and printing your new insurance card, you now have an updated proof of insurance coverage that can be easily accessed whenever needed. Stay organized and keep your insurance card in a safe place alongside other important documents, ensuring you can readily provide it as required.
Remember to review and update your insurance card regularly to reflect any changes in coverage or personal information. By keeping your insurance card up to date, you can ensure a smooth and hassle-free experience when accessing healthcare services.
We hope this guide has been helpful in guiding you through the process of editing an insurance card. Now you can confidently navigate the task and ensure that your insurance information is accurate and readily available.
What's Hot
Latest Articles
Related Post

By: • Finance
By: • Finance

By: • Finance

By: • Finance

By: • Finance

By: • Finance
By: • Finance
By: • Finance

By: Sunny • Finance

By: • Finance


By: • Finance

By: • Finance

By: • Finance

By: • Finance