
Finance
How To Pay My Sally’s Credit Card
Modified: February 21, 2024
Looking for a convenient way to manage your finances? Learn how to pay your Sallys Credit Card and take control of your finances with our helpful guide.
(Many of the links in this article redirect to a specific reviewed product. Your purchase of these products through affiliate links helps to generate commission for LiveWell, at no extra cost. Learn more)
Table of Contents
Introduction
Welcome to the guide on how to pay your Sally’s Credit Card! If you’re a loyal customer of Sally’s and have their store credit card, it’s essential to know how to make your payments efficiently. Paying your credit card bill on time helps you maintain a positive credit history and avoid any potential late fees or penalties.
Sally’s Credit Card offers a convenient online payment option, allowing you to make payments from the comfort of your own home. In this guide, we’ll walk you through the step-by-step process of paying your Sally’s Credit Card bill online. Whether you’re new to online payments or just need a refresher, we’ve got you covered.
Keep in mind that while this guide focuses specifically on paying your Sally’s Credit Card bill online, there are other payment methods available, such as over-the-phone payments or mailing a check. However, online payments offer the most convenience and speed, making it the preferred method for many cardholders.
Ready to take control of your finances and make your Sally’s Credit Card payment? Let’s get started on the journey towards financial well-being.
Step 1: Create an Online Account
The first step in paying your Sally’s Credit Card online is to create an online account. Having an online account not only allows you to make payments but also provides access to important account information, such as your balance, transaction history, and payment due dates.
To create an online account, you’ll need to visit the official Sally’s Credit Card website. Look for the option to “Sign Up” or “Register.” Clicking on this option will take you to the account registration page.
On the registration page, you’ll be asked to provide some personal information, including your credit card details. This is done to ensure that only authorized users can access and manage the account. Additionally, you may need to create a username and password for future logins.
Make sure to choose a username and password that are unique and easy for you to remember. Strong passwords typically include a combination of numbers, letters, and special characters. Keep your login credentials secure and avoid sharing them with anyone.
After you’ve filled in all the required information, click on the “Submit” or “Create Account” button. You may receive a confirmation email to verify your account creation. Follow the instructions in the email to complete the verification process.
Once your account is successfully created and verified, you’re ready to move on to the next step: logging into your account.
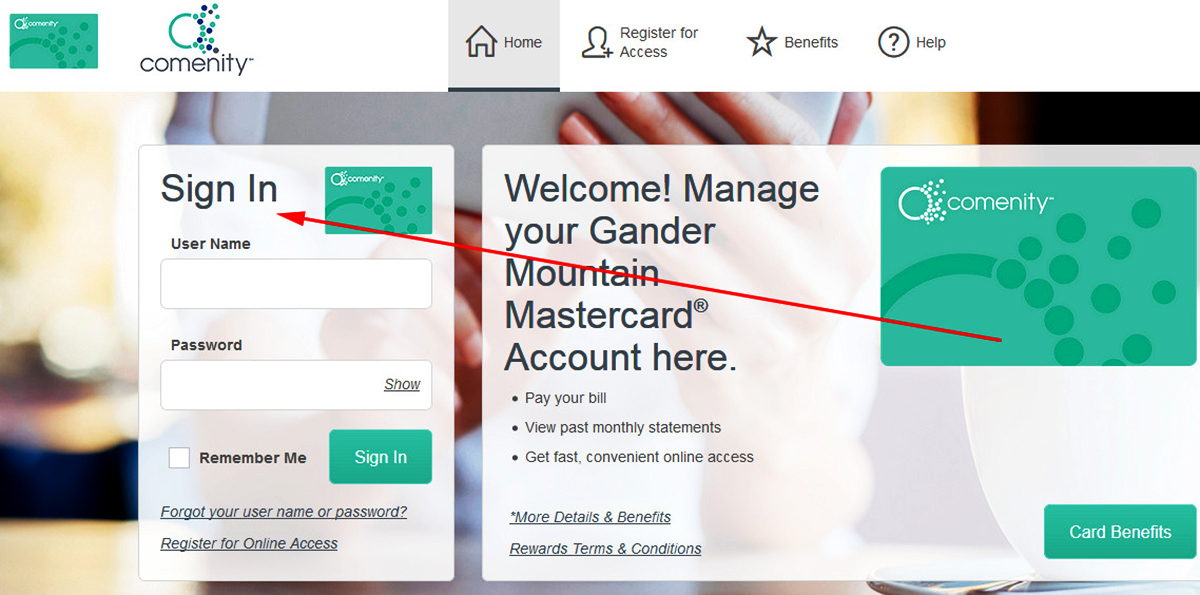
Step 2: Log into Your Account
Now that you have successfully created your online account, it’s time to log in. Logging into your account will grant you access to all the features and functionalities necessary for making your Sally’s Credit Card payment.
To log into your account, return to the Sally’s Credit Card website and locate the “Log In” or “Sign In” option. Click on this option to be redirected to the login page.
On the login page, you’ll be prompted to enter your username and password that you created during the account registration process. Carefully enter your credentials to ensure accuracy. Remember, passwords are case-sensitive, so double-check your capitalization.
If you encounter any issues logging in, such as forgetting your password, look for the “Forgot Password” or “Reset Password” option on the login page. Click on this option to receive instructions on how to reset your password. Follow the provided steps to regain access to your account.
Once you’ve entered your username and password correctly, click on the “Log In” or “Sign In” button. If your credentials are valid, you should be successfully logged into your Sally’s Credit Card account.
Upon logging in, you will be able to view your account dashboard, which displays important information about your credit card, such as your current balance, available credit, and recent transactions. From this dashboard, you can navigate to the payment section to begin the process of paying your Sally’s Credit Card bill.
Now that you’re logged in, it’s time to move on to the next step: navigating to the payment section.
Step 3: Navigate to the Payment Section
Once logged into your Sally’s Credit Card account, the next step is to navigate to the payment section. This is where you’ll find all the necessary tools and options to make your credit card payment.
To find the payment section, look for a tab or menu labeled “Payments” or “Pay My Bill.” Different credit card providers may have slightly different website layouts, so take your time to familiarize yourself with the specific navigation options on the Sally’s Credit Card website.
Once you’ve located the payment section, click on the corresponding tab or link to access it. This will direct you to the payment page, where you can initiate the process of making your payment.
Within the payment section, you may find various options and features related to your credit card payments. This can include viewing your payment history, setting up automatic payments, or scheduling future payments.
Keep in mind that the specific layout and features of the payment section may vary, but the overall purpose remains the same: to enable you to make your Sally’s Credit Card payment conveniently.
Now that you’ve successfully navigated to the payment section, it’s time to move on to the next step: choosing a payment method.
Step 4: Choose a Payment Method
After reaching the payment section of your Sally’s Credit Card account, the next step is to choose a payment method. Sally’s Credit Card typically offers several payment options to suit different preferences and needs.
Common payment methods provided by Sally’s Credit Card may include:
- Bank Account Transfer: This option allows you to transfer funds directly from your bank account to your credit card. You will need to provide your bank account details, including the routing number and account number.
- Debit Card: If you prefer to use your debit card to make the payment, you can select this option. You will be required to enter your debit card information, including the card number, expiration date, and security code.
- Credit Card: You may also have the option to use a different credit card to make the payment. This is useful if you prefer to consolidate your credit card payments or earn rewards on a specific credit card.
Choose the payment method that works best for you and ensure that you have the necessary information readily available before proceeding to the next step.
It’s important to note that some payment methods may incur additional fees or have specific requirements, so be sure to review the terms and conditions associated with each payment option before making a selection.
Now that you’ve chosen your preferred payment method, it’s time to move on to the next step: entering your payment details.
Step 5: Enter Payment Details
Once you have selected your preferred payment method, the next step is to enter your payment details. This involves providing the necessary information to complete the transaction securely and accurately.
Depending on the payment method you’ve chosen, the specific details required may vary. Here are some common payment details you may need to provide:
- Bank Account Information: If you have selected the bank account transfer option, you will need to enter your bank’s routing number and your account number. This information can typically be found on your checks or by contacting your bank directly.
- Debit/Credit Card Information: If you’ve opted to use a debit or credit card for the payment, you will need to enter the card details, including the card number, expiration date, and security code. Make sure to double-check the information for accuracy to avoid any issues with the transaction.
- Payment Amount: Specify the amount that you wish to pay towards your Sally’s Credit Card balance. You may have the option to pay the minimum amount due, the full balance, or a custom amount.
Ensure that you are entering the correct information and double-check for any typos or errors before proceeding to the next step.
If you are concerned about the security of your payment information, rest assured that most credit card providers, including Sally’s, utilize secure encryption technology to protect your data. This helps to keep your personal and financial information safe during the payment process.
Now that you’ve entered your payment details accurately, it’s time to move on to the next step: reviewing and submitting your payment.
Step 6: Review and Submit Payment
After entering your payment details, it is important to review your payment information before submitting the transaction. This step ensures that all the entered details are accurate, minimizing the chances of any errors or discrepancies.
Take the time to carefully review the payment amount, payment method, as well as any additional fees or charges associated with the transaction. Make sure that the payment amount aligns with your intended payment, whether it’s the minimum payment, the full balance, or a custom amount.
If there are any errors or if you need to make any changes, most payment platforms will allow you to go back and edit the information before submitting the payment.
Once you are confident that all the information is correct, proceed to submit your payment. This can typically be done by clicking on a button or link labeled “Submit,” “Make Payment,” or similar wording.
Upon submission, the payment will begin processing. It’s important to note that the processing time may vary depending on the payment method chosen. Some payment methods, such as bank account transfers, may take a few business days to reflect on your Sally’s Credit Card account.
During this step, it’s a good idea to keep a record of the payment confirmation or transaction ID. This will serve as proof of payment and can be helpful for referencing any inquiries or concerns in the future.
Now that you have reviewed and submitted your payment successfully, it’s time to move on to the next step: verifying the payment confirmation.
Step 7: Verify Payment Confirmation
After submitting your payment, it is important to verify the payment confirmation to ensure that your transaction was processed successfully. Verifying the payment confirmation provides peace of mind and helps you keep track of your payment activity.
Once your Sally’s Credit Card payment is processed, you may receive a confirmation message on the website or via email. This confirmation typically includes details such as the payment amount, transaction ID, and the date and time of the transaction.
Take a moment to review the payment confirmation and cross-check the information with your intended payment. Verify that the payment amount matches your desired payment and that the payment method used is accurate.
If you notice any discrepancies or have any concerns about the payment confirmation, it is important to contact Sally’s Credit Card customer service. They will be able to assist you in resolving any issues or provide further clarification regarding the payment.
Keeping a record of the payment confirmation is advisable. This record can be stored digitally or in physical form, such as taking a screenshot or printing the confirmation email. Having this record will be helpful for your reference and can serve as proof of payment, if required, in the future.
By verifying the payment confirmation, you can ensure that your payment has been successfully processed and that your Sally’s Credit Card balance reflects the payment amount accordingly.
Now that you have successfully verified the payment confirmation, you may consider setting up automatic payments to streamline your future payment processes.
Step 8: Set Up Automatic Payments (Optional)
Setting up automatic payments for your Sally’s Credit Card is an optional step but can be a convenient way to ensure timely and hassle-free payments. With automatic payments, you can have your monthly credit card bill paid automatically from your designated bank account or another credit card.
To set up automatic payments, navigate to the relevant section in your Sally’s Credit Card online account. Look for options such as “Automatic Payments,” “Enroll in AutoPay,” or similar terms. Click on the designated link or button to initiate the setup process.
Before proceeding, ensure that you have the necessary bank account or credit card details on hand. You will be prompted to enter the required information, including account numbers and routing numbers for bank accounts, or card details for credit cards.
During the setup process, you may have the option to choose either the minimum payment, the full balance, or a custom amount to be automatically paid each month. Select the option that best suits your financial preferences.
Additionally, you may have the choice of selecting the payment date. Some credit card providers offer flexibility in choosing the exact date when the payment will be deducted from your account. Find an option that aligns with your monthly budget and financial situation.
Once you have entered all the necessary information and made your selections, review the details and confirm the setup of automatic payments. You may receive a confirmation message or email indicating that auto payments have been successfully activated.
It’s important to monitor your automatic payment setup to ensure that funds are available in your designated account or on your credit card for the scheduled payments. Be aware of any changes in your account information or payment due dates to avoid any issues with future payments.
If you decide to make changes or cancel your automatic payment setup in the future, you can typically do so through your Sally’s Credit Card online account or by contacting customer service.
Congratulations! You have now completed the setup of automatic payments for your Sally’s Credit Card, if you chose to opt for this feature. Enjoy the convenience and peace of mind that comes with automated bill payments.
Conclusion
Congratulations on completing the guide on how to pay your Sally’s Credit Card! By following the step-by-step instructions in this guide, you have gained the knowledge and confidence to make your credit card payments conveniently and efficiently.
Remember, paying your credit card bill on time is crucial to maintaining a positive credit history and avoiding any late fees or penalties. The online payment option provided by Sally’s Credit Card offers convenience and flexibility, allowing you to make payments from the comfort of your own home.
Throughout this guide, you’ve learned how to create an online account, log into your account, navigate to the payment section, choose a payment method, enter payment details, review and submit payments, verify payment confirmations, and optionally set up automatic payments.
Always take the time to review your payment details and verify the payment confirmation to ensure accuracy and track your payment activity. If you have any questions or encounter any issues, don’t hesitate to reach out to Sally’s Credit Card customer service for assistance.
By proactively managing your credit card payments, you are taking control of your financial well-being and building a strong foundation for a healthy financial future.
Thank you for using this guide, and we hope that you found it helpful. Now, go ahead and pay your Sally’s Credit Card bill with confidence and ease!
What's Hot
Latest Articles
Related Post
By: • Finance

By: • Finance

By: • Finance

By: • Finance

By: • Finance
By: • Finance

By: • Finance

By: • Finance

By: • Finance

By: • Finance


By: • Finance

By: • Finance

By: • Finance

By: • Finance