Finance
How To Turn On Clover Credit Card Machine
Modified: December 30, 2023
Learn how to activate your Clover credit card machine and start accepting payments easily. Discover finance tips and tricks to optimize your business's financial operations.
(Many of the links in this article redirect to a specific reviewed product. Your purchase of these products through affiliate links helps to generate commission for LiveWell, at no extra cost. Learn more)
Table of Contents
- Introduction
- Overview of Clover Credit Card Machine
- Step 1: Powering On the Clover Credit Card Machine
- Step 2: Logging In to the Clover Credit Card Machine
- Step 3: Configuring the Clover Credit Card Machine Settings
- Step 4: Connecting the Clover Credit Card Machine to the Internet
- Step 5: Testing the Clover Credit Card Machine
- Conclusion
Introduction
Welcome to the world of Clover Credit Card Machines! Whether you are a small business owner or a cashier in a retail store, having a reliable and efficient credit card processing system is essential in today’s digital age. The Clover Credit Card Machine offers a seamless and secure solution for accepting payments from customers, making it a popular choice for businesses of all sizes.
In this article, we will guide you through the process of turning on your Clover Credit Card Machine and getting it up and running. We will cover everything from powering on the device to configuring the settings and connecting it to the internet. By the end of this guide, you will be ready to process credit card payments with ease and confidence.
Before we get started, it’s important to note that the steps mentioned in this article may vary slightly depending on the specific model of the Clover Credit Card Machine you are using. However, the general principles remain the same, and we will provide instructions that are applicable to most models.
Now, without further ado, let’s dive into the world of Clover Credit Card Machines and learn how to turn them on!
Overview of Clover Credit Card Machine
Before we delve into the details of turning on the Clover Credit Card Machine, let’s take a moment to understand what it is and how it can benefit your business.
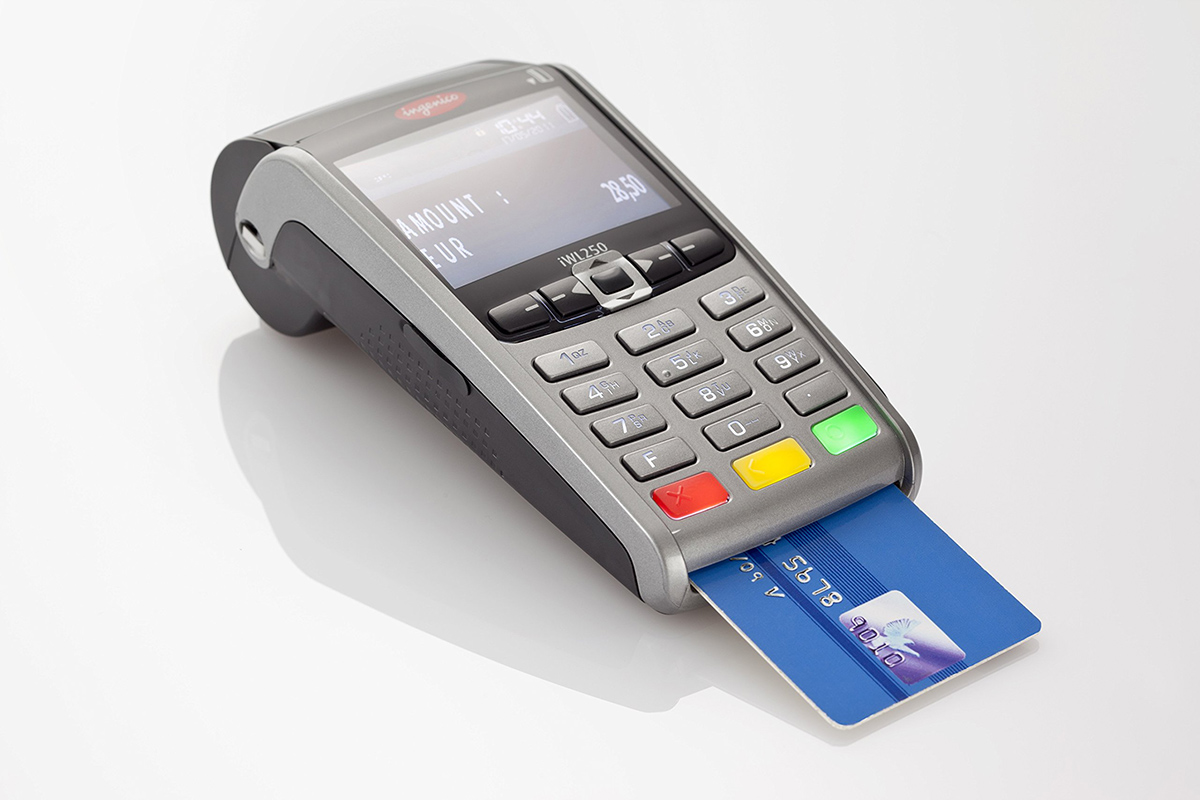
The Clover Credit Card Machine is a state-of-the-art payment processing system that combines a sleek and intuitive hardware terminal with powerful software capabilities. It allows businesses to accept credit card payments securely and efficiently, offering a seamless checkout experience for customers.
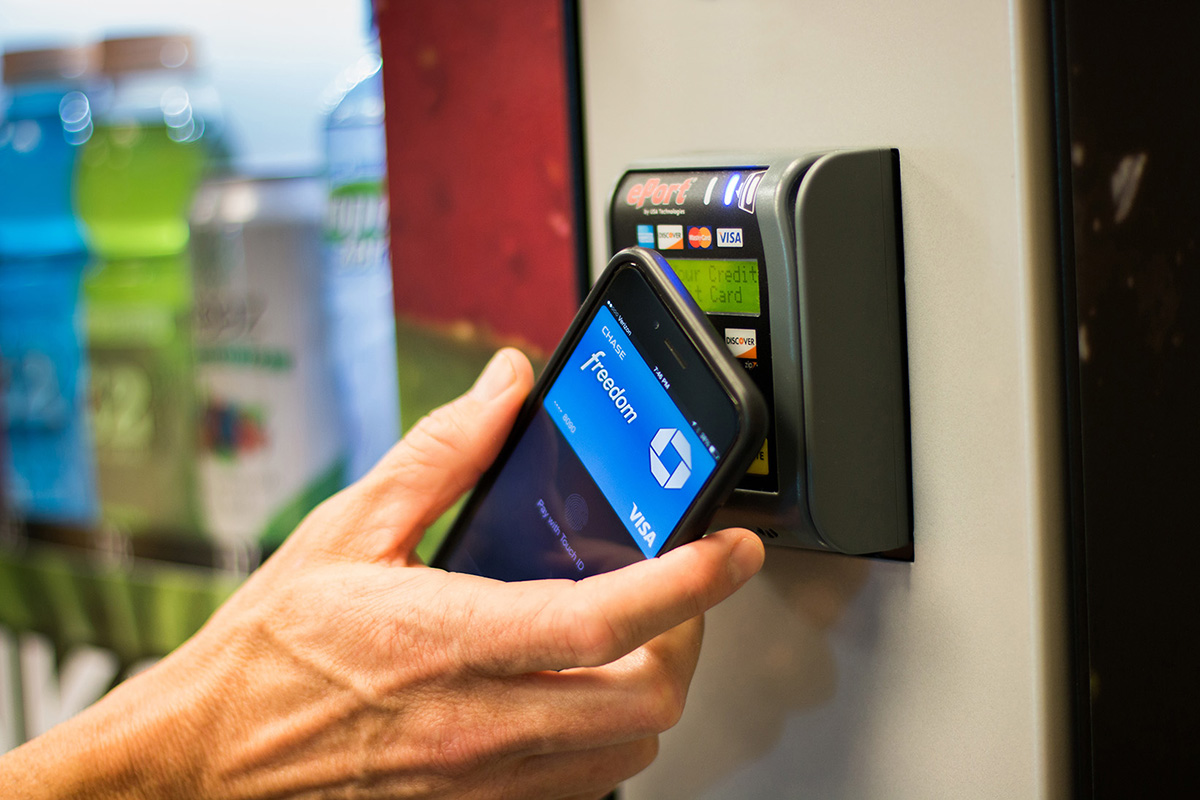
The Clover Credit Card Machine offers a range of features to streamline your business operations. From accepting various payment methods, including credit and debit cards, to offering contactless and mobile payment options, the Clover Credit Card Machine ensures that you can cater to the preferences of your customers.
Furthermore, the Clover Credit Card Machine comes with an integrated receipt printer and a customer-facing display, enabling swift and easy transaction processing. The intuitive touchscreen interface makes it simple for cashiers to navigate through menus and complete transactions in no time. The Clover Credit Card Machine also offers inventory management tools, sales tracking, and robust reporting capabilities to help you keep track of your business performance and make informed decisions.
With its secure payment processing capabilities, the Clover Credit Card Machine ensures that customer data is protected and encrypted, safeguarding sensitive information and reducing the risk of fraud. This gives your customers peace of mind knowing that their financial details are handled securely.
The Clover Credit Card Machine is not only user-friendly but also highly customizable. You can choose from a range of apps and integrations that can enhance the functionality of the device, such as loyalty programs, employee management, and advanced analytics.
Overall, the Clover Credit Card Machine is a comprehensive and versatile payment processing system that empowers businesses to streamline their operations, enhance customer experience, and increase efficiency. Now that you have a good understanding of the device, let’s move on to the next section and learn how to turn it on.
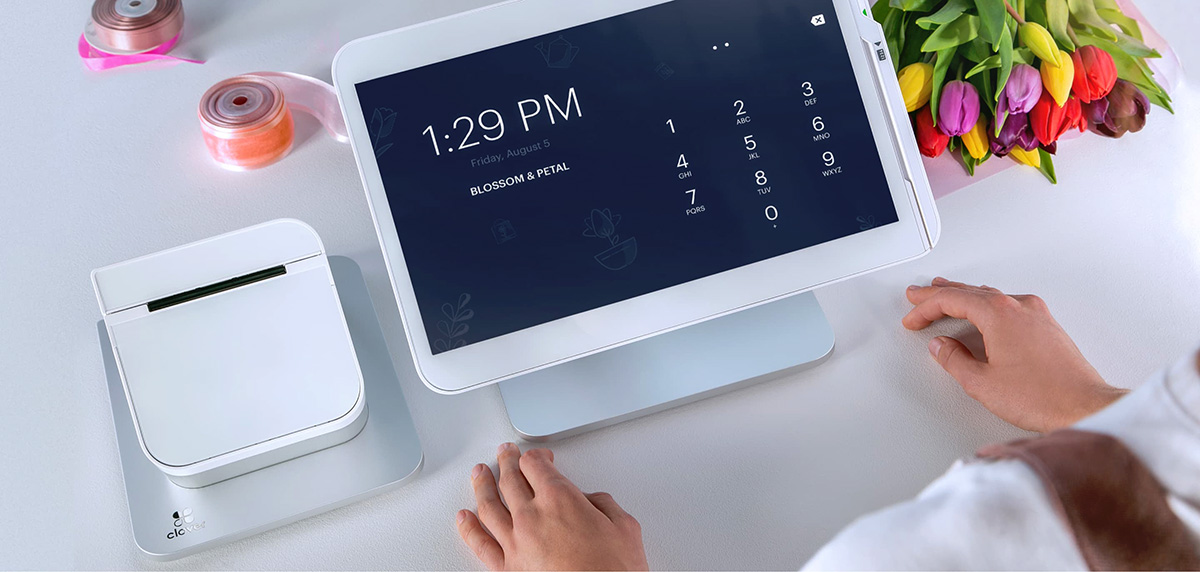
Step 1: Powering On the Clover Credit Card Machine
The first step in setting up your Clover Credit Card Machine is to power it on. Follow these simple steps to get your device up and running:
- Locate the power button on your Clover Credit Card Machine. It is typically located on the side or back of the device.
- Press and hold the power button for a few seconds until you see the device screen light up. This indicates that the Clover Credit Card Machine is turning on.
- Once the device has powered on, you will be greeted with the Clover logo on the screen and a loading animation. This may take a few moments to complete, so be patient.
- After the loading animation finishes, the Clover Credit Card Machine will display the login screen.
It is important to note that if you are setting up the Clover Credit Card Machine for the first time, you may need to follow the initial setup process, which includes connecting to a Wi-Fi network and logging in with your Clover account information. This process may vary depending on the model and version of your Clover device.
Once you have successfully powered on the Clover Credit Card Machine and reached the login screen, you are ready to move on to the next step: logging in to the device. In the following section, we will guide you through the login process to ensure a seamless setup experience.
Step 2: Logging In to the Clover Credit Card Machine
After powering on the Clover Credit Card Machine, the next step is to log in to the device using your Clover account. Here’s how you can do it:
- On the login screen of the Clover Credit Card Machine, enter your Clover account username and password using the on-screen keyboard.
- If you have multiple locations associated with your account, you may be prompted to select the location where the device will be used.
- Once you have entered your login credentials and selected the appropriate location, press the “Log In” button to proceed.
- If the login information is correct, the Clover Credit Card Machine will validate your credentials and log you into the device. You will now have access to the main interface of the device.
It is important to ensure that you enter your login credentials accurately to avoid any login issues. If you are having trouble logging in, double-check your username and password or contact Clover support for assistance.
Once you have successfully logged in to the Clover Credit Card Machine, you can proceed to configure the device settings according to your business requirements. In the next section, we will walk you through the process of configuring the Clover Credit Card Machine settings.
Step 3: Configuring the Clover Credit Card Machine Settings
Now that you have logged in to the Clover Credit Card Machine, it’s time to configure the device settings to tailor it to your specific business needs. Follow these steps to get started:
- On the main interface of the Clover Credit Card Machine, locate and tap on the “Settings” icon. It is usually represented by a gear or cogwheel symbol.
- Within the settings menu, you will find various options to customize your Clover device. Depending on your business requirements, you can configure settings related to sales, inventory management, receipt printing, employee management, and more.
- Take some time to explore the different settings and make adjustments according to your preferences. For example, you can set up tax rates, enable tips functionality, customize receipt templates, and specify security settings.
- As you navigate through the settings menu, make sure to review each option carefully and make changes based on your business needs. You can always refer to the Clover documentation or contact support for guidance on specific settings.
- Once you have configured the settings to your satisfaction, remember to save any changes and exit the settings menu.
Configuring the Clover Credit Card Machine settings allows you to optimize the device to align with your business processes and provide an enhanced payment experience for both your customers and employees. By customizing the settings, you can streamline your operations, simplify cash management, and improve overall efficiency.
Now that you have successfully configured the device settings, it’s time to move on to the next step: connecting the Clover Credit Card Machine to the internet. This will ensure that the device can communicate securely and process transactions smoothly. Read on to learn how to establish an internet connection for your Clover device.
Step 4: Connecting the Clover Credit Card Machine to the Internet
In order for your Clover Credit Card Machine to function properly, it needs to be connected to the internet. Follow these steps to establish a reliable internet connection:
- On the main interface of the Clover Credit Card Machine, locate and tap on the “Settings” icon. It is usually represented by a gear or cogwheel symbol.
- Within the settings menu, find the “Wi-Fi” or “Internet” option and tap on it.
- A list of available Wi-Fi networks will be displayed. Select your preferred network from the list.
- If the Wi-Fi network is password-protected, enter the Wi-Fi password using the on-screen keyboard.
- After entering the password, tap on the “Connect” or “Join” button to establish a connection with the Wi-Fi network.
- Once the Clover Credit Card Machine successfully connects to the Wi-Fi network, you will see a confirmation message on the screen.
It is important to ensure that you have a stable and reliable internet connection to ensure smooth credit card processing. If you encounter any issues while connecting to the Wi-Fi network, make sure the password is entered correctly and the network is functioning properly. You may also need to consult your internet service provider for assistance if needed.
Now that your Clover Credit Card Machine is connected to the internet, you can proceed to the final step: testing the device to ensure that it is functioning correctly. Read on to learn how to perform a test transaction on the Clover Credit Card Machine.
Step 5: Testing the Clover Credit Card Machine
After connecting your Clover Credit Card Machine to the internet, it’s crucial to perform a test transaction to ensure that the device is functioning correctly. Follow these steps to conduct a test transaction:
- From the main interface of the Clover Credit Card Machine, navigate to the point of sale (POS) or payment screen.
- Choose a test product or enter a test sale amount to simulate a purchase.
- Select the payment method as “Credit Card” or “Debit Card” on the device screen.
- If the customer is present, ask them to provide their credit card or debit card for the test transaction. Otherwise, you can use a test card provided by your payment processor.
- Swipe, dip, or tap the test card on the Clover Credit Card Machine, following the instructions on the screen.
- Complete the transaction by following the prompts, such as confirming the transaction amount and obtaining a signature if required.
- If the test transaction is successful, you will receive a confirmation message on the device screen, indicating that the payment has been processed.
- Review the printed or emailed receipt to ensure that all necessary information is included and accurate.
Performing a test transaction allows you to verify that the Clover Credit Card Machine is functioning properly and that transactions can be processed seamlessly. It also gives you the opportunity to familiarize yourself with the payment process and troubleshoot any issues that may arise.
If the test transaction is unsuccessful or if you encounter any errors or inconsistencies during the process, it is recommended to contact your payment processor or Clover support for assistance. They can help troubleshoot any issues and ensure that your Clover Credit Card Machine operates smoothly.
Congratulations! You have successfully turned on, logged in, configured the settings, connected to the internet, and tested your Clover Credit Card Machine. You are now ready to accept credit card payments and provide a seamless checkout experience for your customers.
Remember to keep your Clover device updated with the latest software and firmware releases to ensure optimal performance and security. Regularly reviewing and updating your settings will also help you adapt to changing business needs and streamline your operations.
Thank you for following this guide, and we wish you success in utilizing your Clover Credit Card Machine to grow your business!
Conclusion
Turning on and setting up your Clover Credit Card Machine is a crucial step towards enabling smooth and secure credit card transactions for your business. By following the steps outlined in this guide, you have learned how to power on the device, log in to your Clover account, configure settings, connect to the internet, and test the functionality of the machine.
The Clover Credit Card Machine offers a range of powerful features and customizable settings that allow you to tailor the device to your specific business needs. From accepting various payment methods to managing inventory and generating detailed reports, this payment processing system is designed to enhance efficiency and improve the customer experience.
Remember to regularly review and update your Clover device settings to stay current with your business requirements and optimize its functionality. Additionally, stay in touch with your payment processor or Clover support to get assistance with any technical issues or questions that may arise.
By effectively utilizing your Clover Credit Card Machine, you can streamline transactions, improve cash management, and provide a seamless checkout experience for your customers. With its secure and reliable payment processing capabilities, you can trust that your customers’ sensitive information is protected and handled with utmost care.
Thank you for taking the time to follow this guide and learn how to turn on and set up your Clover Credit Card Machine. Now, you can confidently utilize this powerful device to drive the success of your business.
Best of luck with your Clover Credit Card Machine, and may it contribute to the growth and prosperity of your business!
What's Hot
Latest Articles
Related Post

By: • Finance

By: • Finance

By: • Finance

By: • Finance
By: • Finance
By: • Finance
By: • Finance

By: • Finance

By: • Finance

By: • Finance

By: • Finance

By: • Finance

By: • Finance

By: • Finance

By: • Finance