Home>Finance>How To Use Apple Balance Instead Of Credit Card
Finance
How To Use Apple Balance Instead Of Credit Card
Published: November 4, 2023
Learn how to manage your finances using Apple Balance instead of relying on a credit card. Take control of your spending and embrace the convenience of digital payments.
(Many of the links in this article redirect to a specific reviewed product. Your purchase of these products through affiliate links helps to generate commission for LiveWell, at no extra cost. Learn more)
Table of Contents
Introduction
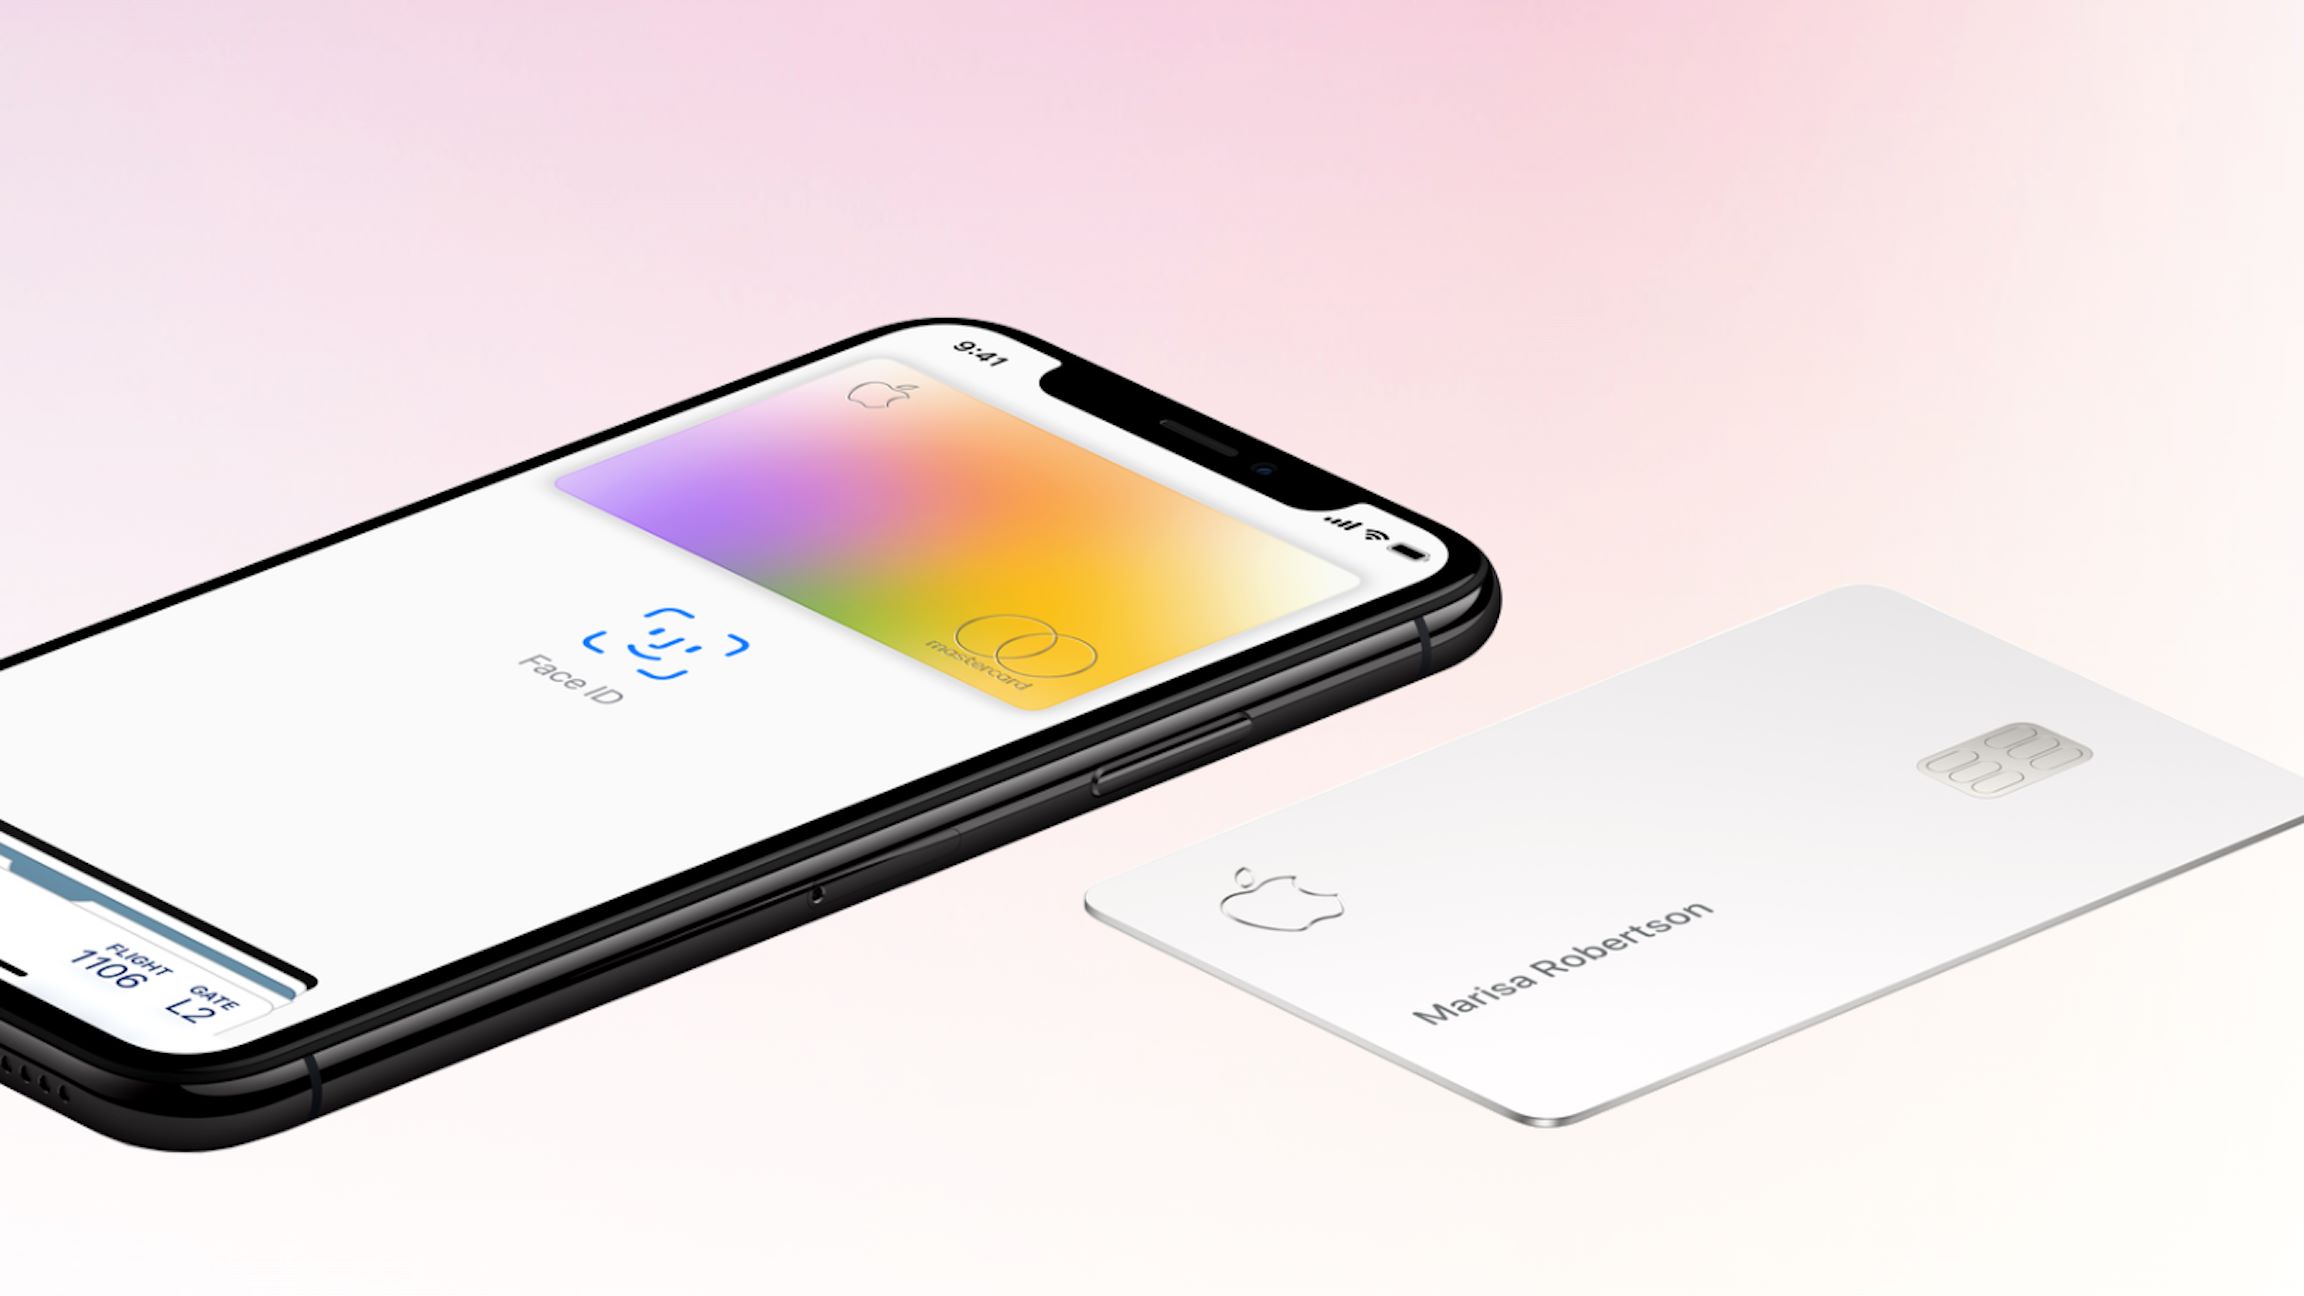
In today’s digital age, financial transactions have become increasingly convenient and flexible. Apple, a leading technology company, has introduced a unique feature called Apple Balance that offers users an alternative method to pay for purchases on their devices. With Apple Balance, users can easily manage their funds and make secure payments without the need for a credit card.
Apple Balance is a digital wallet system that allows users to add funds to their Apple account, similar to how one would add money to a prepaid debit card. By setting up and using Apple Balance, users gain more control over their spending and have the freedom to make purchases within the Apple ecosystem.
In this article, we will delve into the intricacies of using Apple Balance as an alternative to credit cards. We will explore how to set up Apple Balance, add funds, manage the balance, and make purchases. Additionally, we will discuss the benefits and limitations of using Apple Balance for your financial transactions. So, if you’re ready to discover an innovative way to handle your digital payments, let’s dive into the world of Apple Balance!
Setting Up Apple Balance
Setting up Apple Balance is a straightforward process that requires a few simple steps. To get started, ensure that your device is running the latest version of iOS or macOS. Here’s how you can set up Apple Balance:
- Open Settings: On your iOS device, navigate to the Settings app, or on your macOS device, click on the Apple menu and select System Preferences.
- Tap on your Apple ID: In the Settings app, locate and tap on your Apple ID name at the top of the screen. On macOS, click on the Apple ID icon in System Preferences.
- Select “Payment & Shipping” or “Wallet & Apple Pay”: Depending on your device, you may see either of these options. Tap on it to proceed.
- Choose “Add Apple Balance” or “Add Money”: Look for the option to add Apple Balance or add money to your Apple account. Tap on it to initiate the setup process.
- Enter the Required Information: You will need to provide your personal details, such as your name, address, and payment information. This step ensures that your Apple Balance is linked to your account securely.
- Review and Confirm: Take a moment to review the information you entered and verify its accuracy. Once you’re satisfied, confirm the setup process.
After completing these steps, you have successfully set up Apple Balance on your device. You’ll now be able to add funds to your Apple account and start using Apple Balance for your purchases.
Note that the availability of Apple Balance may vary depending on your region and the specific Apple services you have access to. It’s essential to ensure that your device and Apple account are compatible with Apple Balance before proceeding with the setup.
Adding Funds to Apple Balance
Once you’ve set up Apple Balance, the next step is to add funds to your account. Apple provides multiple methods to add money to your Apple Balance, making it a convenient process. Here’s how you can add funds to your Apple Balance:
- Open the “Settings” App: Launch the Settings app on your iOS device or open System Preferences on your macOS device.
- Select your Apple ID: Tap on your Apple ID name at the top of the screen in Settings or click on the Apple ID icon in System Preferences on macOS.
- Choose “Payment & Shipping” or “Wallet & Apple Pay”: Look for the option related to adding funds and tap on it.
- Tap on “Add Funds to Apple ID”: Select the option to add funds to your Apple ID or Apple Balance.
- Choose the Amount to Add: Depending on your preference, select an amount from the predetermined values or enter a custom amount.
- Select the Payment Method: Apple offers various payment methods, including credit/debit cards, Apple Pay, and redeeming App Store gift cards. Choose the most suitable method for you and proceed.
- Authenticate Payment: Follow the prompts to authenticate your payment method, such as entering your passcode or using Touch ID/Face ID.
- Confirm the Transaction: Review the details of the transaction, including the amount being added to your Apple Balance, and confirm the transaction.
Once the funds are successfully added to your Apple Balance, you can use them to make purchases within the Apple ecosystem, including the App Store, iTunes Store, Apple Music, and more.
It’s worth noting that the funds added to Apple Balance do not expire and can be used until fully depleted. Additionally, you can add funds to your Apple Balance as needed, as there are no restrictions on the frequency or amount of adding funds.
Managing Apple Balance
Managing your Apple Balance is essential to keep track of your funds and ensure a seamless payment experience. Apple provides various tools and features to help you effectively manage your balance. Here are some ways to manage your Apple Balance:
- Checking Your Balance: To view your current Apple Balance, you can go to the “Settings” app on your iOS device or System Preferences on macOS, select your Apple ID, and navigate to the “Payment & Shipping” or “Wallet & Apple Pay” section. Here, you will find your Apple Balance displayed.
- Viewing Transaction History: Apple allows you to view your transaction history to keep track of your purchases and payments. You can access the transaction history by opening the “Settings” app or System Preferences, selecting your Apple ID, and navigating to the appropriate section. Here, you will find a list of your recent transactions and detailed information about each one.
- Managing Payment Methods: Apple Balance is linked to your Apple ID and payment methods. You can manage your payment methods by going to the “Settings” app, selecting your Apple ID, and navigating to the “Payment & Shipping” or “Wallet & Apple Pay” section. Here, you can add or remove payment methods, update card information, and set a default payment method for future transactions.
- Setting Up Notifications: Apple allows you to set up notifications to receive alerts about your Apple Balance, transaction activity, and payment reminders. You can customize these notifications in the “Settings” app or System Preferences under your Apple ID settings.
- Adding Funds: If you need to add more funds to your Apple Balance, you can follow the steps outlined in the previous section. Apple provides a seamless process for adding funds to your account whenever needed.
- Refunding or Withdrawing Funds: Apple Balance is primarily designed for making purchases within the Apple ecosystem. However, in certain situations, you may be eligible for a refund or withdrawal of your Apple Balance. These cases typically involve returning items or resolving payment issues. To initiate a refund or withdrawal, you can contact Apple Support for assistance.
By effectively managing your Apple Balance, you can stay informed about your funds, track your transactions, and make necessary adjustments to your payment methods. This allows for a smoother and more convenient digital payment experience within the Apple ecosystem.
Making Purchases with Apple Balance
Using Apple Balance to make purchases within the Apple ecosystem is a simple and convenient process. With your funds loaded into your account, you can use Apple Balance as a payment method for various services and products. Here’s how you can make purchases with Apple Balance:
- Open the App Store or iTunes Store: Launch the App Store or iTunes Store app on your iOS device.
- Browse or Search for the Item: Browse through the available content or use the search function to find the specific item you wish to purchase.
- Tap on the Item: Once you’ve found the item you want to purchase, tap on it to view more details.
- Select the Purchase Option: Depending on the item, you may have different purchase options, such as buying a single app, subscribing to a service, or renting a movie. Choose the appropriate option.
- Tap on “Buy” or “Get”: After selecting the purchase option, tap on the “Buy” or “Get” button to proceed with the transaction.
- Choose “Use Apple Balance” or “Apple Balance Payment”: When prompted to select a payment method, look for the option to use your Apple Balance. Tap on it to choose this payment method.
- Authenticate the Purchase: Follow the authentication prompts, such as entering your passcode or using Touch ID/Face ID, to confirm the purchase.
- Complete the Transaction: Once your payment is successfully processed, you will receive a confirmation of your purchase.
It’s important to note that Apple Balance can only be used for purchases made within the Apple ecosystem, including the App Store, iTunes Store, Apple Music, Apple Books, and iCloud storage subscriptions. Additionally, some third-party apps and services may also accept Apple Balance as a payment option, so be sure to check their supported payment methods.
By using Apple Balance for your purchases, you can enjoy the simplicity and security of making payments directly from your account balance, without the need for a credit card or other payment methods.
Benefits of Using Apple Balance
Using Apple Balance as a payment method offers several benefits for users within the Apple ecosystem. Here are some of the key advantages of using Apple Balance:
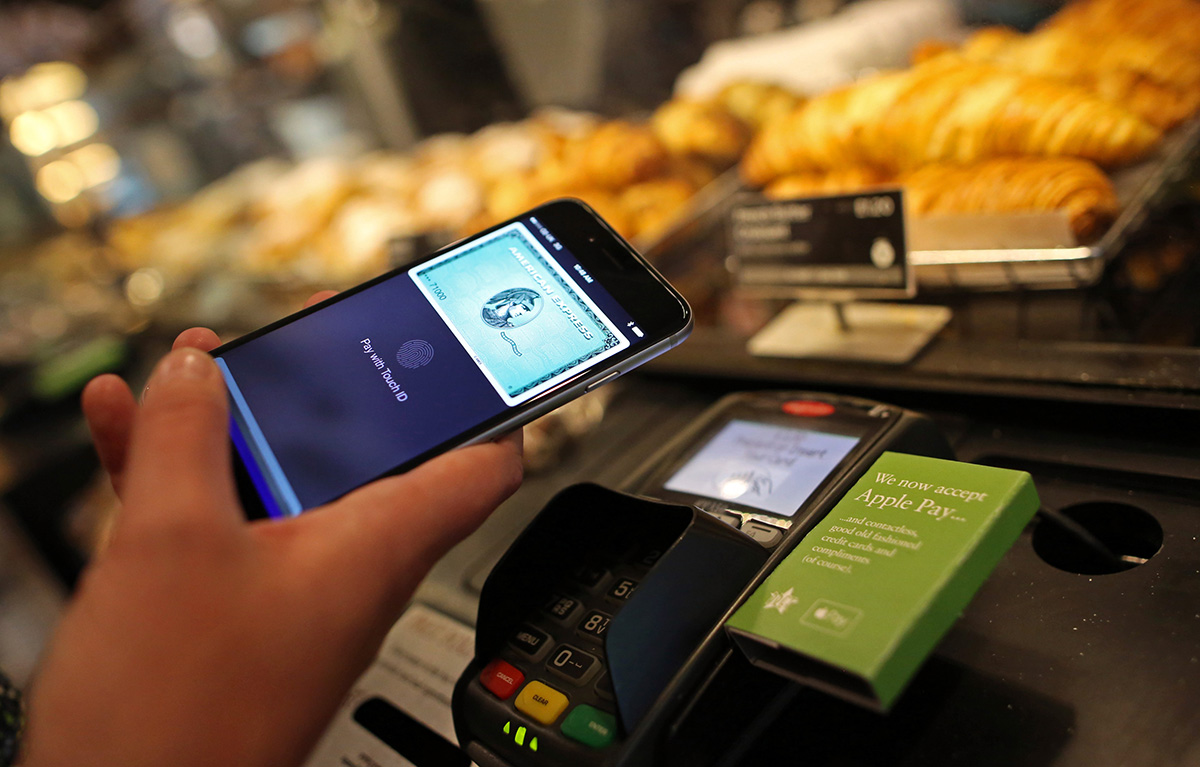
- Convenience: Apple Balance provides a seamless and hassle-free payment experience. By having funds readily available in your account, you can make purchases with just a few taps, without the need to enter credit card information or other payment details each time.
- Security: Apple integrates robust security measures into its payment systems. When you use Apple Balance, your transactions are encrypted and authenticated through features like Touch ID, Face ID, or a passcode, ensuring that your financial information remains safe and protected.
- Budgeting and Control: Adding funds to your Apple Balance allows you to set a specific budget for your digital purchases. This can help you manage your spending by keeping track of your available balance and encouraging responsible financial habits.
- No Credit Card Required: With Apple Balance, you can make purchases without the need for a credit card. This is especially beneficial for individuals who prefer not to use or do not have access to credit cards, as it provides an alternative payment method to enjoy digital content and services.
- Family Sharing: If you’re part of an Apple Family Sharing group, you can use Apple Family Sharing to share your Apple Balance with other family members. This feature allows you to conveniently share funds and make collective purchases within the family, making it easier to manage expenses and share content.
- Integration with Apple Services: Apple Balance seamlessly integrates with various Apple services, including the App Store, iTunes Store, Apple Music, Apple Books, and more. This means that you can use your balance across multiple platforms and enjoy a wide range of digital content and subscriptions without the need for separate payment methods.
Overall, using Apple Balance offers a convenient, secure, and flexible way to make purchases within the Apple ecosystem. It simplifies the payment process, provides control over spending, and eliminates the need for credit cards, making it an appealing option for Apple users.
Limitations of Using Apple Balance
While Apple Balance offers many advantages, it also comes with certain limitations that users should be aware of. Here are some of the limitations of using Apple Balance:
- Restrictions on Usage: Apple Balance can only be used for purchases within the Apple ecosystem, including the App Store, iTunes Store, Apple Music, and Apple Books. It may not be accepted as a payment method for third-party apps or services outside of Apple’s own platforms.
- Limited Refunds: Refunding or withdrawing funds from Apple Balance may not be as straightforward as with traditional payment methods. Apple’s refund policy for Apple Balance purchases varies depending on the specific circumstances and may involve contacting Apple Support for assistance.
- Regional Availability: Apple Balance may not be available in all regions or countries. The availability of this payment method may vary depending on local regulations, agreements with financial institutions, and other factors. It’s important to check the availability of Apple Balance in your specific location.
- Incompatibility with Certain Services: While Apple Balance can be used for a wide range of Apple services, there may be certain subscriptions or content types that are not eligible for purchase with Apple Balance. Some developers or content providers may have specific payment requirements that do not include Apple Balance as an option.
- Lack of Rewards or Cashback: Using Apple Balance as a payment method does not typically offer the same rewards, cashback, or loyalty incentives that credit cards or other payment methods may provide. If you are someone who values these benefits, using Apple Balance exclusively may not be the most lucrative option.
- Preference for Credit Card Payments: Depending on personal preferences or financial considerations, some individuals may prefer using credit cards for their purchases. Credit cards may offer additional benefits such as extended warranties, fraud protection, and other features that may not be available when using Apple Balance alone.
These limitations should be taken into account when considering whether to rely solely on Apple Balance for your payment needs. It’s important to weigh the advantages and disadvantages to determine if Apple Balance aligns with your financial goals and requirements.
Troubleshooting Apple Balance
While Apple strives to provide a seamless payment experience with Apple Balance, occasional issues may arise that require troubleshooting. Here are some common problems users may encounter with Apple Balance and possible solutions:
- Insufficient Balance: If you attempt to make a purchase with Apple Balance and receive an error indicating insufficient funds, you will need to add more funds to your account. Follow the steps outlined in the “Adding Funds to Apple Balance” section to top up your balance.
- Payment Declined: In some cases, your payment using Apple Balance may be declined. This can occur due to issues with your payment method or network connectivity. Make sure your payment method is valid and up to date, and ensure you have a stable internet connection. If the problem persists, contact Apple Support for further assistance.
- Transaction Error: If you encounter an error message during the transaction process with Apple Balance, try closing and reopening the app, clearing cache and data, or restarting your device. If the issue persists, check for any available updates for the app or contact Apple Support for guidance.
- Incompatibility with App or Service: Certain apps or services may not accept Apple Balance as a payment method. If you encounter an error or find that Apple Balance is not an available payment option within an app or service, you may need to use an alternative payment method or contact the app/service provider for clarification.
- Unrecognized Charges: If you notice any unauthorized charges on your Apple Balance, immediately report the issue to Apple Support for investigation and resolution. Apple takes security and fraud prevention seriously and will assist you in resolving any fraudulent transactions.
- Balance Not Updating: If you notice that your Apple Balance is not updating after adding funds, wait a few moments and try refreshing the app or page. If the balance still does not update, sign out of your Apple ID and sign back in to force a refresh. If the issue persists, contact Apple Support for further assistance.
If you experience any other issues or problems with Apple Balance that are not covered here, it is recommended to reach out to Apple Support or visit the Apple Support website for detailed troubleshooting steps specific to your situation. Apple’s support team is well-equipped to assist with any questions or concerns related to Apple Balance.
Remember that effective troubleshooting may require providing specific details about the problem, including error messages, app versions, device information, and any recent changes that may have affected the functionality of Apple Balance.
Conclusion
Apple Balance offers a convenient and secure way to make purchases within the Apple ecosystem without the need for a credit card. By setting up and managing your Apple Balance, you can enjoy the benefits of easy payments, controlled spending, and seamless integration with various Apple services.
In this article, we explored the process of setting up Apple Balance, adding funds to your account, managing your balance, and making purchases. We discussed how Apple Balance provides convenience, security, and control over your digital transactions. We also highlighted the limitations of using Apple Balance, such as regional availability and restrictions on usage.
Should you encounter any issues with Apple Balance, we provided troubleshooting steps and recommended reaching out to Apple Support for further assistance. They are ready to address any concerns or questions you may have.
Overall, Apple Balance offers a viable alternative to credit cards, allowing you to enjoy a seamless payment experience within the Apple ecosystem. Consider utilizing Apple Balance for your digital purchases to simplify your transactions and enhance your financial management.
Remember to always stay informed about the latest updates and features related to Apple Balance as Apple continues to enhance its services. Embrace the convenience and security of Apple Balance as you navigate the world of digital payments with ease!
What's Hot
Latest Articles
Related Post
By: • Finance
By: • Finance
By: • Finance
By: • Finance

By: • Finance
By: • Finance
By: • Finance

By: • Finance
By: • Finance
By: • Finance

By: • Finance


By: • Finance
By: • Finance