
Finance
How To Change Credit Card For Apple Pay
Published: November 10, 2023
Learn how to easily change the credit card for Apple Pay and streamline your financial transactions. Enhance your finance management by following our step-by-step guide.
(Many of the links in this article redirect to a specific reviewed product. Your purchase of these products through affiliate links helps to generate commission for LiveWell, at no extra cost. Learn more)
Table of Contents
Introduction
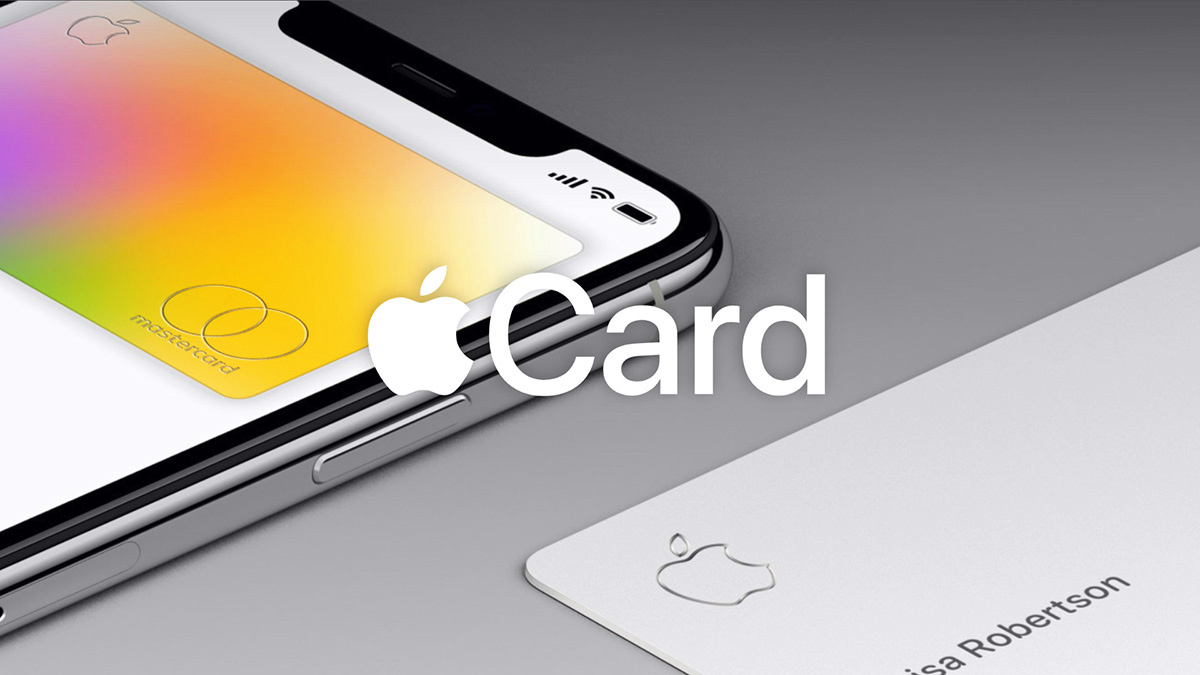
Welcome to the world of Apple Pay, a convenient and secure way to make digital payments. With Apple Pay, you can easily make purchases in stores, apps, and online using your iPhone, iPad, or Apple Watch. One of the benefits of using Apple Pay is the ability to link multiple credit cards to your account, giving you flexibility and options when it comes to making payments.
However, there may be times when you want to change the credit card associated with your Apple Pay account. Whether you’ve received a new credit card from your bank, want to switch to a different card for rewards or benefits, or simply need to update your payment information, the process is simple and straightforward.
In this article, we will guide you through the step-by-step process of changing the credit card for your Apple Pay account. Whether you’re using an iPhone, iPad, or Apple Watch, the steps are similar and easy to follow. By the end of this guide, you’ll have a new credit card linked to your Apple Pay account and ready to use for your next purchase.
Step 1: Open the Apple Pay App
The first step in changing your credit card for Apple Pay is to open the Apple Pay app on your device. The Apple Pay app is pre-installed on iPhones, iPads, and Apple Watches, so you can easily access it from your home screen.
Locate the Apple Pay app icon, which looks like a white wallet on a blue background. Tap on the icon to open the app. If you can’t find the app on your home screen, you can swipe down on the screen and use the search bar to find and open the app.
Once you have opened the Apple Pay app, you will be taken to the main Apple Pay interface. Here, you can see your default credit card, recent transactions, and other payment options. The app is designed to be user-friendly and intuitive, making it easy for you to navigate and manage your payment information.
Now that you have successfully opened the Apple Pay app, you are ready to proceed to the next step: accessing the Wallet & Apple Pay settings.
Step 2: Go to Wallet & Apple Pay Settings
After opening the Apple Pay app, the next step is to navigate to the Wallet & Apple Pay settings. This is where you can manage your payment methods, including adding or removing credit cards.
To access the Wallet & Apple Pay settings, look for the “Settings” app on your device. The Settings app is represented by a gear icon and is usually located on your home screen or within the app drawer. Tap on the Settings app to open it.
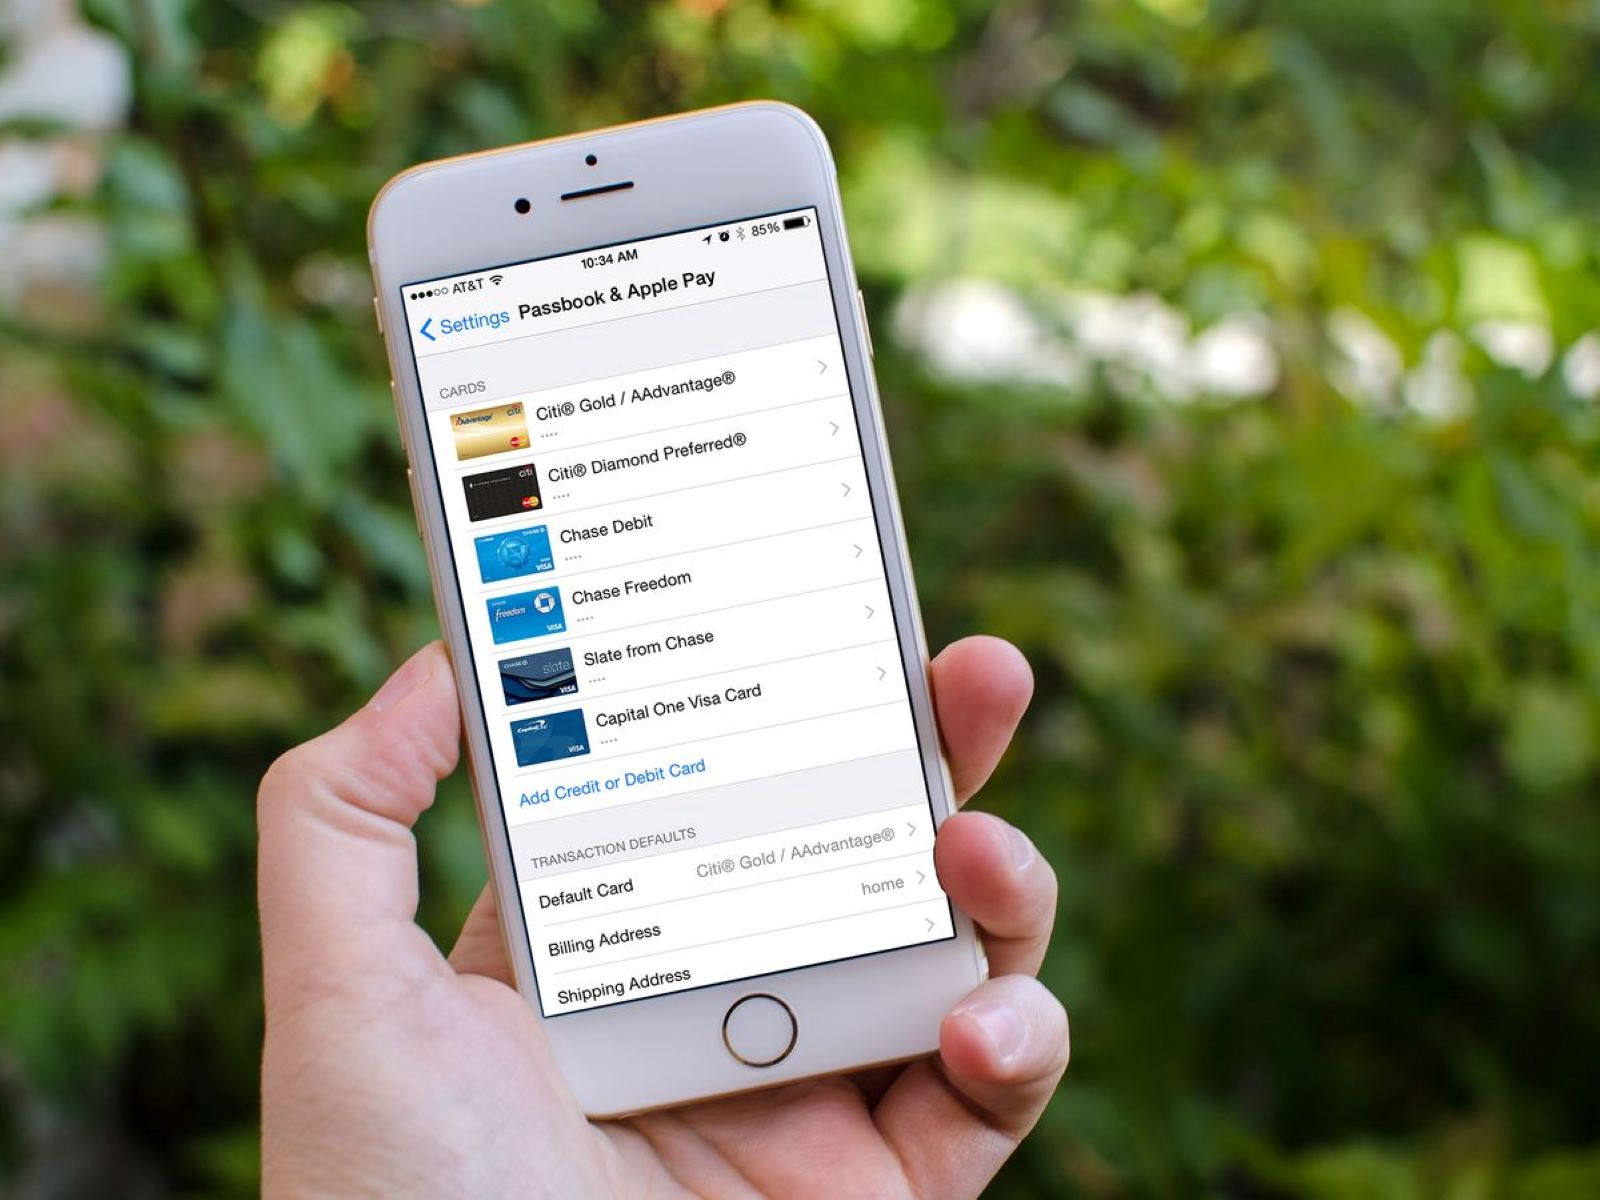
Once you are in the Settings app, scroll down and look for the “Wallet & Apple Pay” option. It is usually located in the section with other Apple-related settings, such as iCloud, iTunes & App Store, and Siri & Search. Tap on the “Wallet & Apple Pay” option to proceed.
Upon entering the Wallet & Apple Pay settings, you will see various options related to managing your payment methods. This is where you can add, remove, or edit your credit cards for Apple Pay.
To change your credit card, tap on the option that allows you to “Add Credit or Debit Card.” This will take you to the next step, where you can select the credit card you want to change.
With the Wallet & Apple Pay settings accessed, you are now ready to move on to the next step: selecting the credit card to change.
Step 3: Select the Credit Card to Change
Once you have accessed the Wallet & Apple Pay settings, you will need to select the credit card you want to change. This step allows you to choose which credit card you want to remove and replace with a new one.
In the Wallet & Apple Pay settings, you will see a list of all the credit cards that are currently linked to your Apple Pay account. Each card will be represented by its name, last four digits, and the logo of the issuing bank or financial institution.
To select the credit card you want to change, simply tap on it. This will open the card details and provide you with more information about the card, such as the cardholder name, expiration date, and billing address.
Take a moment to review the details of the credit card to ensure that you are selecting the correct one for replacement. If you have multiple cards with similar names or only remember the last four digits of the card number, you can use the additional information provided to help you make the right selection.
If you are unsure which card to choose, you can also tap on the “Details” option next to each card. This will display more information about the card, such as the transaction history and any rewards or benefits associated with it.
Once you have made your selection, you are ready to proceed to the next step: removing the existing credit card.
Step 4: Remove the Existing Credit Card
Now that you have selected the credit card you want to change, the next step is to remove the existing credit card from your Apple Pay account. This will allow you to replace it with a new credit card.
To remove the existing credit card, look for the option that says “Remove Card” or something similar. This option is typically located at the bottom of the card details screen, just below the cardholder name and other information.
Tap on the “Remove Card” option, and a confirmation prompt will appear, asking you to confirm the removal of the card. Read the prompt carefully to ensure that you are removing the correct card.
If you are certain that you want to remove the card, tap on the “Remove” or “Confirm” button. Your device may prompt you to enter your passcode, use Touch ID, or provide Face ID verification to ensure the security of the removal process.
After confirming the removal of the card, you will receive a notification or confirmation message indicating that the card has been successfully removed from your Apple Pay account. The card will no longer be available for use with Apple Pay.
Now that you have removed the existing credit card, you are ready to move on to the next step: adding a new credit card to your Apple Pay account.
Step 5: Add a New Credit Card
With the existing credit card removed from your Apple Pay account, it’s time to add a new credit card to replace it. Adding a new credit card is a straightforward process that allows you to quickly update your payment information.
To add a new credit card, locate the option that says “Add Credit or Debit Card” in the Wallet & Apple Pay settings. Tap on this option to initiate the card addition process.
There are two methods for adding a new credit card to Apple Pay: manual entry and scanning the card. If you have the physical credit card with you, you can choose to scan it by tapping on the “Scan Card” option. This will activate your device’s camera, and you can simply align the card within the frame to capture the card details automatically.
If you prefer to manually enter the card details, tap on the “Enter Card Details Manually” option. This will present you with a form where you can input the cardholder name, card number, expiration date, and security code (CVV).
Take your time to carefully input the correct information for the new credit card. Double-check the cardholder name, card number, and expiration date to ensure accuracy. It’s important to enter the information correctly to prevent any issues with payment authorization.
Once you have entered the card details, tap on the “Next” or “Add” button to proceed. Your device may prompt you to verify the card with your bank, either through a verification code or by providing additional information. Follow the prompts and provide any necessary information as prompted.
After successfully adding the new credit card to your Apple Pay account, you will receive a notification or confirmation message that the card has been added successfully. The card will now be available for use with Apple Pay, and you can proceed to the next step to verify the new credit card.
Step 6: Verify the New Credit Card
Once you have added a new credit card to your Apple Pay account, the next step is to verify the card to ensure its authenticity and enable it for use with Apple Pay.
To verify the new credit card, you may need to follow the instructions provided by your bank or financial institution. This typically involves confirming ownership of the card by either receiving a verification code via SMS or email, or by contacting your bank’s customer service.
Check your SMS or email inbox for any messages from your bank regarding the verification process. If you receive a verification code, enter it carefully in the designated field within the Apple Pay app. This code confirms that you have access to the mobile number or email address associated with the credit card.
If you need to contact your bank’s customer service to verify the card, the Apple Pay app may provide a direct link or phone number for your convenience. Reach out to your bank and follow their instructions to verify the new credit card manually.
Once you have completed the verification process, your bank will notify Apple Pay that the card has been verified. This step is crucial, as it ensures the security of your financial information and prevents unauthorized use of your credit card with Apple Pay.
After the card verification is complete, you will receive a notification or confirmation message indicating that the card has been successfully verified. The new credit card is now ready for use with Apple Pay.
Now that you have verified the new credit card, you can proceed to the optional step of setting the default credit card in the Apple Pay app.
Step 7: Set the Default Credit Card (optional)
In Apple Pay, you have the option to set a default credit card. The default credit card is the card that is automatically selected when you make a payment using Apple Pay, unless you choose a different card for that specific transaction. Setting a default credit card can save you time and make the checkout process more seamless.
To set your default credit card in the Apple Pay app, follow these steps:
- Open the Apple Pay app on your device.
- Tap on the credit card you want to set as the default. This will bring up the card details.
- Look for the option that says “Set as Default Card” or something similar. Tap on this option.
- You will receive a confirmation message indicating that the default card has been set successfully.
It’s important to note that if you have multiple credit cards added to your Apple Pay account, you can still select a different card during each transaction. Setting a default card simply ensures that a specific card is automatically preselected for your convenience.
If you ever want to change your default credit card, simply follow the same steps above and select a different card to set as the default.
Setting a default credit card is optional, and you can use different cards for different purchases. It provides a convenient way to streamline your transactions, especially if you have a preferred card that you prefer to use most of the time.
With the optional step of setting the default credit card completed (or skipped, depending on your preference), you have successfully changed the credit card for your Apple Pay account. You can now enjoy the convenience and security of making digital payments with your new credit card.
Conclusion
Changing the credit card for your Apple Pay account is a simple process that allows you to update your payment information and continue making convenient and secure digital payments. By following the step-by-step guide outlined in this article, you can easily replace an existing credit card with a new one and ensure that your Apple Pay account stays up to date.
From opening the Apple Pay app to navigating the Wallet & Apple Pay settings, removing the existing credit card, adding a new credit card, verifying it, and optionally setting a default credit card, each step is designed to be user-friendly and straightforward.
Remember, always take care to input the correct information and verify the authenticity of your credit card to ensure the security of your financial transactions. If you encounter any issues or have questions during the process, don’t hesitate to reach out to your bank or Apple support for assistance.
With your new credit card successfully added to your Apple Pay account, you can enjoy the convenience of making payments using your iPhone, iPad, or Apple Watch. Whether you’re shopping in-store, using apps, or making online purchases, Apple Pay provides a seamless and secure payment experience.
So go ahead, update your credit card information on Apple Pay and take advantage of this innovative payment method. Enjoy the ease and convenience of making purchases with just a tap or a glance, while keeping your financial information safe and protected.
Stay informed about the latest features and security updates related to Apple Pay, and make sure to update your credit card information as needed to ensure a smooth and hassle-free payment experience in the future.
Get ready to embrace the future of digital payments with Apple Pay and your new credit card. Happy shopping!
What's Hot
Latest Articles
Related Post

By: • Finance

By: • Finance

By: • Finance

By: • Finance

By: • Finance

By: • Finance
By: • Finance
By: • Finance
By: • Finance
By: • Finance

By: • Finance

By: • Finance

By: • Finance

By: • Finance

By: • Finance