Finance
How To Write A Check To The IRS
Published: November 1, 2023
Learn how to write a check to the IRS for your taxes and manage your finances effectively. Gain expert tips and advice on handling your financial obligations.
(Many of the links in this article redirect to a specific reviewed product. Your purchase of these products through affiliate links helps to generate commission for LiveWell, at no extra cost. Learn more)
Table of Contents
- Introduction
- Step 1: Gather the Required Information
- Step 2: Write the Date on the Check
- Step 3: Fill in the Payee Information
- Step 4: Write the Check Amount in Numbers
- Step 5: Spell out the Check Amount in Words
- Step 6: Add a Memo (Optional)
- Step 7: Sign the Check
- Step 8: Complete the Check Stub
- Step 9: Mail the Check to the IRS
- Conclusion
Introduction
Writing a check to the Internal Revenue Service (IRS) can be a daunting task, especially if you’re not familiar with the process. However, it is essential to know how to properly write a check to the IRS to ensure your payment is processed correctly. Whether you’re paying your taxes or resolving a tax debt, understanding the steps involved can help make the process smoother and more efficient.
In this article, we’ll walk you through the step-by-step process of writing a check to the IRS. We’ll cover everything from gathering the necessary information to mailing the check, ensuring that you are equipped with the knowledge to handle this task with confidence.
Keep in mind that paying your taxes on time is crucial to avoid penalties and interest charges. Writing a check to the IRS correctly will not only ensure your payment is made without any issues but will also provide a clear record of your transaction.
So, if you’re ready to learn how to write a check to the IRS, let’s dive into the details of each step.
Step 1: Gather the Required Information
Before you begin writing a check to the IRS, it’s important to gather all the necessary information to ensure accuracy and avoid any delays or complications. Here’s what you need to have on hand:
- Your Social Security Number (SSN) or Employer Identification Number (EIN): This number is essential for the IRS to identify you and allocate your payment correctly. If you’re an individual taxpayer, you’ll use your SSN. If you’re a business entity, you’ll use your EIN.
- The Correct IRS Mailing Address: The IRS has different addresses for different types of tax returns and payments. Make sure you have the correct mailing address for the type of payment you’re making. You can find the appropriate address on the IRS website or by contacting the IRS directly.
- Your Tax Return or Notice: If you’re making a payment in response to a tax return or notice, have the relevant document on hand. This will help you reference any specific information required to accompany your payment.
- Bank Account Information (Optional): If you prefer to make an electronic payment directly from your bank account, be sure to have your account and routing numbers handy. This allows for a more secure and convenient method of payment, eliminating the need to write and mail a physical check.
By gathering all the necessary information before you start writing the check, you’ll have a smoother and more efficient experience. This preparation ensures that you have all the information needed to correctly fill out the check and accompanying documents.
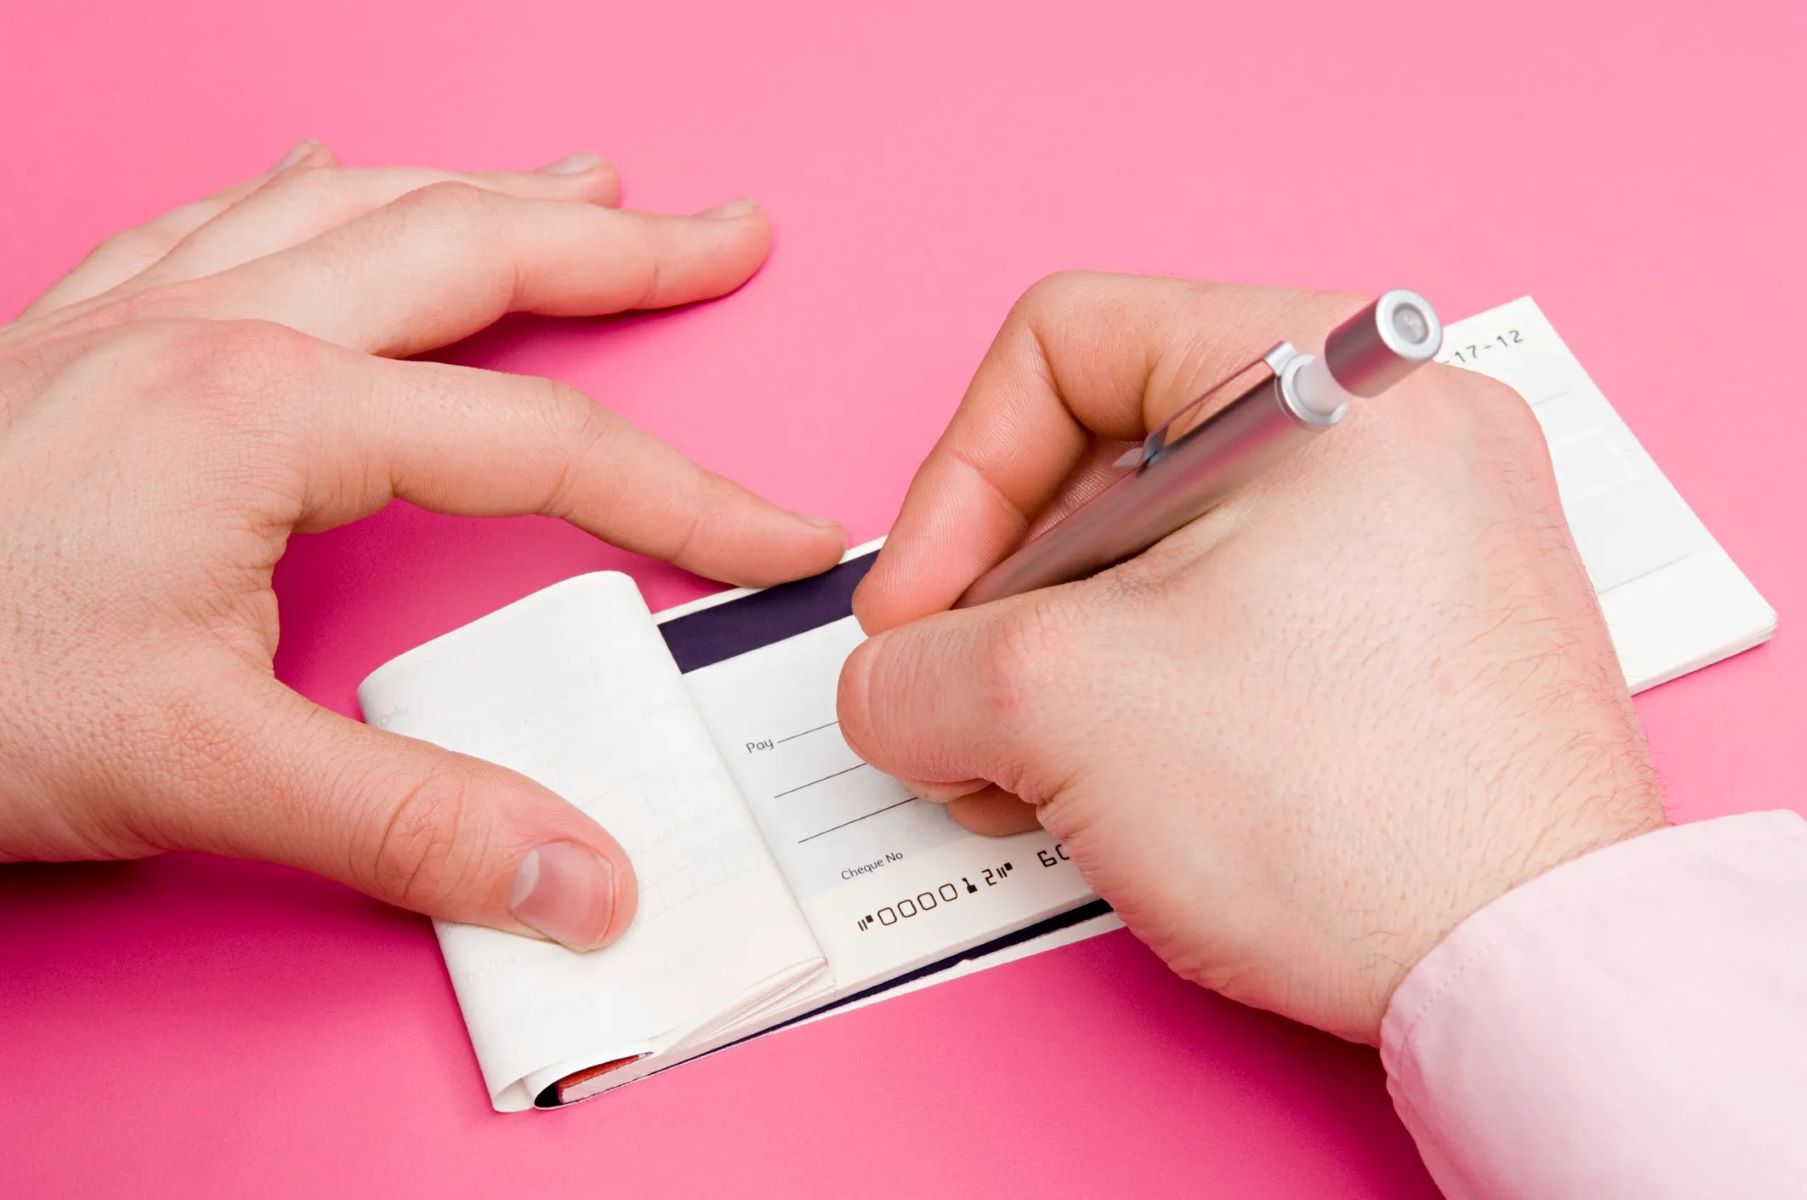
Step 2: Write the Date on the Check
Once you have gathered the required information, it’s time to start filling out the check. The first step is to write the date on the designated line in the upper right-hand corner of the check.
The date is essential as it serves as proof of when the payment was made. It also helps the IRS to accurately process your payment and ensure it is applied to the correct tax period. Here’s how to correctly write the date:
- Format: Write the date in the month-day-year format (e.g., January 1, 2022, would be written as 01/01/2022). Make sure to double-check the current year to ensure accuracy.
- No Future Dates: Do not write a future date on the check. The IRS may consider a postdated check as an invalid payment.
- No Stale-Dated Checks: Additionally, avoid using a stale-dated check, which is typically a check that is more than six months old. Some banks may refuse to honor stale-dated checks, and it may lead to processing delays.
By including the correct date on your check, you demonstrate that your payment is timely and meet the necessary requirements. This creates a clear record of when the payment was made, allowing both you and the IRS to track the transaction accurately.
Step 3: Fill in the Payee Information
After writing the date on the check, the next step is to fill in the payee information. In this case, the payee is the Internal Revenue Service (IRS). Here’s how to correctly fill in the payee information:
- Write ‘Internal Revenue Service’ or ‘IRS’: On the “Pay to the Order of” line, write either “Internal Revenue Service” or simply “IRS.” This ensures that the payment is directed to the correct entity.
- Use a Legible Handwriting: It’s crucial to write the payee information clearly and legibly to avoid any confusion. Make sure each letter is distinct and easily readable.
- Avoid Abbreviations: Write out the payee’s name in its entirety rather than using abbreviations or acronyms. This helps prevent any potential misinterpretations or errors in processing the payment.
By accurately filling in the payee information on the check, you ensure that the payment is directed to the appropriate recipient, which in this case is the Internal Revenue Service. This eliminates any potential misunderstandings and ensures that your payment is properly processed and applied to your tax liabilities.
Step 4: Write the Check Amount in Numbers
Once you have filled in the payee information, it’s time to write the check amount in numbers. This step ensures that the IRS knows the exact amount you are paying. Here’s how you correctly write the check amount in numbers:
- Start from the left: Begin writing the check amount as far left as possible, leaving no space before the first number.
- Use numerals: Write the amount using numerals rather than spelling it out. For example, if you are paying $500, write “500.00.” This provides clarity and accuracy in interpreting the amount.
- Include cents: If the amount you are paying includes cents, include a decimal point followed by the cents value. For example, if you are paying $500.50, write “500.50.”
- No commas: Do not include commas when writing the check amount in numbers. This can lead to confusion and potential errors in processing.
Writing the check amount in numbers ensures that the IRS receives the correct payment and eliminates any ambiguity or misinterpretation. It provides a clear representation of the amount you are paying, allowing for accurate processing and application to your tax account.
Step 5: Spell out the Check Amount in Words
In addition to writing the check amount in numbers, it’s essential to spell out the check amount in words. This step acts as an extra layer of clarity to ensure there is no confusion about the payment amount. Here’s how to correctly spell out the check amount:
- Start from the left: Begin writing the amount as far left as possible, leaving no space before the first word.
- Write the dollar amount: Write out the dollar amount in words. For example, if you are paying $500, write “Five hundred.”
- Include cents: If the amount includes cents, write the cents value as a fraction over 100. For example, if you are paying $500.50, write “and 50/100.”
- End with ‘and _____/100 dollars’: After the cents value, conclude the written amount with “and _____/100 dollars.” Using our previous example, you would write “and 50/100 dollars.”
Spelling out the check amount in words provides an additional safeguard against misinterpretation or potential errors. It ensures that the IRS clearly understands the amount you intend to pay, eliminating any confusion or discrepancies in processing the payment.
Step 6: Add a Memo (Optional)
While not required, adding a memo to your check can provide additional information or clarification regarding your payment. This step is optional but can be helpful in certain situations. Here’s how to include a memo on your check:
- Locate the memo line: On the bottom left-hand corner of the check, you’ll find a line labeled “Memo” or “For.”
- Write a brief description: Use the memo line to write a short description of what the payment corresponds to. For example, if you’re making a payment for your 2021 tax return, you could write “Payment for 2021 tax return.”
- Be concise: Keep the memo brief and to the point. Avoid writing lengthy explanations or sensitive information on the memo line, as it can be seen by multiple individuals during the payment processing.
Adding a memo to your check can provide additional context to the IRS regarding the purpose of your payment. It can be particularly helpful when making a payment related to a specific tax period or responding to a notice or letter from the IRS. However, it’s important to remember that the primary information for processing your payment is captured in the payee, date, and check amount, while the memo is an optional addition.
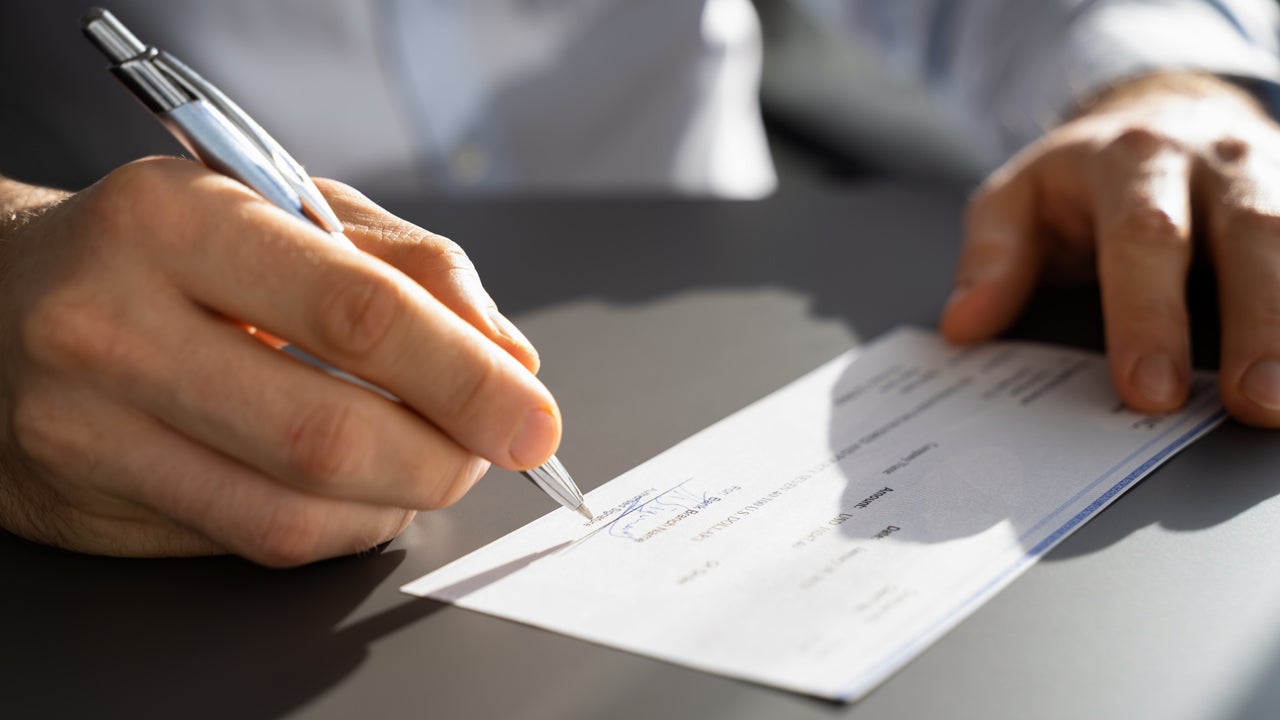
Step 7: Sign the Check
After completing the necessary details on the check, it’s crucial to sign it. Your signature serves as authorization for the payment and confirms that you are the account holder. Here’s what you need to know about signing the check:
- Locate the signature line: Typically, the signature line is located in the bottom right-hand corner of the check. Look for a line labeled “Signature” or “Authorized Signature.”
- Use your legal signature: Sign the check using your legal signature, as it appears on official documents. Make sure your signature is consistent with the signature on file with your bank.
- Use pen: Sign the check using a pen with a dark ink color, such as black or blue. This ensures that your signature is clearly visible and not easily smudged or erased.
By signing the check, you provide the necessary authorization for the payment to be processed. Your signature confirms that you are the account holder and that you approve the funds to be withdrawn from your account for the specified payment.
Double-check that you have signed the check before mailing it. An unsigned check may lead to processing delays or rejection by the IRS.
Step 8: Complete the Check Stub
Along with writing the check, you may also have a check stub or payment voucher that accompanies it. The check stub provides additional information about your payment, allowing you to track and record the details. Here’s how to complete the check stub:
- Check the requirements: Determine if your payment requires a check stub or payment voucher. Some tax payments or specific IRS forms may have accompanying check stubs that need to be completed.
- Fill in taxpayer information: Enter your taxpayer information, such as your name, address, and taxpayer identification number (SSN or EIN), on the designated fields of the check stub.
- Include payment details: Fill in the payment information, such as the tax period, tax form or notice number, payment amount, and any other relevant details requested on the check stub.
- Retain a copy: Make a copy of the completed check stub for your records before attaching it to the check.
Completing the check stub provides a detailed record of your payment, making it easier to track and reference the payment information in the future. It can also act as proof of payment if any discrepancies or issues arise.
Remember, not all payments require a check stub. However, if one is provided or required by the IRS, ensure that you accurately complete and attach it to your check before mailing it.
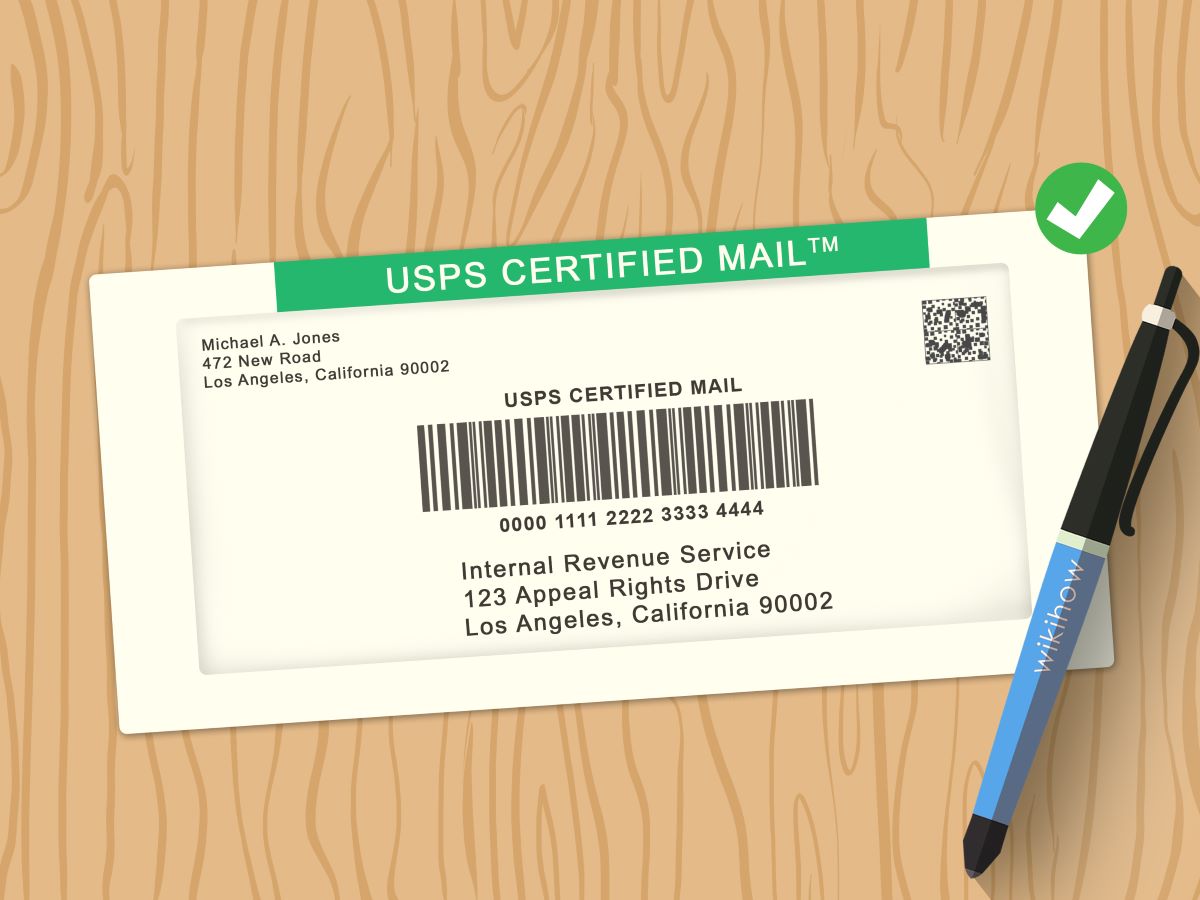
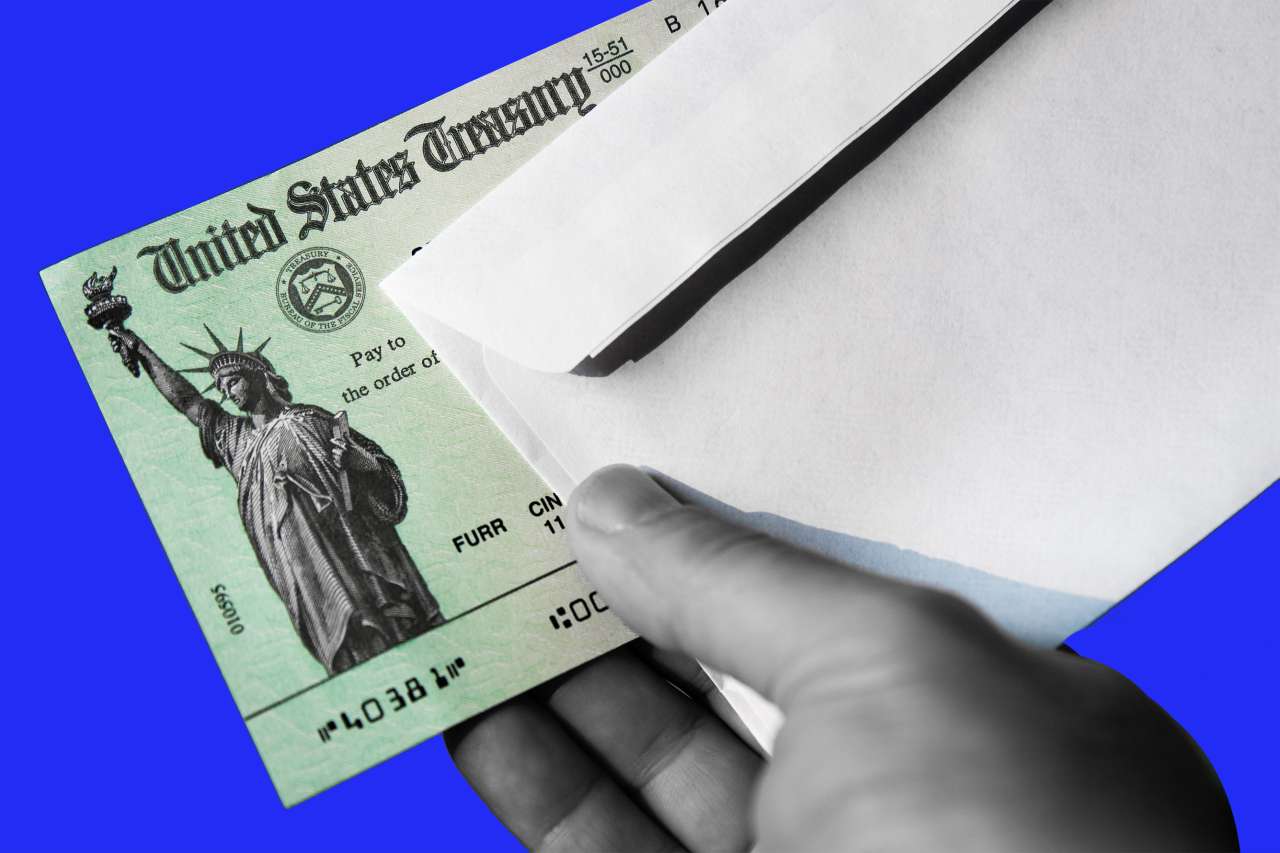
Step 9: Mail the Check to the IRS
Once you have completed the necessary steps in writing the check and attaching any required documents, it’s time to mail it to the IRS. Here’s what you need to know about mailing your payment:
- Double-check the mailing address: Ensure that you have the correct mailing address for the specific type of payment you are making. The IRS has different addresses based on the payment type, such as tax returns, estimated tax payments, or tax debt payments.
- Use certified mail or a traceable delivery method: To ensure the secure delivery of your payment and have proof of mailing, consider using certified mail or a traceable delivery method. This allows you to track the progress of your payment and provides a receipt as evidence of sending it.
- Keep a copy of the check and supporting documents: Before sending the payment, make copies of the check, check stub, or any accompanying documents for your records. This will serve as proof of payment and assist in any future inquiries or audits.
- Allow sufficient time for delivery: Consider the delivery time when planning your payment. Ensure that you send the check with enough time for it to reach the IRS by the due date to avoid any late payment penalties or interest charges.
Mailing your check to the IRS completes the payment process. It’s important to ensure that you follow the correct mailing procedures and allow sufficient time for delivery. By doing so, you minimize the risk of payment delays, penalties, or potential issues with your tax account.
Make sure to keep a record of the mailing date and any tracking or delivery confirmation numbers to track the progress of your payment and maintain a clear record of the transaction.
Conclusion
Writing a check to the IRS may seem intimidating at first, but by following the step-by-step process outlined in this guide, you can confidently and accurately handle this task. Remember, paying your taxes on time is crucial to avoid penalties and interest charges, and correctly writing a check to the IRS ensures that your payment is processed without any hiccups.
Throughout this article, we discussed the importance of gathering the required information, including your SSN or EIN and the correct IRS mailing address. We walked through each step, from writing the date on the check to filling in the payee information, and from writing the check amount in numbers to spelling it out in words. We also touched on optional steps, such as adding a memo and completing the check stub, as well as the final step of mailing the check to the IRS.
By following these steps, you help ensure that your payment is processed accurately and applied to the correct tax period. Each detail, from the proper formatting to legible handwriting and authorized signatures, plays a vital role in the smooth processing of your payment.
As you go through the process of writing a check to the IRS, remember to keep records of your payment, including copies of the check and any related documents. These records will serve as proof of payment and can be valuable for future reference or potential inquiries.
Writing a check to the IRS doesn’t have to be a daunting task. By understanding the steps and taking the time to gather the necessary information, you can confidently handle this financial responsibility. Paying your taxes on time and ensuring accurate payments will contribute to your financial well-being and compliance with tax regulations.
Now, armed with the knowledge and steps outlined in this article, you can approach writing a check to the IRS with confidence and ease.
What's Hot
Latest Articles
Related Post

By: • Finance
By: • Finance
By: • Finance
By: • Finance
By: • Finance
By: • Finance
By: • Finance
By: • Finance
By: • Finance
By: • Finance

By: • Finance

By: • Finance
By: • Finance

By: • Finance

By: • Finance