
Finance
How To Set Default Credit Card In Apple Pay
Published: November 9, 2023
Learn how to easily set your default credit card in Apple Pay and streamline your finance management.
(Many of the links in this article redirect to a specific reviewed product. Your purchase of these products through affiliate links helps to generate commission for LiveWell, at no extra cost. Learn more)
Table of Contents
Introduction
Apple Pay is a convenient and secure way to make purchases using your Apple devices. Whether you’re shopping online or making in-store purchases, Apple Pay provides a simple and seamless payment experience. One of the key features of Apple Pay is the ability to set a default credit card, so that it is automatically used for transactions without the need to manually select it each time.
Setting a default credit card in Apple Pay is especially convenient for those who have multiple cards linked to their Apple Wallet. By designating one card as the default, you can save time and avoid the hassle of selecting the appropriate card for every transaction. This feature comes in handy during busy moments when you need to pay quickly and efficiently.
In this article, we will walk you through the steps to set a default credit card in Apple Pay. Whether you have just obtained a new credit card or want to change your existing default card, our guide will help you navigate the process with ease.
Note that the steps may vary slightly depending on the version of iOS you are using, but the general process remains the same. Let’s get started!
Step 1: Open the Apple Wallet App
The first step in setting a default credit card in Apple Pay is to open the Apple Wallet app on your iPhone or iPad. The Wallet app is pre-installed on all Apple devices, and you can easily locate it on your home screen by looking for the icon that resembles a wallet.
Once you’ve located the Wallet app, tap on it to open it. The app will display your configured cards, loyalty cards, and passes.
If you haven’t added any credit cards to Apple Wallet yet, you will need to do so before proceeding with setting a default card. To add a new card, simply tap on the “+” sign at the top-right corner of the app and follow the instructions to add your card details. Make sure to have the necessary information, such as the card number, expiration date, and CVV, readily available.
Once you have added your credit cards to Apple Wallet, proceed to the next step to set your default credit card.
Step 2: Select the “Wallet & Apple Pay” option
After opening the Apple Wallet app, the next step is to access the settings for Apple Pay. To do this, tap on the “Wallet & Apple Pay” option, typically located at the top of the screen or in the settings menu.
Upon selecting the “Wallet & Apple Pay” option, you will be taken to a new screen where you can manage your Apple Pay settings. This screen will provide you with various customization options and information regarding your linked credit cards, transaction history, and more.
It’s worth mentioning that some devices may have a slightly different interface or organization of settings. However, the “Wallet & Apple Pay” option should be easily accessible within the app, regardless of the device model or iOS version you are using.
Once you have successfully navigated to the “Wallet & Apple Pay” screen, you are ready to proceed to the next step to set your default credit card in Apple Pay.
Step 3: Tap on “Default Card”
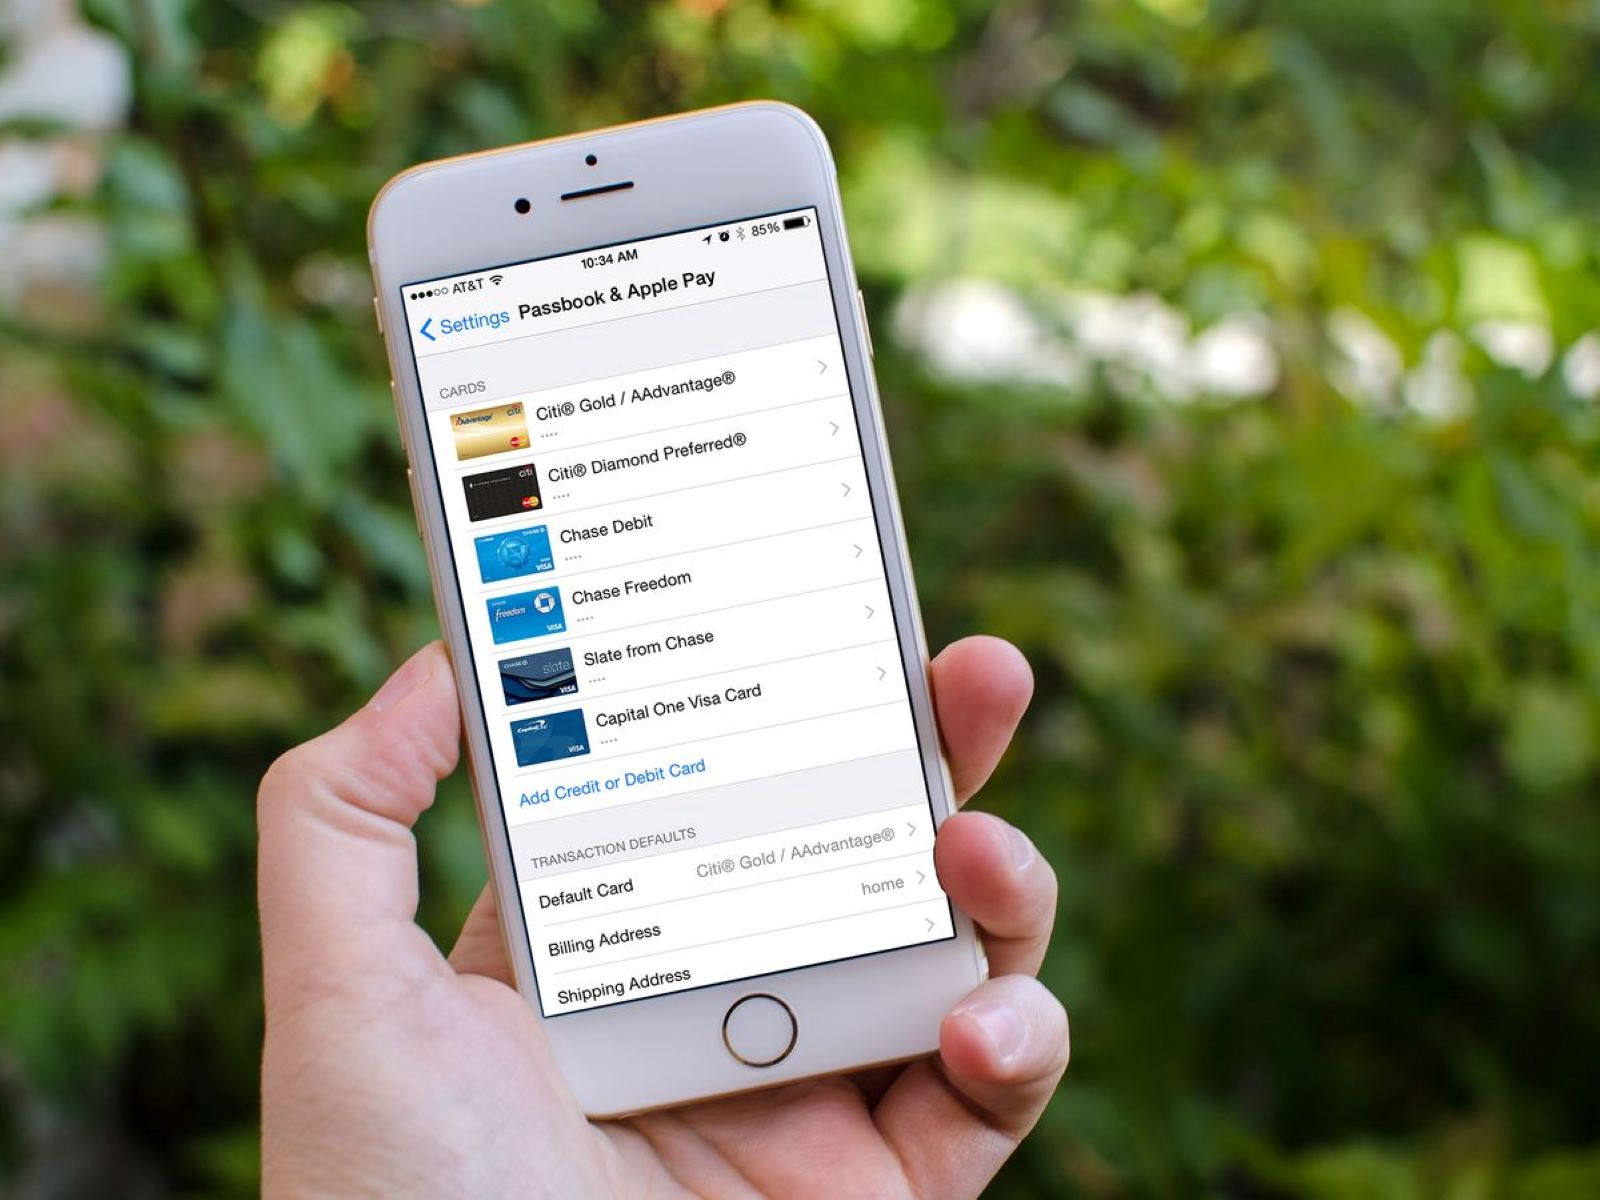
Now that you have accessed the “Wallet & Apple Pay” settings screen, it’s time to select the “Default Card” option. This option allows you to designate one of your linked credit cards as the default card for Apple Pay transactions.
To locate the “Default Card” option, scroll through the settings until you find the section that pertains to your credit cards. This section will typically display a list of your linked cards and include options for managing them.
Once you have found the “Default Card” option, tap on it to proceed to the next step. This will open a list or dropdown menu showcasing all the available credit cards linked to your Apple Wallet.
From this list, you can select the credit card that you want to set as your default card. Take a moment to identify the appropriate card and ensure that it is the one you want to use for your Apple Pay transactions moving forward.
If you don’t see the desired card on the list, it may not be properly added to your Apple Wallet. In that case, consider adding the card by tapping on the “+” sign and following the instructions provided.
Once you have selected the card that you want to set as your default, proceed to the next step to confirm your selection.
Step 4: Choose the desired default credit card
After tapping on the “Default Card” option, you will be presented with a list of your linked credit cards. This list allows you to choose the specific credit card that you want to set as your default for Apple Pay transactions.
Take a moment to review the available options and identify the credit card that you wish to designate as your default. Consider factors such as the card’s rewards program, benefits, and your preferred method of payment when making your decision.
To choose the desired default credit card, simply tap on it in the list. You will typically see a checkmark or indication next to the selected card to confirm your choice.
If you have recently added a new credit card and it is not appearing in the list, make sure that you have added it correctly to your Apple Wallet. Double-check the card details and try refreshing the app to ensure that the new card is recognized.
Once you have selected the desired default credit card, proceed to the next step to confirm your selection and make it your default option for Apple Pay.
Step 5: Confirm the selection
After choosing the desired default credit card, it’s important to confirm your selection to ensure that it is properly set as the default option for Apple Pay transactions.
Upon selecting your preferred default credit card, you will typically be redirected back to the main settings screen for “Wallet & Apple Pay”. Here, you may see a confirmation message indicating that your default card has been successfully updated.
It’s a good practice to double-check your default card selection to ensure that it aligns with your intended choice. This can be done by reviewing the credit card information displayed on the settings screen. The selected card should be identified as the default option for future Apple Pay transactions.
If you notice that the default card has not been updated or if there is any ambiguity, you can repeat the previous steps to reselect your preferred default card. Remember to tap on the “Default Card” option and choose the desired credit card from the list.
Once you have confirmed the selection and ensured that the correct default credit card is displayed, you can be confident in using Apple Pay for future transactions. Your chosen default card will now be automatically used for payments, making your checkout process more convenient and efficient.
Congratulations! You have successfully set your default credit card in Apple Pay. Enjoy the seamless and secure payment experience that Apple Pay provides!
Remember, you can always revisit the “Wallet & Apple Pay” settings at any time to update or change your default card if needed.
Conclusion
Setting a default credit card in Apple Pay is a straightforward process that allows you to streamline your payment experience. By designating a default card, you can avoid the hassle of manually selecting the appropriate credit card for each transaction.
In this article, we walked you through the steps to set a default credit card in Apple Pay. We began by opening the Apple Wallet app and adding credit cards if necessary. Then, we accessed the “Wallet & Apple Pay” settings screen and tapped on the “Default Card” option. From there, we chose our desired default credit card and confirmed our selection.
By following these simple steps, you can ensure that your preferred credit card is automatically used for Apple Pay transactions, saving you time and effort. Whether you’re making online purchases or using Apple Pay at a physical store, having a default credit card set up makes the payment process seamless and convenient.
Remember, it’s always a good idea to review and update your default credit card in Apple Pay regularly. This way, you can adapt to any changes in your financial circumstances or take advantage of new credit card offers and benefits.
Now that you’ve learned how to set a default credit card in Apple Pay, you’re ready to enjoy the convenience and security of this payment method. Say goodbye to fumbling through your wallet or purse for the right credit card – Apple Pay has you covered.
Start using Apple Pay with your default credit card today and experience a faster, more streamlined payment experience. Happy shopping!
What's Hot
Latest Articles
Related Post
By: • Finance

By: • Finance
By: • Finance
By: • Finance

By: • Finance

By: • Finance
By: • Finance
By: • Finance
By: • Finance

By: • Finance

By: • Finance

By: • Finance

By: • Finance

By: • Finance

By: • Finance