Home>Finance>How To Dispute A Charge On Discover Credit Card

Finance
How To Dispute A Charge On Discover Credit Card
Published: November 5, 2023
Learn how to dispute a charge on your Discover credit card and protect your finances with our step-by-step guide. Take control of your money today!
(Many of the links in this article redirect to a specific reviewed product. Your purchase of these products through affiliate links helps to generate commission for LiveWell, at no extra cost. Learn more)
Table of Contents
Introduction
Welcome to our guide on how to dispute a charge on a Discover credit card. Discover is one of the leading credit card companies, offering a range of benefits and rewards to its cardholders. However, there may be instances where you notice an unauthorized or incorrect charge on your statement. In such cases, it is important to take immediate action to protect your finances and resolve the issue.
Disputing a charge on your Discover credit card is a straightforward process that can be done online or over the phone. By following the necessary steps, you can ensure that the erroneous charge is resolved promptly, and your account is reimbursed for any unauthorized transactions.
In this comprehensive guide, we will walk you through each step of the dispute process, from reviewing your statement to monitoring your account after the dispute has been filed. We will also provide you with valuable tips and insights on how to approach the merchant, gather supporting documents, and follow up with Discover to ensure a successful resolution.
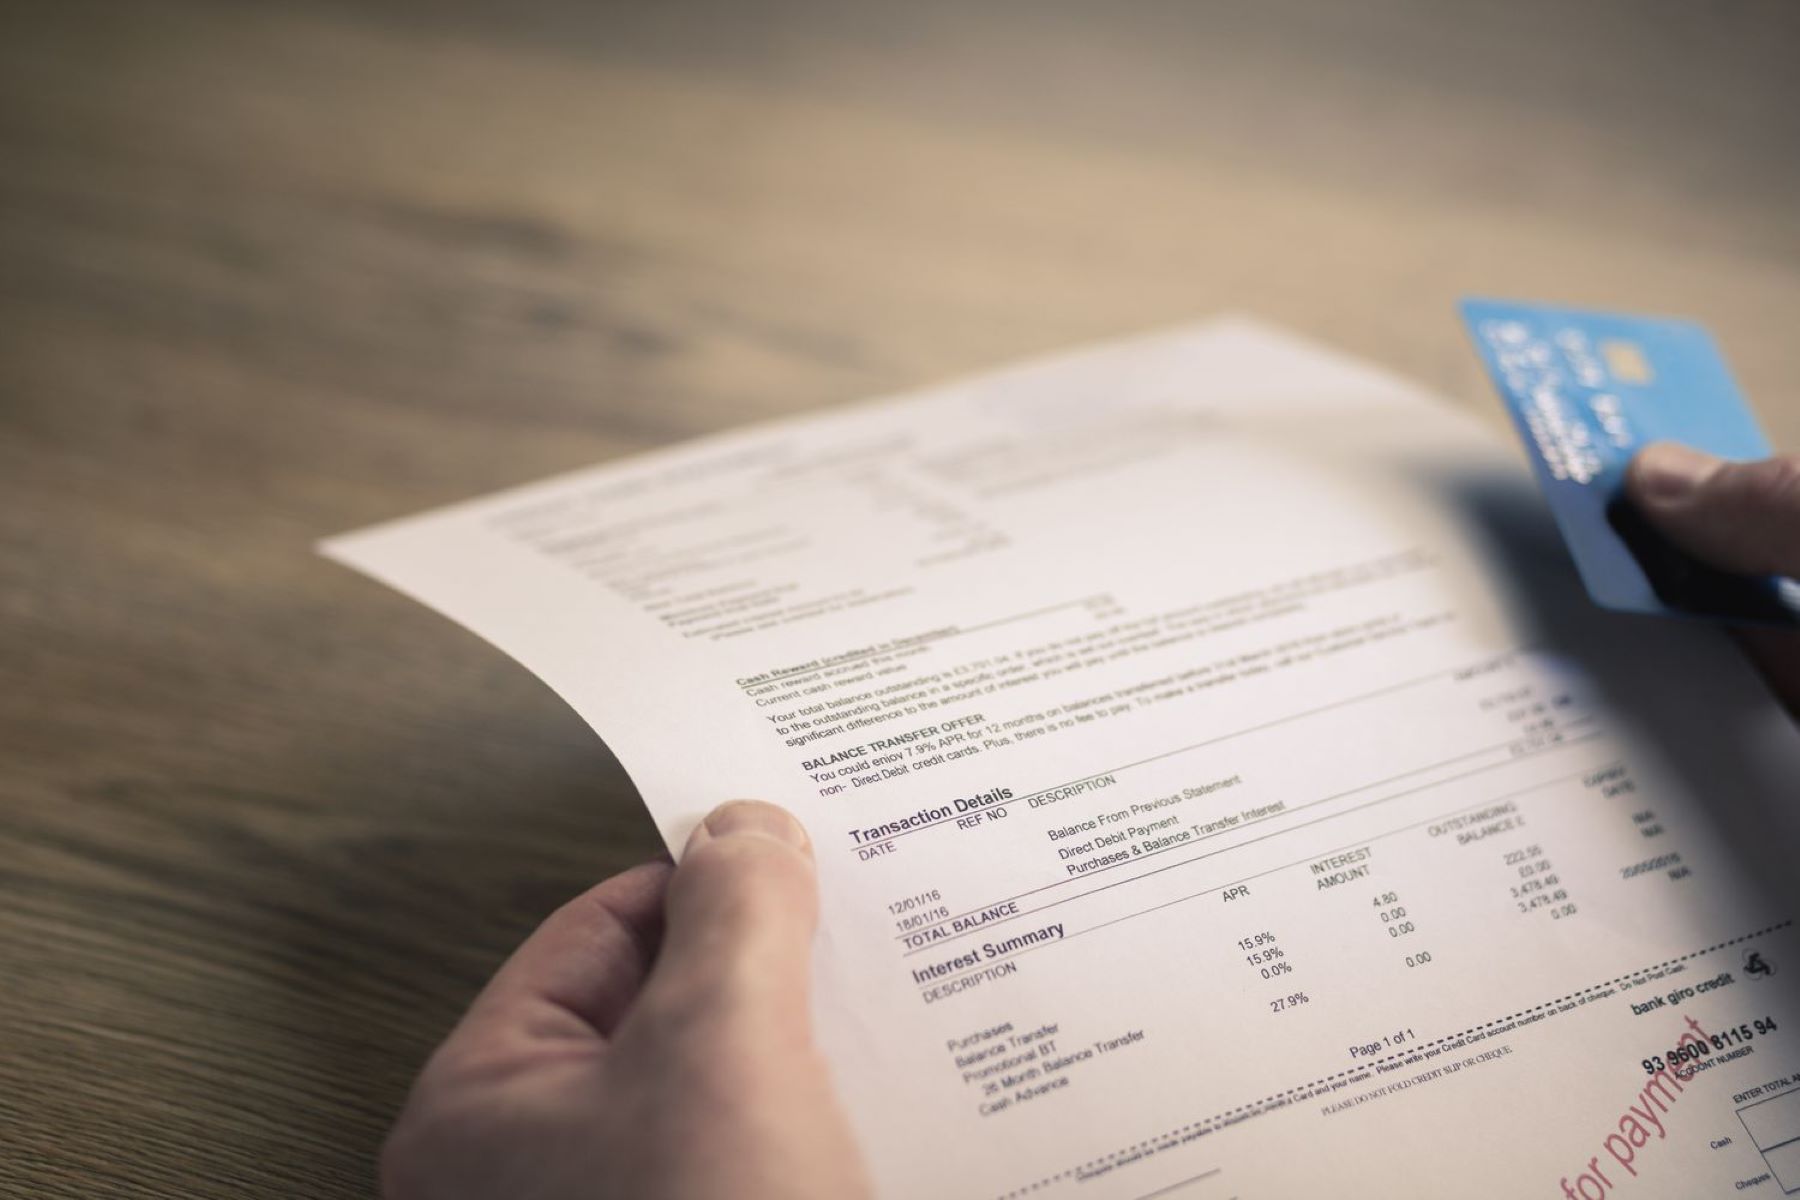
Step 1: Review Your Statement
The first step in disputing a charge on your Discover credit card is to carefully review your statement. Take the time to thoroughly examine each transaction and ensure that you recognize and authorize the charges. Sometimes, charges may appear under different merchant names or be for slightly different amounts, so it’s important to be vigilant.
If you come across a suspicious charge or one that you do not recall authorizing, it’s essential to take immediate action. Look for any signs of fraudulent activity, such as multiple small transactions or large purchases that you did not make. Note down the date, description, and amount of the disputed charge for future reference.
In some cases, the disputed charge may be a legitimate one that you simply don’t recognize. Before proceeding with the dispute process, consider reaching out to other household members or authorized users to confirm if they made the transaction.
If, after reviewing your statement, you are confident that the charge is unauthorized or incorrect, you can proceed to the next steps of the dispute process. It’s important to act swiftly, as there are time limits for filing a dispute. Discover typically allows you to dispute charges within 60 days of the statement date, so it’s best to address the issue as soon as possible.
Once you have reviewed your statement and identified the disputed charge, you can move on to the next step of the process: gathering supporting documents.
Step 2: Gather Supporting Documents
After reviewing your statement and identifying the unauthorized or incorrect charge, the next step is to gather supporting documents to strengthen your case during the dispute process. These documents will serve as evidence to support your claim and provide a clear picture of the disputed charge.
Here are some important documents you should gather:
- Receipts or invoices: If you have any receipts or invoices related to the transaction in question, gather them as they can provide proof of purchase or non-purchase.
- Correspondence: If you have any email communication or written correspondence with the merchant regarding the charge, make sure to save and print them. These can be useful in showing your attempts to resolve the issue directly with the merchant.
- Bank statements: In addition to your credit card statement, it can be helpful to gather any relevant bank statements that show the disputed charge and its impact on your overall finances.
- Screen captures: If you made an online purchase and have screen captures of the transaction confirmation or any other relevant screens, include them as well.
- Any other supporting documentation: Depending on the nature of the dispute, there may be additional documents that can support your case. For instance, if you received a damaged item or a service was not as advertised, photographs or testimonials can be helpful.
By gathering these supporting documents, you will be better equipped to present a strong case to Discover when disputing the charge. Keep these documents organized and readily accessible for easy reference throughout the dispute process.
Once you have gathered all the necessary supporting documents, you are ready to move on to the next step: contacting the merchant to resolve the issue directly.
Step 3: Contact the Merchant
Before initiating the formal dispute process with Discover, it’s often beneficial to reach out to the merchant directly to try and resolve the issue. Sometimes, disputes can be resolved quickly and amicably through direct communication.
Here are some steps to follow when contacting the merchant:
- Collect Information: Make sure you have all the necessary information regarding the disputed charge, such as the date, amount, and description. Having this information at hand will help the merchant identify the transaction and assist you more efficiently.
- Be Polite and Calm: Approach the merchant with a calm and respectful demeanor. Explain the situation clearly and concisely, stating that you believe there has been an error or unauthorized charge on your Discover credit card statement.
- Provide Supporting Documentation: Share any supporting documentation you have gathered during the previous step. This can include receipts, invoices, correspondence, or any other relevant documentation that strengthens your case.
- Request Resolution: Clearly communicate your desired outcome, such as a refund or correction of the charge. Be willing to work with the merchant to find a satisfactory resolution.
- Document the Conversation: Keep detailed notes of your conversation with the merchant, including the date, time, and the name of the person you spoke with. This documentation can be helpful if you need to escalate the dispute later on.
- Follow Up: If the merchant agrees to resolve the dispute, request written confirmation of the resolution. If they refuse or are unresponsive, proceed to the next step of filing a dispute with Discover.
While contacting the merchant directly is not always required, it can be a valuable step to take before involving Discover. In some cases, the merchant may rectify the issue promptly and save you the time and effort of pursuing a formal dispute. However, if you are unable to resolve the dispute with the merchant, it’s time to move on to the next step: filing a dispute online with Discover.
Step 4: File a Dispute Online
If your attempt to resolve the dispute with the merchant was unsuccessful or if they were unresponsive, it’s time to file a formal dispute online with Discover. Filing a dispute online is a convenient and efficient way to start the resolution process.
Here’s how to file a dispute online with Discover:
- Log into your Discover account: Visit the Discover website and log into your online account using your username and password. If you don’t have an online account, you can easily create one.
- Locate the dispute section: Once logged in, navigate to the dispute section of your online account. This is usually under the “Account Services” or “Customer Service” tab.
- Provide necessary information: Fill out the required fields, including details about the disputed charge, such as the date, amount, and description. Be as specific as possible to help Discover investigate the matter effectively.
- Upload supporting documentation: Take advantage of the ability to upload supporting documentation directly through the online dispute form. Refer back to the documentation you gathered in Step 2 and include any relevant files that strengthen your case.
- Submit the dispute: Once you have filled out the necessary information and uploaded supporting documentation, carefully review the details before submitting the dispute. After clicking the submit button, you will receive a confirmation of your dispute.
By filing a dispute online, you provide Discover with all the necessary information to investigate the charge on your behalf. It’s important to be accurate and provide detailed information to ensure a thorough evaluation of your claim.
After you have filed the dispute, Discover will typically send you a response within a few days acknowledging the receipt of your dispute. They will then proceed with investigating the matter further. It’s crucial to keep track of any communications and updates from Discover during this process.
Now that you have filed a dispute online, it’s time to move on to the next step: follow-up with Discover to ensure a timely resolution.
Step 5: Follow-Up with Discover
After filing a dispute with Discover, it’s important to stay proactive and follow up on the progress of your case. Regular communication and persistence can often lead to a quicker resolution.
Here are some steps to follow when you need to follow up with Discover:
- Keep track of communication: Maintain a record of all communications with Discover, including any reference numbers or case IDs provided. This will make it easier for you to refer to specific conversations or provide additional information if requested.
- Be patient: It’s essential to give Discover ample time to investigate your dispute. The resolution process may take several weeks, depending on the complexity of the case. Avoid being impatient and allow the necessary time for a thorough evaluation.
- Respond promptly: If Discover reaches out to you for additional information or clarification, make sure to respond promptly. Provide the requested details or documentation as soon as possible to avoid any delays in the resolution process.
- Follow up on progress: If you haven’t received an update from Discover within a reasonable timeframe or if you have any concerns regarding the progress of your case, don’t hesitate to contact their customer service. Inquire about the status of your dispute and ask for an estimated timeline for resolution.
- Escalate if necessary: If you feel that your dispute is not being adequately addressed or if you haven’t received a satisfactory resolution, you can escalate your case. Contact Discover’s customer service and request to speak with a supervisor or file a formal complaint if needed.
By staying engaged and actively following up with Discover, you demonstrate your commitment to resolving the dispute and ensure that your case receives the attention it deserves.
Remember to remain calm and professional throughout your interactions with Discover’s customer service representatives. A polite and respectful approach can help foster better communication and increase the chances of a favorable resolution.
Now that you know how to follow up with Discover, let’s move on to the final step: monitoring your account.
Step 6: Monitor Your Account
Even after filing a dispute and following up with Discover, it’s important to continue monitoring your account to ensure the resolution of the disputed charge and to detect any further unauthorized activity. Ongoing account monitoring is crucial for maintaining the security of your finances.
Here are some steps to help you effectively monitor your account:
- Review your statements: Carefully review each subsequent credit card statement to ensure that the disputed charge has been credited or removed. Pay attention to any refund or adjustment made by Discover in relation to your dispute.
- Check for new unauthorized charges: Keep an eye out for any new charges on your statement that you do not recognize or authorize. If you notice any suspicious activity, report it to Discover immediately for further investigation.
- Set up account alerts: Take advantage of the account alert features offered by Discover. Set up notifications for any significant account activity, such as large transactions or unusual spending patterns. These alerts can help you identify potential issues early.
- Monitor your credit report: Regularly check your credit report through reputable credit reporting agencies. Look for any unfamiliar accounts or inquiries that could indicate potential identity theft or fraudulent activity.
- Update passwords and PINs: Periodically update your online account passwords and credit card PINs to enhance security. Use strong, unique passwords and avoid using personal information that could be easily guessed by others.
- Report any concerns: If you have any lingering concerns or suspicions about your account, do not hesitate to contact Discover’s customer service. They can provide guidance and assistance in ensuring the continued security of your account.
By regularly monitoring your account, you can stay vigilant and detect any unauthorized activity as early as possible. Timely detection and response are crucial in mitigating the potential impact of fraudulent charges or identity theft.
Remember, the responsibility of account monitoring goes beyond the resolution of a single dispute. Be proactive in safeguarding your financial well-being by staying vigilant and taking appropriate action if any new issues arise.
With the completion of Step 6, you have successfully navigated the process of disputing a charge on your Discover credit card. By following these steps, you can protect yourself from unauthorized charges and ensure the accuracy of your credit card statement.
If at any point during the dispute process you encounter difficulties or require further assistance, do not hesitate to reach out to Discover’s customer service for guidance. They are there to help you resolve any issues and provide support along the way.
Remember, prompt action and clear communication are key to resolving the dispute successfully. By following the steps outlined in this guide, you can effectively dispute a charge on your Discover credit card and safeguard your financial interests.
Conclusion
Disputing a charge on your Discover credit card can be a straightforward process when approached with the right knowledge and steps. By reviewing your statement, gathering supporting documents, contacting the merchant, filing a dispute online with Discover, following up on your case, and monitoring your account, you can effectively resolve any unauthorized or incorrect charges.
Remember, it’s important to be proactive in reviewing your credit card statements to catch any discrepancies as early as possible. Taking immediate action when you notice a disputed charge ensures a swift resolution and protects your finances.
Throughout the dispute process, clear communication, patience, and persistence are key. By providing detailed information, documenting conversations, maintaining contact with both the merchant and Discover, and staying proactive in monitoring your account, you can increase the likelihood of a successful outcome.
Of course, prevention is always better than cure. To minimize the occurrence of unauthorized charges, it’s essential to protect your credit card information, only make purchases from trusted merchants, and regularly monitor your account for any unusual activity.
Remember that Discover is there to support you through the dispute process. Their customer service representatives are available to provide guidance and assistance, so don’t hesitate to reach out to them if you encounter any difficulties or need clarification.
By being proactive, vigilant, and knowledgeable, you can navigate the process of disputing a charge on your Discover credit card with confidence. Protect your financial well-being and maintain the integrity of your credit card account by taking the necessary steps to resolve any unauthorized charges or errors promptly.
Now that you have a comprehensive understanding of how to dispute a charge on your Discover credit card, you are well-equipped to handle any future discrepancies that may arise. Remember to act promptly, provide detailed information, and stay engaged in the dispute resolution process for the best possible outcome.
What's Hot
Latest Articles
Related Post

By: • Finance
By: • Finance
By: • Finance

By: • Finance

By: • Finance

By: • Finance
By: • Finance
By: • Finance

By: • Finance
By: • Finance
By: • Finance

By: • Finance

By: • Finance

By: • Finance

By: • Finance