
Finance
How To Pay SBI Credit Card Bill Online
Modified: February 21, 2024
Learn how to conveniently pay your SBI credit card bill online with our step-by-step guide. Manage your finances effortlessly and avoid late fees.
(Many of the links in this article redirect to a specific reviewed product. Your purchase of these products through affiliate links helps to generate commission for LiveWell, at no extra cost. Learn more)
Table of Contents
Introduction
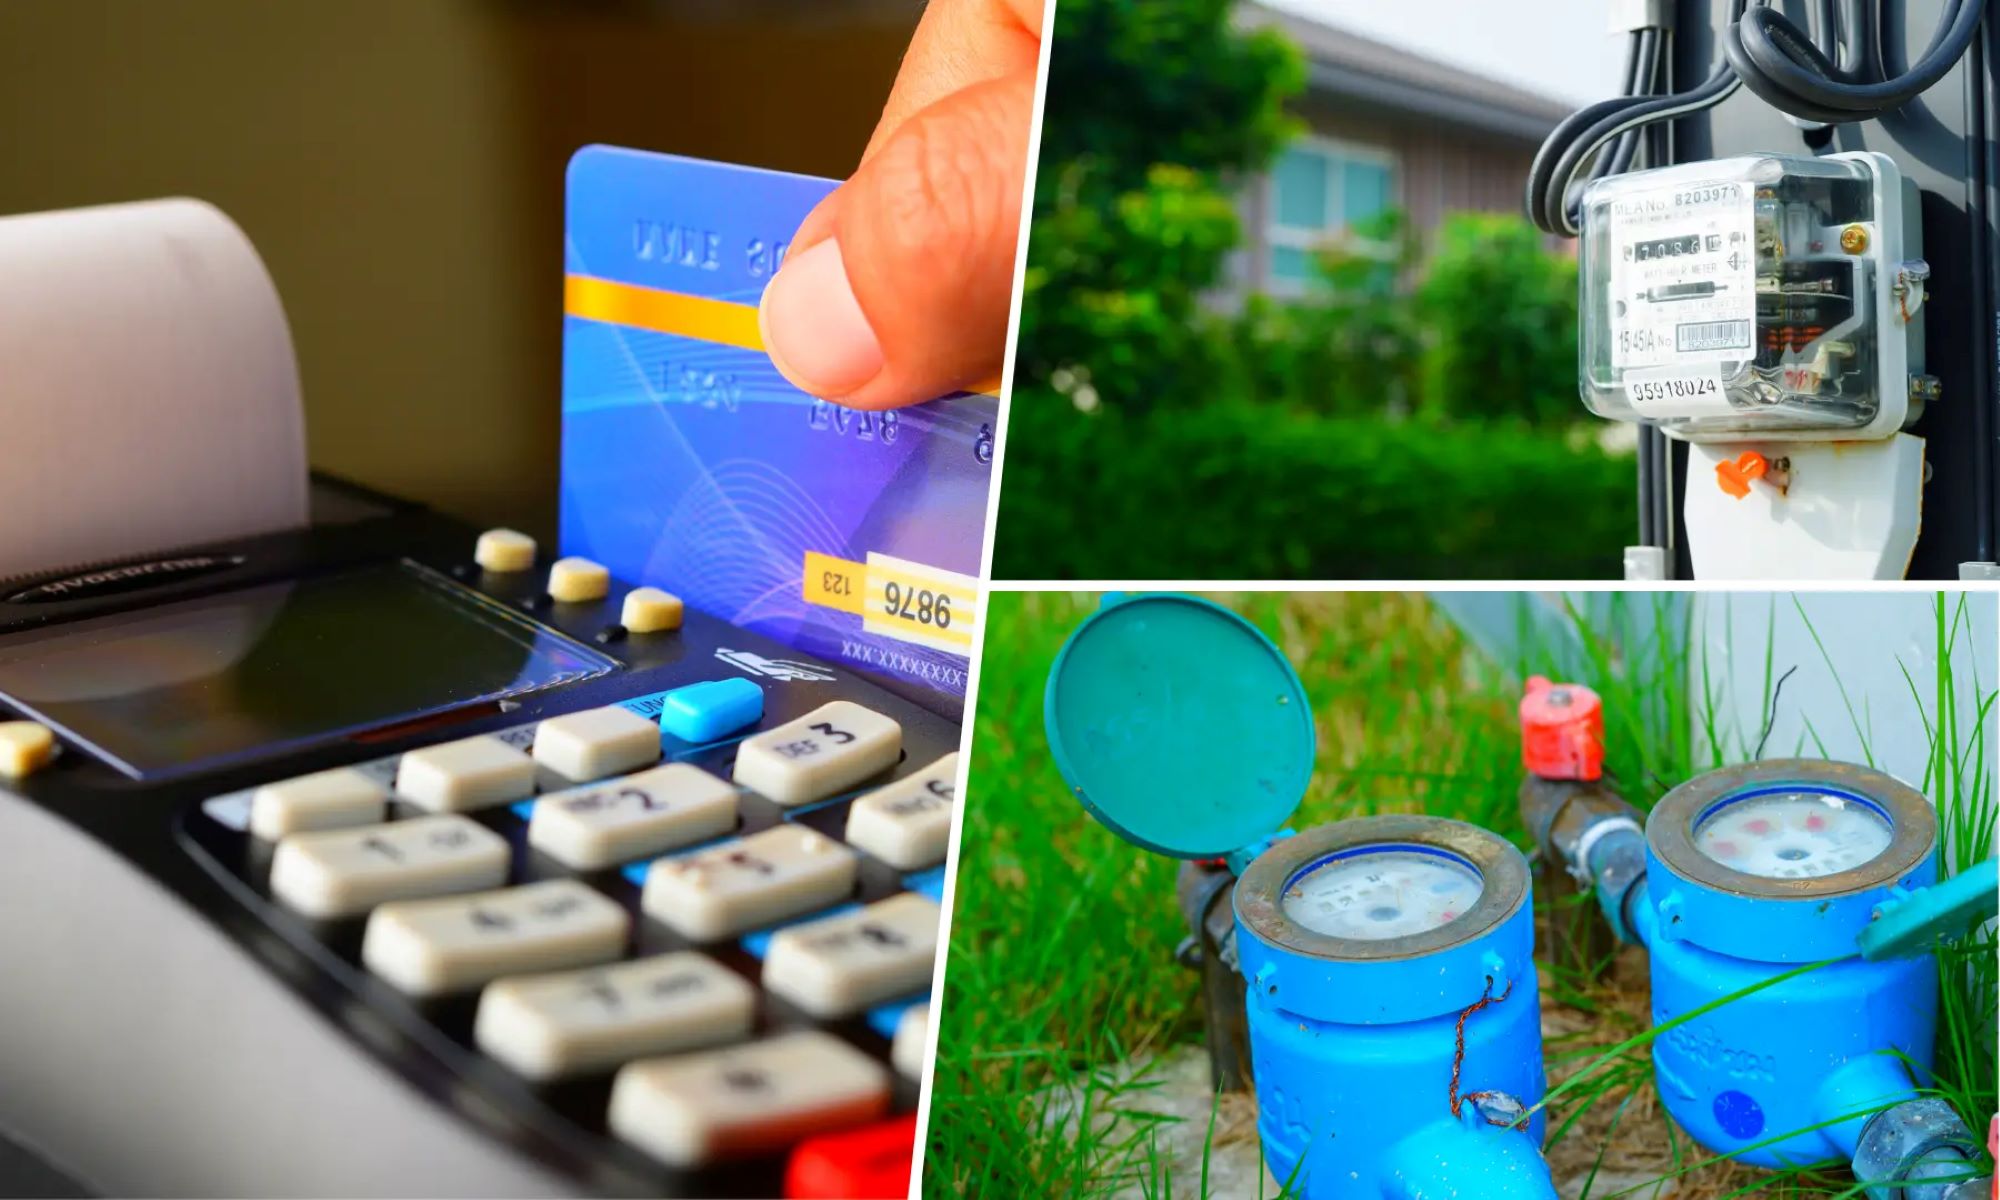
Paying your SBI credit card bill online is a convenient and secure way to manage your finances. By utilizing the power of SBI Net Banking, you can easily make payments anytime, anywhere, without the hassle of visiting a bank or writing physical checks.
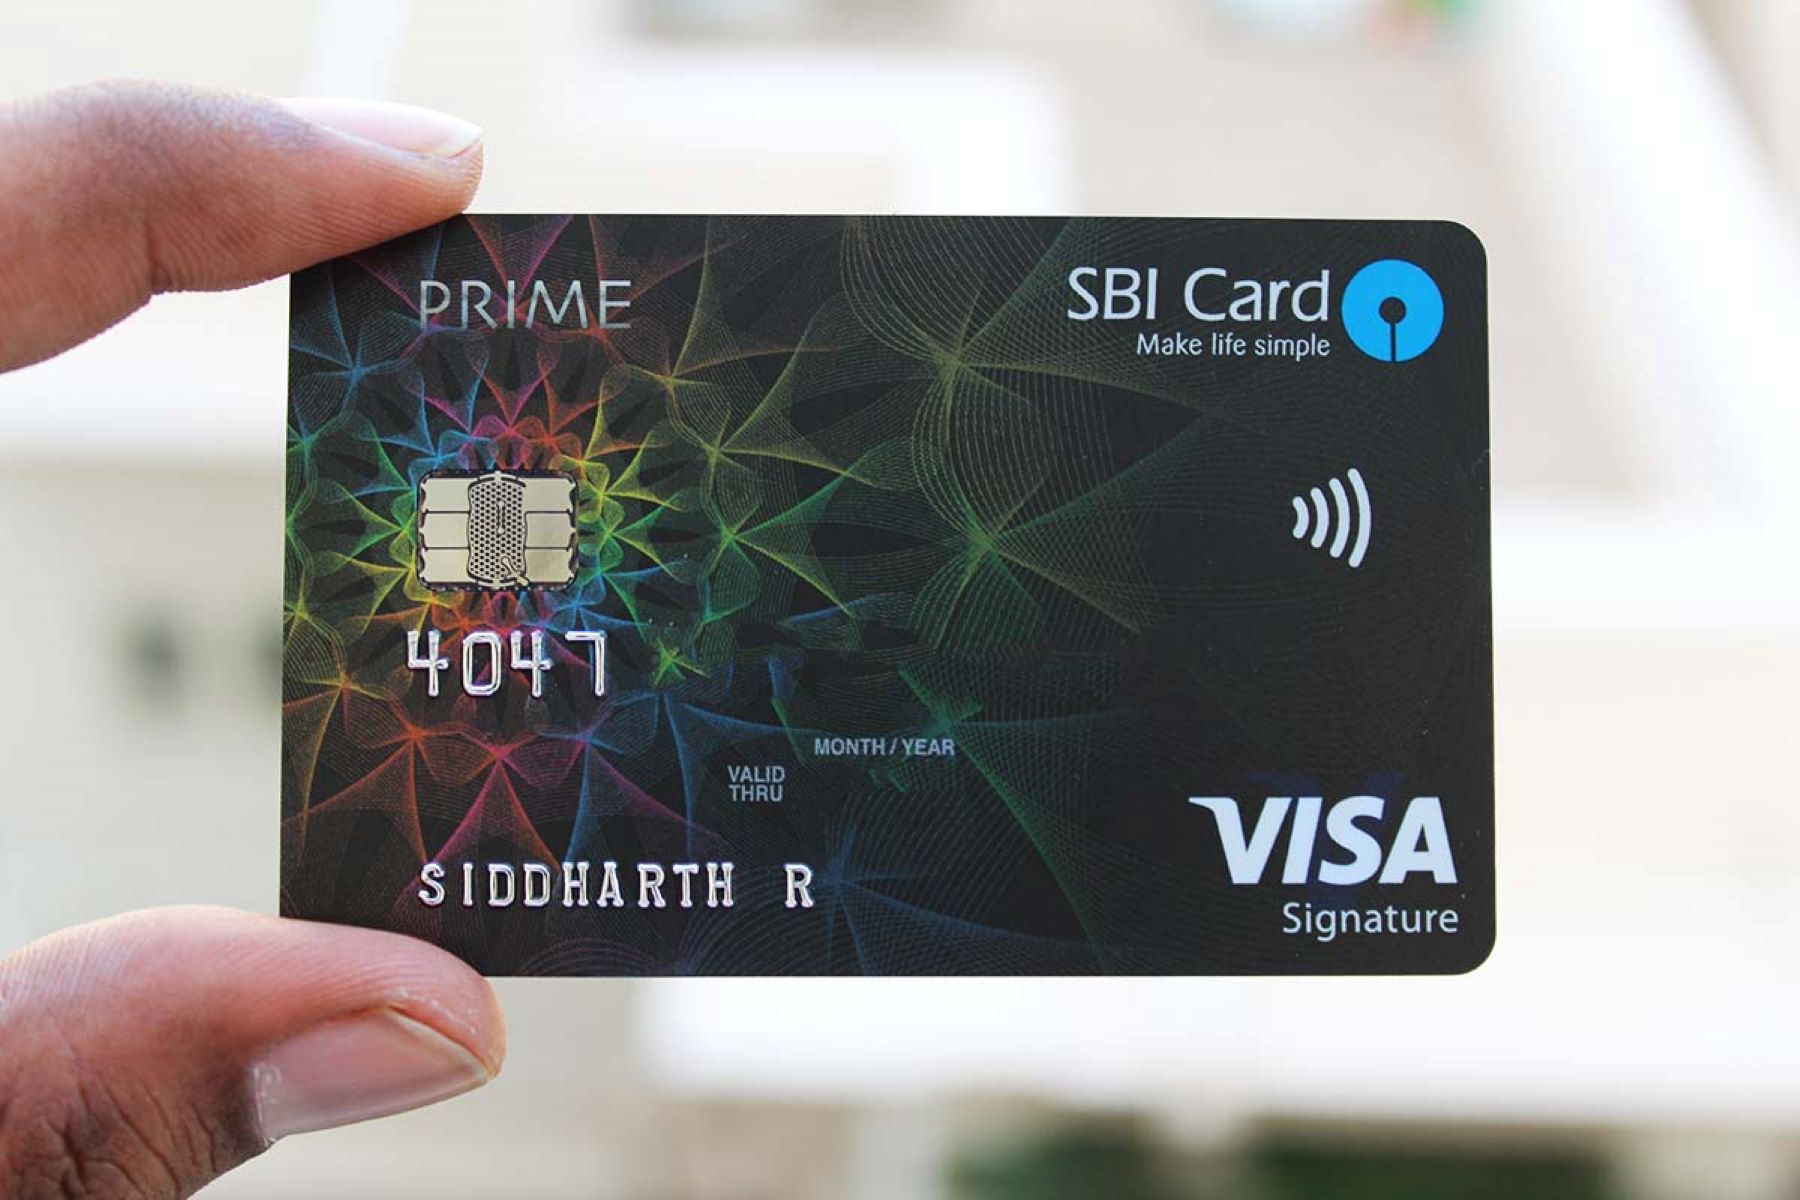
SBI, also known as the State Bank of India, is one of the largest and most trusted banks in India. With its extensive range of financial services, SBI offers its customers the convenience of managing their credit card payments online.
In this article, we will guide you through the step-by-step process of paying SBI credit card bills online. By following these simple instructions, you will be able to stay on top of your credit card payments and maintain a good credit history.
Before we delve into the details, make sure you have an active SBI Net Banking account. If you don’t have one, you will need to register for SBI Net Banking by visiting the official website of SBI and following the registration process.
Once you have registered and obtained your SBI Net Banking credentials, you are ready to make your SBI credit card payment online. It’s time to say goodbye to the hassle of writing checks or standing in long queues to make your credit card payments!
Step 1: Registering for SBI Net Banking
The first step to paying your SBI credit card bill online is to register for SBI Net Banking. The registration process is straightforward and can be done online. Follow these simple steps:
- Visit the official website of SBI (https://www.onlinesbi.com) in your web browser.
- Click on the “New User Registration” option. This will redirect you to the registration page.
- Read and accept the terms and conditions mentioned on the registration page.
- Fill in the necessary details such as your account number, CIF number (Customer Information File), branch code, registered mobile number, and date of birth.
- Click on the “Submit” button to proceed.
- On the next page, you will be asked to verify your mobile number. Enter the OTP (One-Time Password) received on your registered mobile number and click on the “Submit” button.
- Create a username and password of your choice and confirm it.
- Choose a hint question and provide the answer. This will help you in case you forget your login credentials in the future.
- Click on the “Submit” button to complete the registration process.
After completing the registration process, you will receive a message on your registered mobile number with a temporary username. You can log in to SBI Net Banking using this temporary username and the password you created during registration.
Once you log in with the temporary username, you will be prompted to set a new username of your choice. After setting the new username, you can log in to SBI Net Banking with the new username and the password you created.
Now that you have successfully registered for SBI Net Banking, you can proceed to the next step: logging in to your SBI Net Banking account.
Step 2: Logging in to SBI Net Banking
After registering for SBI Net Banking, the next step is to log in to your account. Follow these simple steps to access your SBI Net Banking account:
- Visit the official website of SBI (https://www.onlinesbi.com) in your web browser.
- Click on the “Login” button located at the top right corner of the homepage.
- Select the “Personal Banking” option from the dropdown menu.
- Enter your username and password in the respective fields.
- Click on the “Login” button to proceed.
Once you have successfully logged in, you will be directed to your SBI Net Banking dashboard. Here, you will find various options and services, including the ability to add your SBI credit card as a biller for online payments.
Make sure to keep your username and password confidential to maintain the security of your SBI Net Banking account. It is also recommended to change your password regularly to prevent unauthorized access.
Now that you have logged in to your SBI Net Banking account, you are ready to add your SBI credit card as a biller and initiate the bill payment process. Proceed to the next step to learn how to do this.
Step 3: Adding SBI Credit Card as a Biller
Now that you have logged in to your SBI Net Banking account, it’s time to add your SBI credit card as a biller. Follow these simple steps to add your SBI credit card as a biller:
- From your SBI Net Banking dashboard, navigate to the “Bill Payments” section.
- Select the “Manage Biller” option.
- Click on the “Add” or “Register New Biller” button.
- Choose the biller category as “Credit Card.”
- Select “SBI Credit Card” as the biller.
- Enter your SBI credit card details, including the credit card number and other required information.
- Click on the “Add” or “Register” button to add your SBI credit card as a biller.
Once you have successfully added your SBI credit card as a biller, it will be listed under the “Manage Biller” section. You can now proceed to initiate the bill payment process.
It is important to ensure that you enter the correct credit card details while adding the biller. Double-check all the information to avoid any errors or payment discrepancies.
Now that you have added your SBI credit card as a biller, you are one step closer to conveniently paying your credit card bill online. Move on to the next step to learn how to initiate the bill payment process.
Step 4: Initiating the Bill Payment
Once you have added your SBI credit card as a biller, you can proceed to initiate the bill payment. Follow these straightforward steps to pay your SBI credit card bill online:
- From your SBI Net Banking dashboard, navigate to the “Bill Payments” section.
- Select the “View/Pay Bills” option.
- Choose the SBI credit card biller that you have added from the list of registered billers.
- Enter the bill amount that you want to pay.
- Choose your preferred mode of payment, such as using your SBI linked savings account or any other valid payment instrument.
- Click on the “Pay” or “Submit” button to proceed.
Once you have submitted the payment, the amount will be debited from your chosen payment mode and reflected as a credit towards your SBI credit card bill.
It is important to ensure that you have sufficient funds in your chosen payment mode to cover the bill amount. If you do not have enough funds, the payment may be declined, which could result in late payment charges or penalties.
Now that you have successfully initiated the bill payment, move on to the next step to learn how to confirm the payment and view the payment confirmation.
Step 5: Confirming the Payment
After initiating the bill payment for your SBI credit card, it is essential to confirm the payment to ensure its successful completion. Follow these simple steps to confirm the payment:
- Once you have submitted the payment, you will be redirected to a confirmation page.
- Review the payment details, including the bill amount and payment mode.
- Verify that all the information is accurate and matches your intention to pay the SBI credit card bill.
- If everything looks correct, click on the “Confirm” or “Proceed” button.
- Wait for the confirmation message or transaction reference number to be displayed on the screen.
It is crucial to note down the transaction reference number or take a screenshot of the confirmation message for future reference. This reference number can be helpful if you need to inquire about the payment or resolve any issues.
In case you encounter any error or receive an unsuccessful payment notification, it is advisable to contact the SBI customer service helpline immediately. They will assist you in resolving the issue and ensuring that your payment is processed correctly.
Now that you have confirmed the payment for your SBI credit card bill, you are almost done. Proceed to the next step to learn how to view the payment confirmation.
Step 6: Viewing the Payment Confirmation
After confirming the payment for your SBI credit card bill, it is important to view the payment confirmation to ensure that the transaction has been successfully processed. Follow these steps to view the payment confirmation:
- From your SBI Net Banking dashboard, navigate to the “Account Summary” or “My Accounts” section.
- Select your SBI credit card account from the list of linked accounts.
- Look for the recent transaction history or statement section.
- Locate the transaction corresponding to your credit card bill payment.
- Verify that the transaction details, including the bill amount and payment reference number, match your payment.
- If the transaction is listed and the details are accurate, it indicates a successful payment.
If you are unable to view the payment confirmation or have any concerns about the transaction, it is advisable to contact the SBI customer service helpline. They will assist you in verifying the payment status and addressing any issues or discrepancies.
Remember to keep a record of the payment confirmation for your own reference. It can be useful for future financial planning, budgeting, or resolving any payment disputes.
Congratulations! You have successfully completed the process of paying your SBI credit card bill online. By utilizing the convenience of SBI Net Banking, you can now easily manage your credit card payments and stay on top of your financial obligations.
Make sure to regularly check your credit card statements and track your expenses to maintain a healthy financial profile. Additionally, consider setting up alerts or automatic payment options to ensure timely bill payments and avoid any late payment penalties or charges.
Thank you for choosing SBI Net Banking for your credit card bill payments. Enjoy the convenience and peace of mind that come with managing your finances online!
Conclusion
Paying your SBI credit card bill online through SBI Net Banking offers a secure, convenient, and hassle-free way to manage your finances. By following the step-by-step process outlined in this article, you can easily stay on top of your credit card payments and maintain a good credit history.
Whether you are at home or on the go, SBI Net Banking provides you with the flexibility to make payments anytime and from anywhere. The registration process for SBI Net Banking is simple, and once you have set up your account, you have access to a range of financial services at your fingertips.
Adding your SBI credit card as a biller in SBI Net Banking allows you to initiate the bill payment process with ease. By confirming the payment and viewing the payment confirmation, you can ensure that the transaction is processed accurately.
Remember to keep your login credentials confidential and update your password regularly to maintain the security of your SBI Net Banking account. If you encounter any issues or have questions about the payment process, don’t hesitate to reach out to the SBI customer service helpline for assistance.
With online bill payment, you no longer have to worry about writing checks or visiting the bank to make your credit card payments. By utilizing SBI Net Banking, you can save time, effort, and resources, allowing you to focus on what matters most to you.
Make it a habit to monitor your credit card statements, track your expenses, and pay your bills on time to maintain a healthy financial standing. Utilizing the features and services offered by SBI Net Banking empowers you to take control of your finances and make informed financial decisions.
Thank you for choosing the convenience and ease of SBI Net Banking for your credit card bill payments. Enjoy the benefits and peace of mind that come with managing your finances online!
What's Hot
Latest Articles
Related Post

By: • Finance
By: • Finance

By: • Finance

By: • Finance

By: • Finance

By: • Finance

By: • Finance

By: • Finance
By: • Finance

By: • Finance


By: • Finance


By: • Finance

By: • Finance