Finance
How Do I Activate My Apple Credit Card
Published: October 26, 2023
Activate your Apple Credit Card and manage your finances with ease. Learn how to get started and make the most of your new card today.
(Many of the links in this article redirect to a specific reviewed product. Your purchase of these products through affiliate links helps to generate commission for LiveWell, at no extra cost. Learn more)
Table of Contents
Introduction
Welcome to the world of Apple Credit Card! If you’ve recently received your Apple Credit Card and are excited to start using it, you’re in the right place. Activating your Apple Credit Card is a straightforward process that can be completed in just a few steps. In this guide, we’ll walk you through each step to ensure a seamless activation experience.
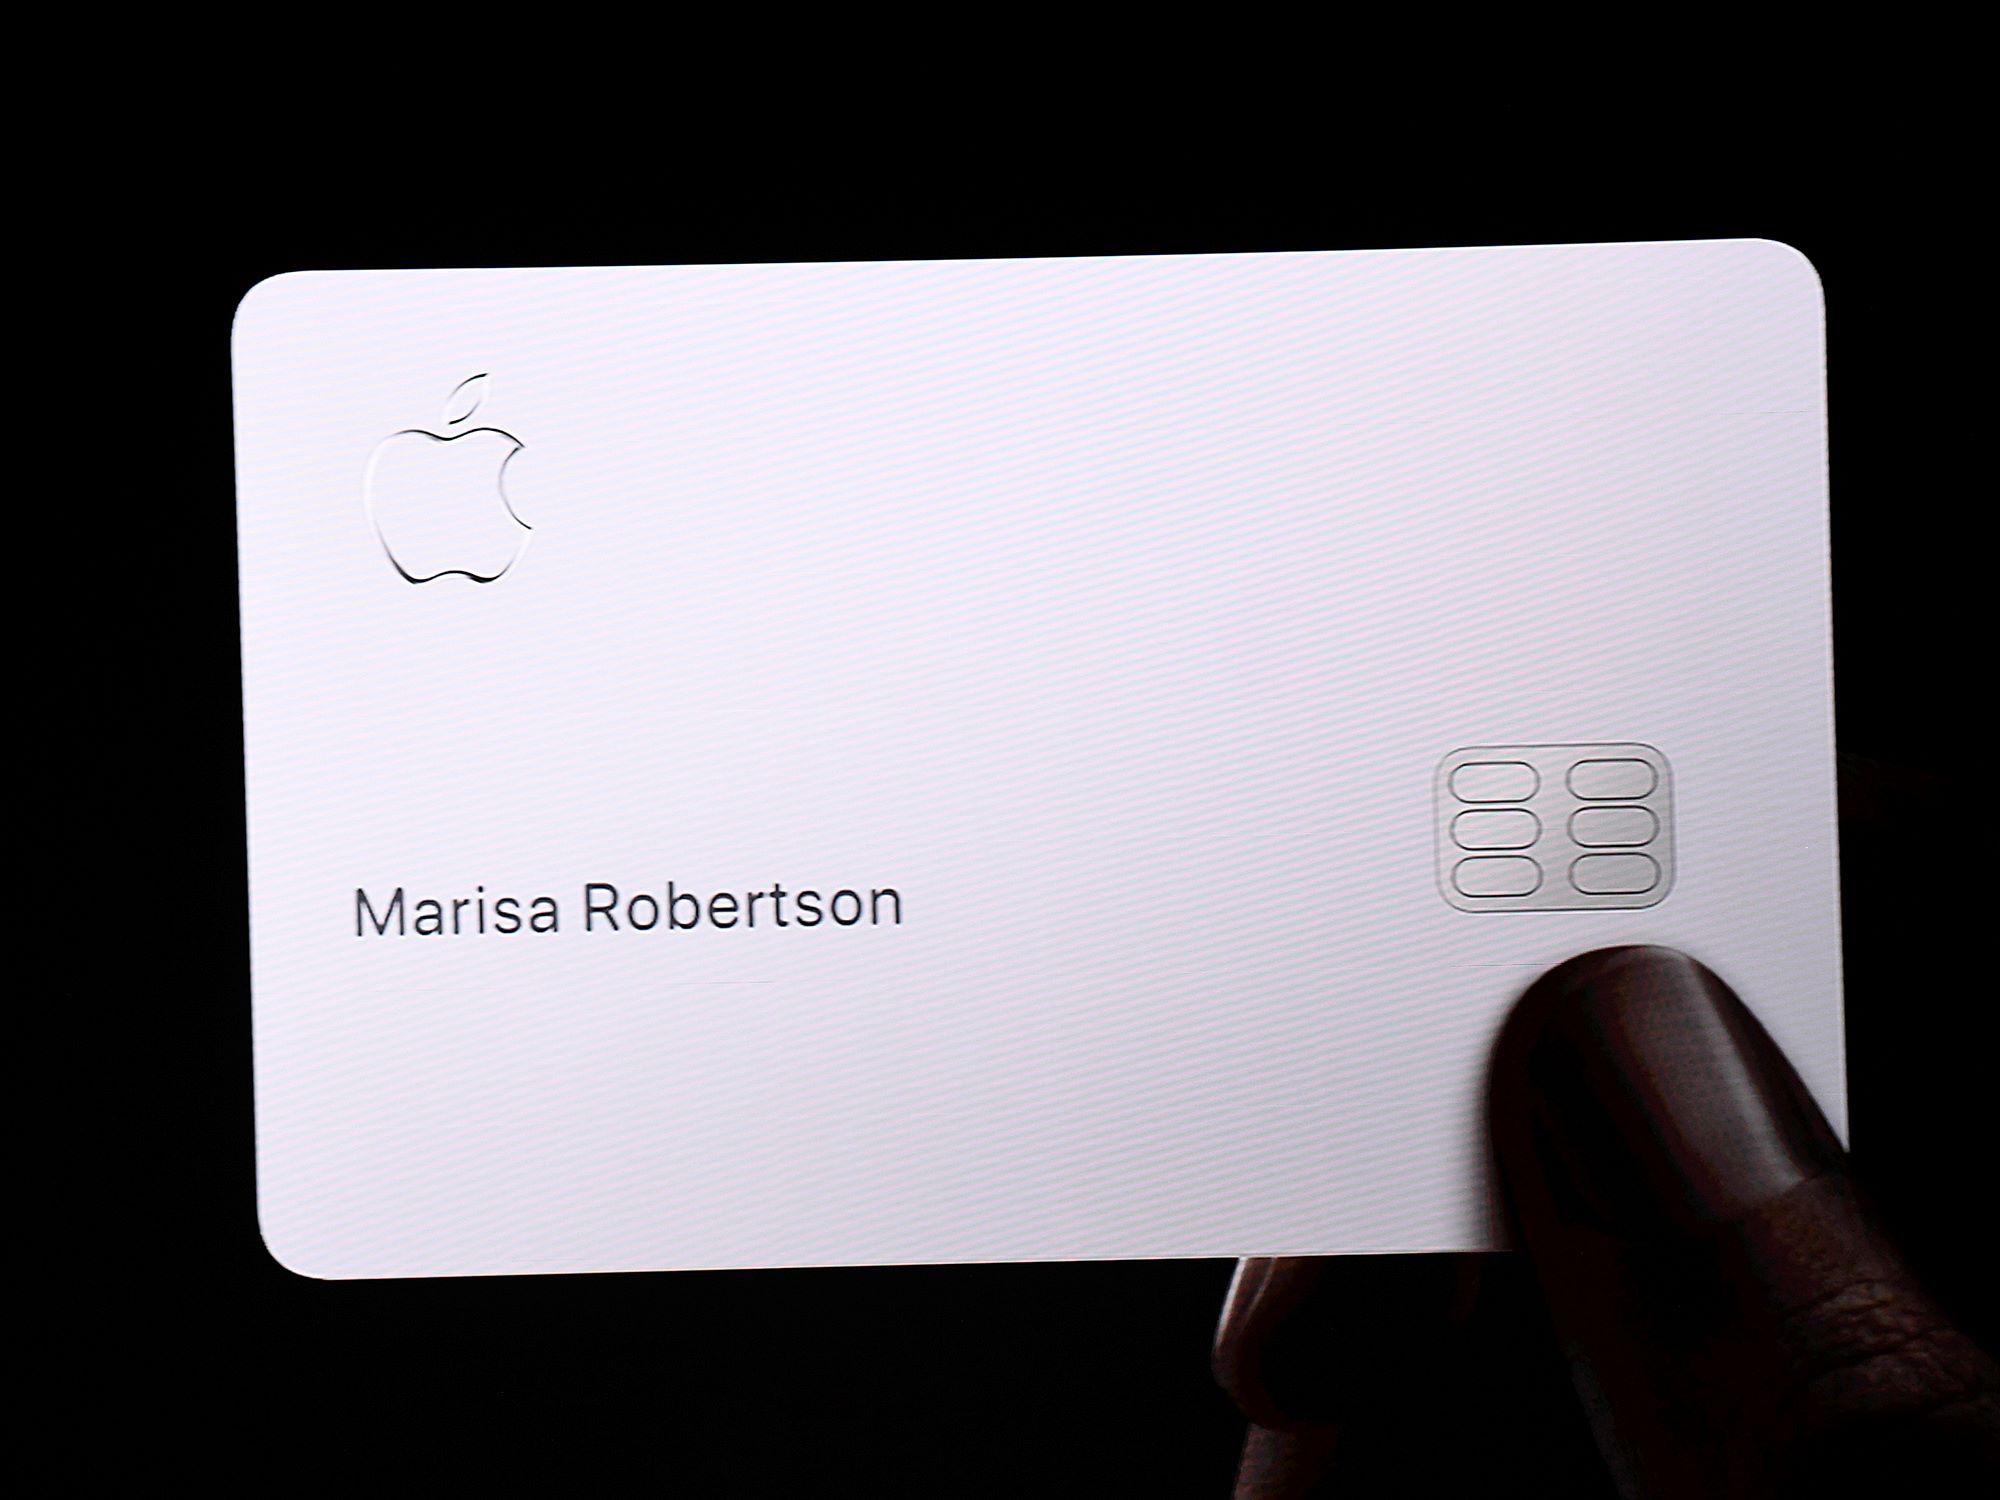
The Apple Credit Card is a unique offering from Apple that provides users with a range of benefits and features. With its sleek titanium design and integration with the Wallet app, the Apple Credit Card aims to revolutionize the way we manage our finances. From cashback rewards to real-time spending insights, this credit card is designed to simplify your financial journey.
Before we dive into the activation process, make sure you have your Apple Credit Card physically in hand. If you haven’t received your card yet, you may need to wait until it arrives before proceeding with the activation.
Now, let’s get started on activating your Apple Credit Card and unlock a world of financial convenience!
Step 1: Download the Wallet App
The first step in activating your Apple Credit Card is to download the Wallet app on your iPhone or iPad. The Wallet app is a pre-installed application on iOS devices that allows you to store and manage various cards, including credit cards, debit cards, loyalty cards, and more.
To download the Wallet app, simply open the App Store on your iPhone or iPad and search for “Wallet.” Once you find the app, tap on the “Get” or “Download” button to begin the installation process. The app will be downloaded and installed on your device within a few moments.
If you already have the Wallet app installed on your device, ensure that it is updated to the latest version. Updates often include bug fixes and feature enhancements, ensuring a smooth and seamless user experience.
Once the app is successfully downloaded and installed, move on to the next step in activating your Apple Credit Card.
Important Note: The Wallet app is only available on iOS devices, so make sure you have an iPhone or iPad to proceed with the activation process. If you are an Android user or do not own any Apple devices, you will not be able to activate and use the Apple Credit Card.
Step 2: Open the Wallet App
Now that you have downloaded the Wallet app on your iPhone or iPad, it’s time to open the app and get ready to activate your Apple Credit Card.
Locate the Wallet app on your device’s home screen or in the app library and tap on it to launch the app. The Wallet app icon features an image of a wallet with colored cards, making it easily recognizable.
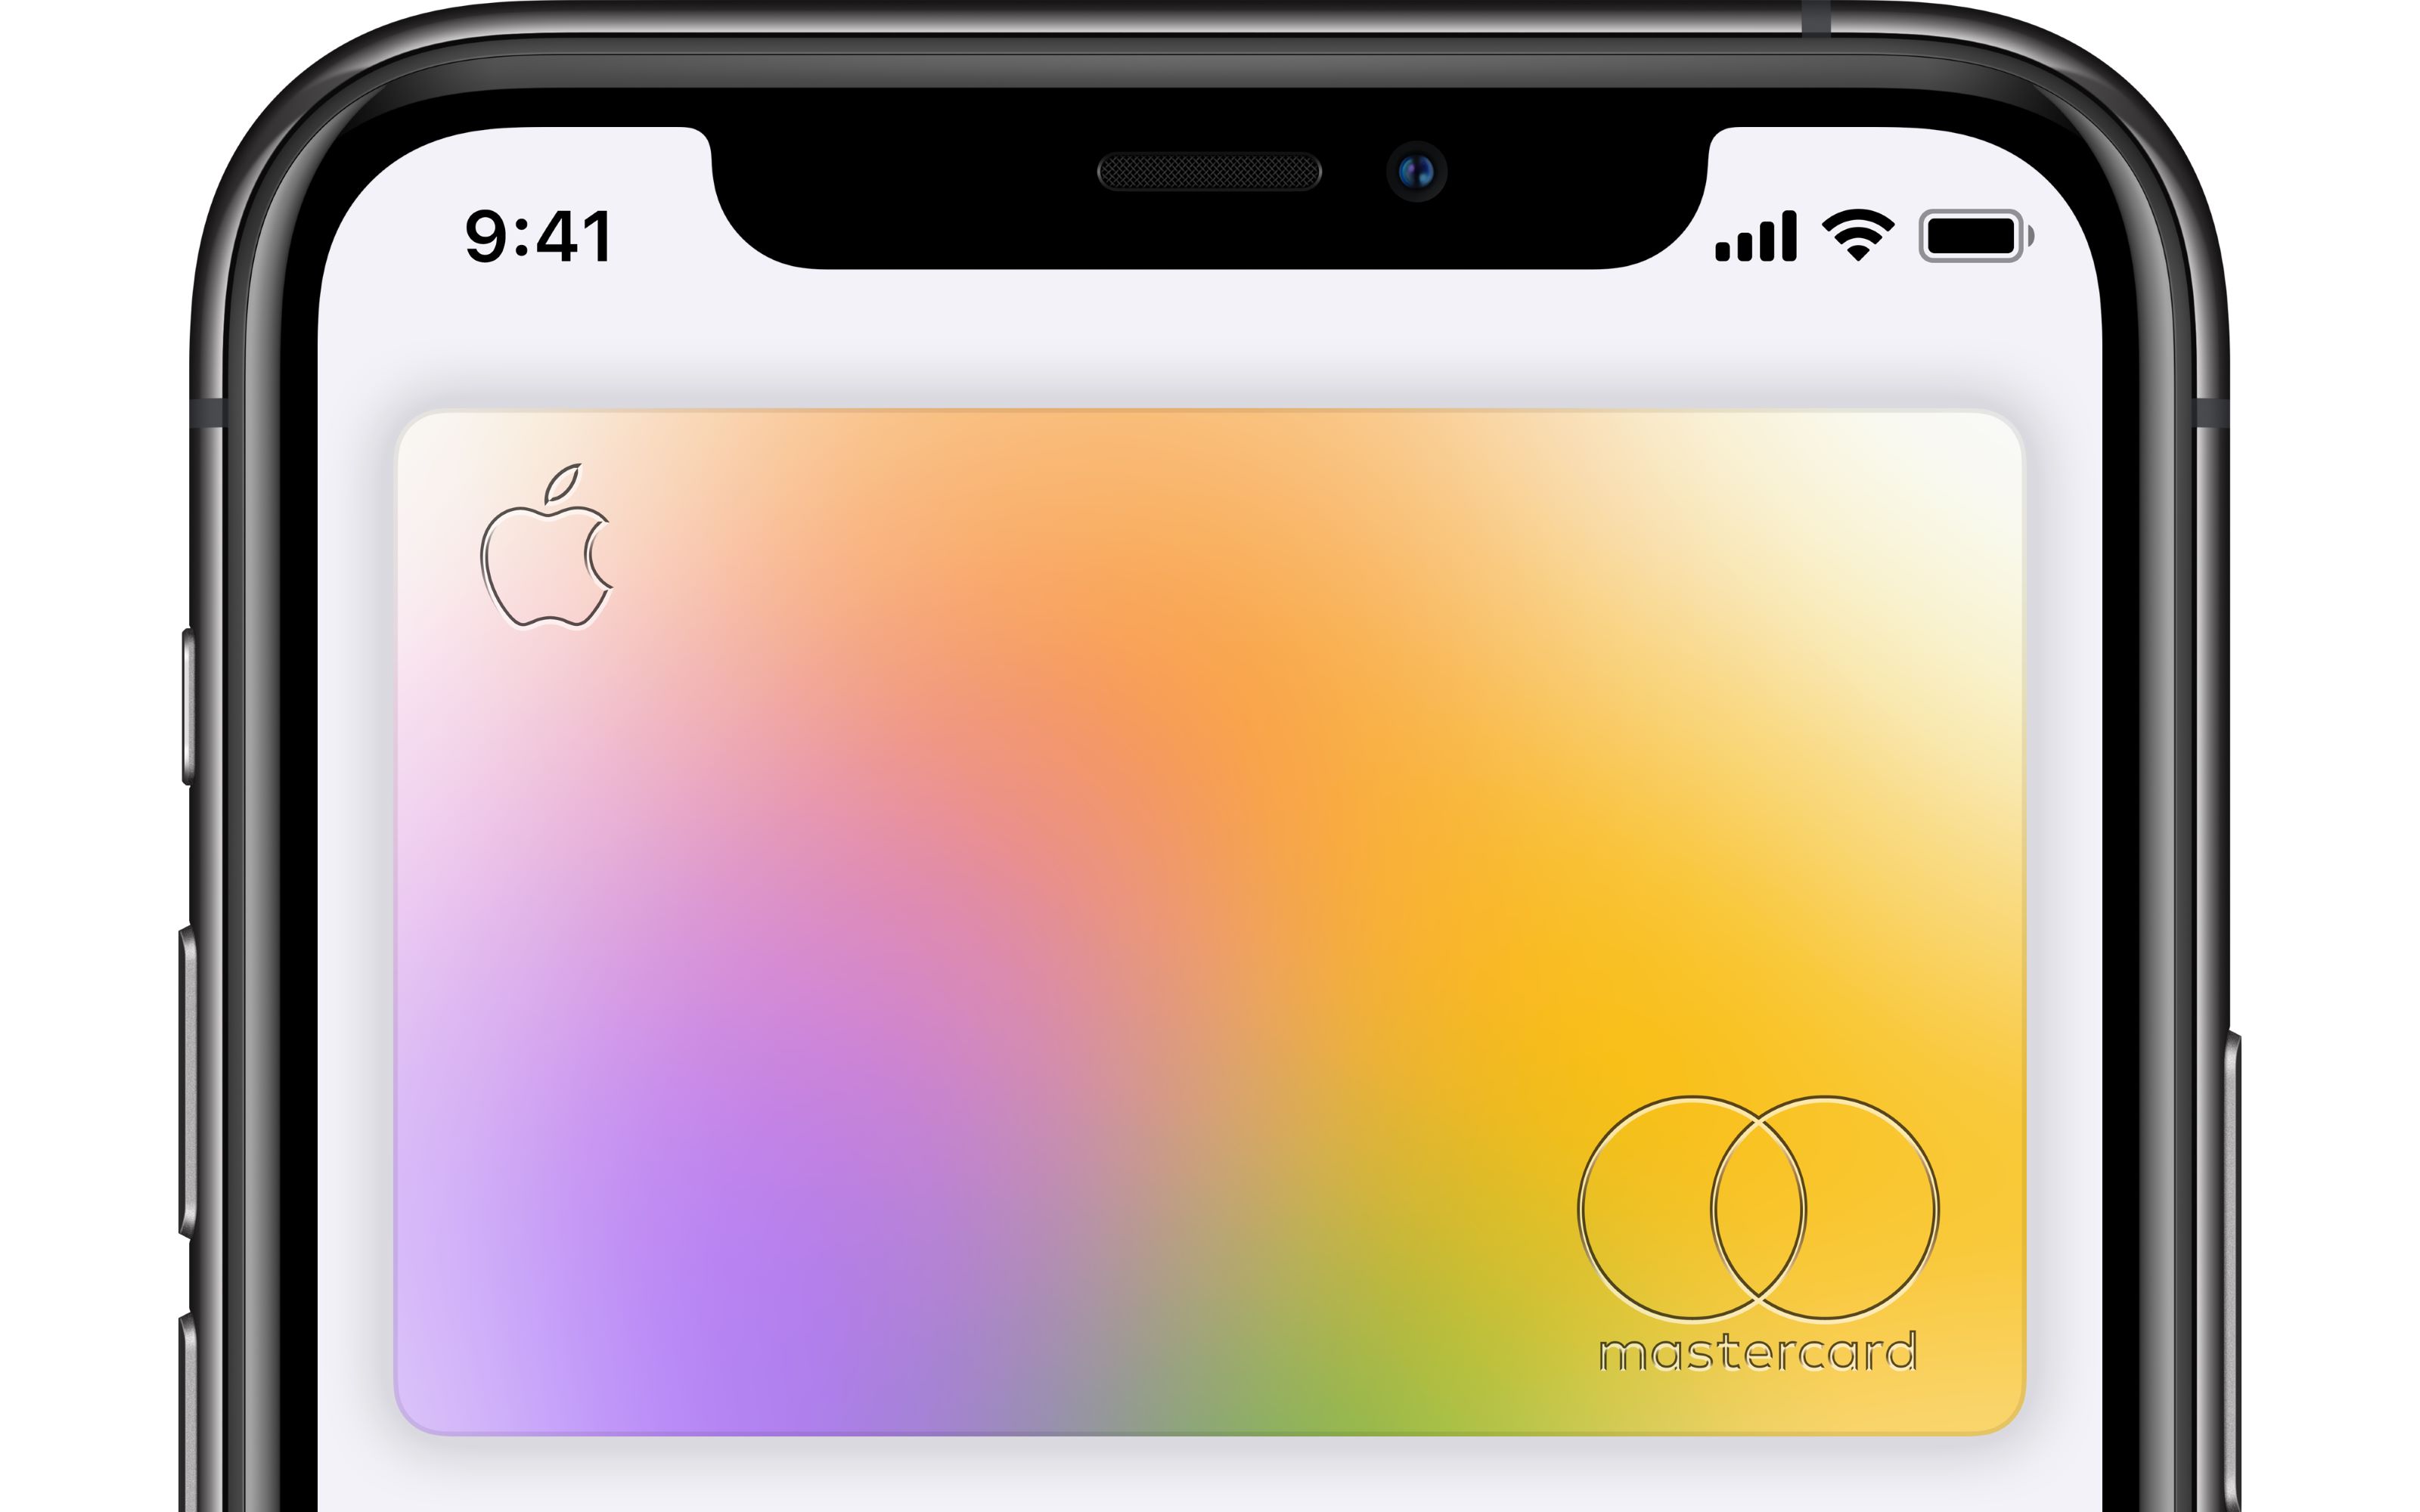
Once you open the Wallet app, you will be greeted with a digital representation of your Apple Credit Card, along with any other cards you have added to the app. The Apple Credit Card will be displayed with its distinctive titanium design and your name engraved on the front.
If this is your first time using the Wallet app, you may be prompted to add a card. In that case, follow the on-screen instructions to add your Apple Credit Card to the app. Otherwise, proceed to the next step.
It’s important to note that if you are using multiple Apple devices, such as an iPhone and an iPad, the Wallet app may sync between these devices. This means that when you add or activate your Apple Credit Card on one device, it will be automatically available on all your other connected devices that have the Wallet app installed.
Now that you have successfully opened the Wallet app, let’s move on to the next step and start the activation process for your Apple Credit Card.
Step 3: Locate and Tap “Add Card”
After opening the Wallet app on your iPhone or iPad, the next step is to locate and tap on the “Add Card” option to begin the activation process for your Apple Credit Card.
On the main screen of the Wallet app, you will find various options and buttons. Look for the “Add Card” button, usually located at the bottom of the screen. The “Add Card” button may be represented by a plus (+) sign or an icon resembling a credit card.
Once you have located the “Add Card” button, tap on it to proceed. This action will initiate the process of adding your Apple Credit Card to the Wallet app.
Depending on your device’s settings and previous card additions, you may be prompted with different options at this stage. For example, if you have added other cards to the Wallet app before, you may see options such as “Add Credit or Debit Card,” “Add Another Card,” or “Add Card Manually.” Select the option that allows you to add a new credit card.
If you don’t see the “Add Card” button on the main screen of the Wallet app, you may need to navigate through the app’s menu or settings to find it. Look for options that mention card management, card addition, or activation.
Once you have successfully located the “Add Card” option and tapped on it, you are ready to proceed with the next steps in the activation process for your Apple Credit Card.
Step 4: Follow the Activation Instructions
After tapping on the “Add Card” button in the Wallet app, you will now be presented with activation instructions to complete the setup of your Apple Credit Card.
The specific instructions may vary depending on your location and the version of the iOS operating system on your device. However, the general process remains the same.
You may be prompted to position your Apple Credit Card within the frame on the screen, ensuring that the card’s details are aligned correctly. Alternatively, you may be asked to manually enter your card information, including the card number, expiration date, and security code.
Follow the on-screen prompts and enter the required information accurately to proceed with the activation process. Make sure to double-check the details before confirming to avoid any errors.
In some cases, you may need to validate your identity as part of the activation process. This can be done by providing your personal details, such as your name, date of birth, and the last four digits of your Social Security number or other identification number.
During the activation process, you may also be required to accept the terms and conditions of the Apple Credit Card. Take the time to read through the terms and conditions carefully to ensure that you fully understand the card’s features, benefits, and any applicable fees.
Once you have provided all the necessary information and accepted the terms and conditions, follow the on-screen instructions to complete the activation process for your Apple Credit Card.
Now that you have followed the activation instructions and provided the required information, you are one step closer to unlocking the full potential of your Apple Credit Card. Let’s move on to the next step to complete the activation process.
Step 5: Verification Process
After following the activation instructions and entering the required information, you may need to undergo a verification process to ensure the security and legitimacy of your Apple Credit Card.
The verification process may require different methods depending on your location and the specific requirements set by Apple. Common verification methods include:
- Text Message or Phone Call: You might receive a verification code via text message or a phone call to the phone number associated with your Apple ID. Enter the verification code in the designated field within the Wallet app to proceed with the activation.
- Email Verification: In some cases, Apple may send a verification email to the email address associated with your Apple ID. Open the email and follow the instructions to verify your Apple Credit Card.
- Two-Factor Authentication: If you have enabled two-factor authentication for your Apple ID, you may be prompted to enter a verification code generated on another trusted device associated with your Apple ID.
Follow the instructions provided during the verification process, and be sure to provide accurate and up-to-date contact information to ensure a smooth and successful activation.
If you encounter any issues or do not receive the verification code or email, check your spam or junk folders and ensure that you have a stable internet connection. If the issue persists, you can contact Apple Support for further assistance.
Once you have completed the verification process successfully, congratulations! You have now verified your Apple Credit Card and are ready to proceed with the setup process.
Now that the verification process is complete, let’s move on to the next step: setting up your card preferences.
Step 6: Set Up Your Card Preferences
After completing the verification process for your Apple Credit Card, it’s time to personalize your card preferences and make it tailored to your needs. This step allows you to customize settings such as rewards preferences, notifications, and payment options.
To set up your card preferences, open the Wallet app and locate your Apple Credit Card. Tap on the card to access its details and settings.
Here are some key preferences you can explore:
- Rewards Preferences: Apple Credit Card offers cashback rewards known as Daily Cash. You can choose to redeem your rewards as a credit balance on your Apple Card or transfer them to your bank account. Explore the rewards section in the Wallet app and select your desired redemption option.
- Notifications: Customize your notification settings to receive alerts for transactions, due dates, and other important updates. You can choose to receive notifications via email, push notifications, or both.
- Payment Options: Set up automatic payments to ensure that your Apple Credit Card balance is paid off on time each month. You can link your bank account to enable automatic payments or manually make payments through the Wallet app.
- Privacy and Security: Take some time to explore the security features available for your Apple Credit Card. Enable features such as Face ID or Touch ID to ensure that only you can access your card details and make transactions.
Take advantage of these customizable preferences to make your Apple Credit Card experience more personalized and convenient.
It’s important to periodically review and update your preferences as your financial needs or preferences may change over time. The Wallet app allows you to easily modify your preferences whenever necessary.
Now that you have set up your card preferences, you are ready to start using your Apple Credit Card. Let’s move on to the final step: enjoying the benefits of your card!
Step 7: Start Using Your Apple Credit Card
Congratulations! You have successfully activated your Apple Credit Card and completed the setup process. Now it’s time to start using your card and enjoy the benefits it offers.
The Apple Credit Card works seamlessly with your Wallet app, making it easy to manage your finances and make transactions. Here’s how you can start using your card:
- Make Purchases: Simply add your Apple Credit Card to Apple Pay or use it for in-store purchases by tapping your device on compatible payment terminals. You can also use your physical card for transactions where Apple Pay is not accepted.
- Earn Rewards: Every time you make purchases with your Apple Credit Card, you’ll earn Daily Cash rewards. These rewards can be redeemed as a credit balance on your card or transferred to your bank account.
- Monitor Spending: The Wallet app provides real-time spending insights, allowing you to track your expenses and analyze your spending patterns. You can categorize transactions, set spending limits, and receive detailed summaries of your purchases.
- Manage Payments: Use the Wallet app to make payments towards your Apple Credit Card balance. Set up automatic payments or manually schedule payments to ensure that your card is paid off on time each month.
- Access Customer Support: If you have any questions or need assistance, the Wallet app provides easy access to customer support for your Apple Credit Card. Reach out to Apple Support for any concerns or inquiries you may have.
Remember to use your Apple Credit Card responsibly and keep track of your spending to avoid accumulating debt. Pay your monthly balance on time to avoid any interest charges and make the most out of the benefits offered by the card.
With the sleek design, innovative features, and rewards program, the Apple Credit Card is designed to enhance your financial experience. Enjoy the convenience and security it offers while managing your finances with ease.
Now that you are familiar with the steps to activate your Apple Credit Card and start using it, you’re ready to embark on your financial journey with this powerful tool.
Use your Apple Credit Card wisely and make the most out of its features. Enjoy the benefits and perks it offers, and stay on top of your finances with the help of the Wallet app.
Congratulations again, and happy spending with your new Apple Credit Card!
Conclusion
Activating your Apple Credit Card is a simple and straightforward process that can be completed in just a few steps. By following the steps outlined in this guide, you can confidently activate your card and start enjoying the features and benefits it offers.
The Apple Credit Card, with its sleek design and integration with the Wallet app, aims to revolutionize the way we manage our finances. From cashback rewards to real-time spending insights, this credit card offers convenience and flexibility.
Remember to download the Wallet app from the App Store, open it, and tap on “Add Card” to begin the activation process. Follow the on-screen instructions to provide the necessary information and complete the verification process. Next, customize your card preferences, and you’re ready to start using your Apple Credit Card.
Make purchases, earn rewards, monitor your spending, and manage your payments through the Wallet app. Take advantage of the convenience and benefits this card offers to simplify your financial journey.
As with any credit card, it is important to use your Apple Credit Card responsibly. Pay your balance on time, monitor your spending, and stay within your means. By doing so, you can maximize the benefits of your card while maintaining good financial health.
Should you encounter any issues during the activation process or have questions about your Apple Credit Card, don’t hesitate to reach out to Apple Support. They are available to assist you and provide the necessary guidance.
Now that you have successfully activated your Apple Credit Card, it’s time to unlock its full potential. Enjoy the convenience, security, and rewards that come with using the card, and make the most out of your financial journey with Apple.
Congratulations on taking this step towards a seamless and innovative financial experience with your Apple Credit Card!
What's Hot
Latest Articles
Related Post
By: • Finance

By: • Finance

By: • Finance

By: • Finance

By: • Finance

By: • Finance

By: • Finance

By: • Finance

By: • Finance

By: • Finance


By: • Finance

By: • Finance


By: • Finance