Finance
How To Add Credit Card To Google Wallet
Published: October 26, 2023
Learn how to securely add your credit card to Google Wallet and enjoy convenient and secure finance management. Simplify your transactions and keep track of your expenses in one place.
(Many of the links in this article redirect to a specific reviewed product. Your purchase of these products through affiliate links helps to generate commission for LiveWell, at no extra cost. Learn more)
Table of Contents
- Introduction
- Step 1: Download and Install Google Wallet App
- Step 2: Open Google Wallet App
- Step 3: Sign in to Your Google Account
- Step 4: Add a Payment Method
- Step 5: Enter Credit Card Information
- Step 6: Verify Card Details
- Step 7: Set Card as Default Payment Method
- Step 8: Confirm Card Addition
- Step 9: Start Using Your Credit Card with Google Wallet
- Conclusion
Introduction
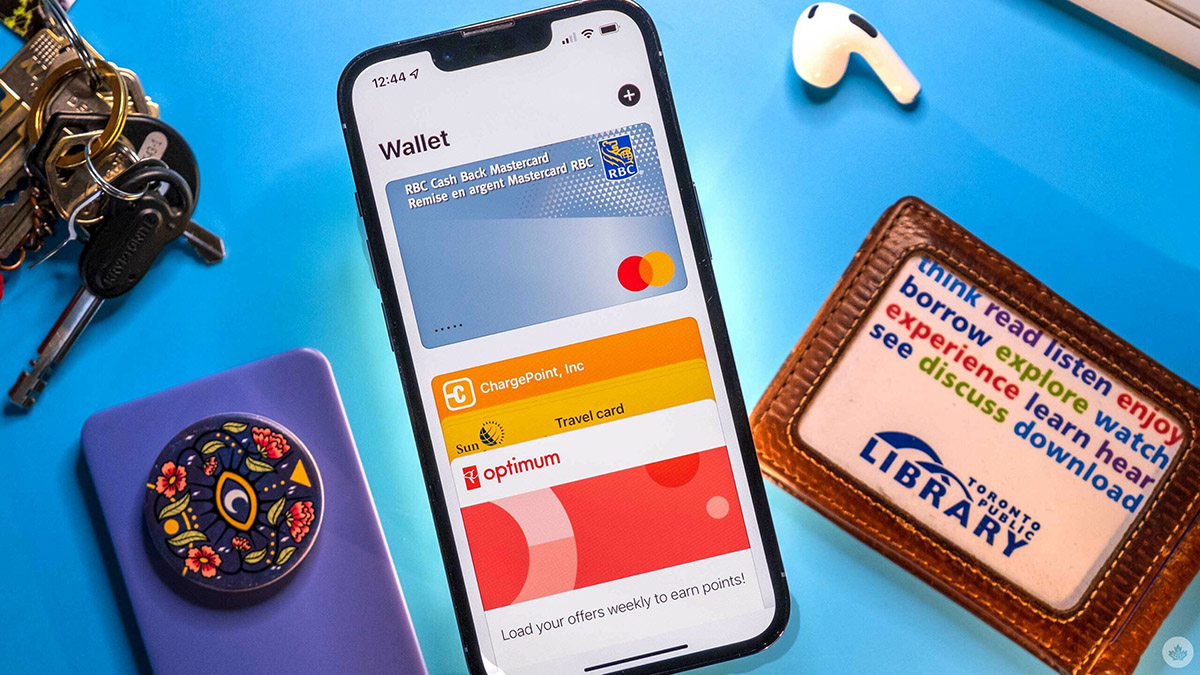
Google Wallet is a convenient and secure mobile payment system that allows you to store your credit card information digitally and make purchases with ease. By adding your credit card to Google Wallet, you can streamline your online shopping experience and make payments with just a few taps on your smartphone or tablet.
Whether you’re purchasing goods or services online, sending money to friends and family, or making in-store purchases using your mobile device, Google Wallet provides a seamless and secure way to manage your financial transactions.
Adding your credit card to Google Wallet is a straightforward process that requires a few simple steps. In this article, we will guide you through the process of adding your credit card to Google Wallet, ensuring a hassle-free experience.
Before we dive into the steps, it’s essential to note that Google Wallet is compatible with most major credit cards, including Visa, Mastercard, American Express, and Discover. Additionally, Google Wallet allows you to store multiple cards, giving you the flexibility to choose the payment method that suits your needs for each transaction.
Now let’s get started and learn how to add a credit card to Google Wallet.
Step 1: Download and Install Google Wallet App
The first step in adding your credit card to Google Wallet is to download and install the Google Wallet app on your device. The app is available for both Android and iOS devices and can be found in the respective app stores.
To download the app, open the app store on your device and search for “Google Wallet.”
Once you find the app, click on the “Download” or “Install” button to begin the installation process. The app will be downloaded and installed on your device automatically.
After the installation is complete, you will see the Google Wallet app icon on your device’s home screen or in your app drawer. Tap on the icon to launch the app.
Ensure that you have a stable internet connection before proceeding to the next steps, as the app will require an internet connection to complete the credit card addition process.
Now that you have successfully downloaded and installed the Google Wallet app, let’s move on to the next step: signing in to your Google account.
Step 2: Open Google Wallet App
After downloading and installing the Google Wallet app on your device, it’s time to open the app and begin the credit card addition process.
Locate the Google Wallet app icon on your device’s home screen or in your app drawer and tap on it to launch the app.
Once the app is open, you will be greeted with the Google Wallet home screen. This screen will provide you with an overview of your current payment methods, transaction history, and any offers or promotions available.
If this is your first time using the Google Wallet app, you may be prompted to sign in with your Google account. Enter your Google account email and password and click on the “Sign in” or “Continue” button to proceed.
For added convenience, you can enable biometric authentication, such as fingerprint or face recognition, to secure your Google Wallet account. To enable this feature, simply follow the prompts on the screen and set up the biometric authentication method of your choice.
Once you are signed in and have set up any desired security features, you are now ready to proceed to the next step: adding your credit card to Google Wallet.
With the Google Wallet app open and your account signed in, let’s move on to Step 3: signing in to your Google account.
Step 3: Sign in to Your Google Account
In order to add a credit card to Google Wallet, you’ll need to sign in to your Google account within the app. This step ensures that your credit card information is securely linked to your account and can be easily accessed for future transactions.
When you open the Google Wallet app, you may be prompted to sign in to your Google account if you haven’t already done so. Enter your Google account email and password in the provided fields and tap on the “Sign in” or “Continue” button.
If you have multiple Google accounts, make sure to select the account that you want to associate with Google Wallet. You can do this by tapping on your account name or profile picture and choosing the desired account from the list.
If you have forgotten your Google account password or need assistance with signing in, you can tap on the “Forgot password” or “Need help?” links to access account recovery options or contact Google support.
Once you have successfully signed in to your Google account, you are one step closer to adding your credit card to Google Wallet. Let’s move on to the next step: adding a payment method.
*Note: If you already have payment methods associated with your Google account, such as previously added credit cards or bank accounts, they may be displayed on the home screen of the Google Wallet app. You can manage or remove these payment methods as needed.
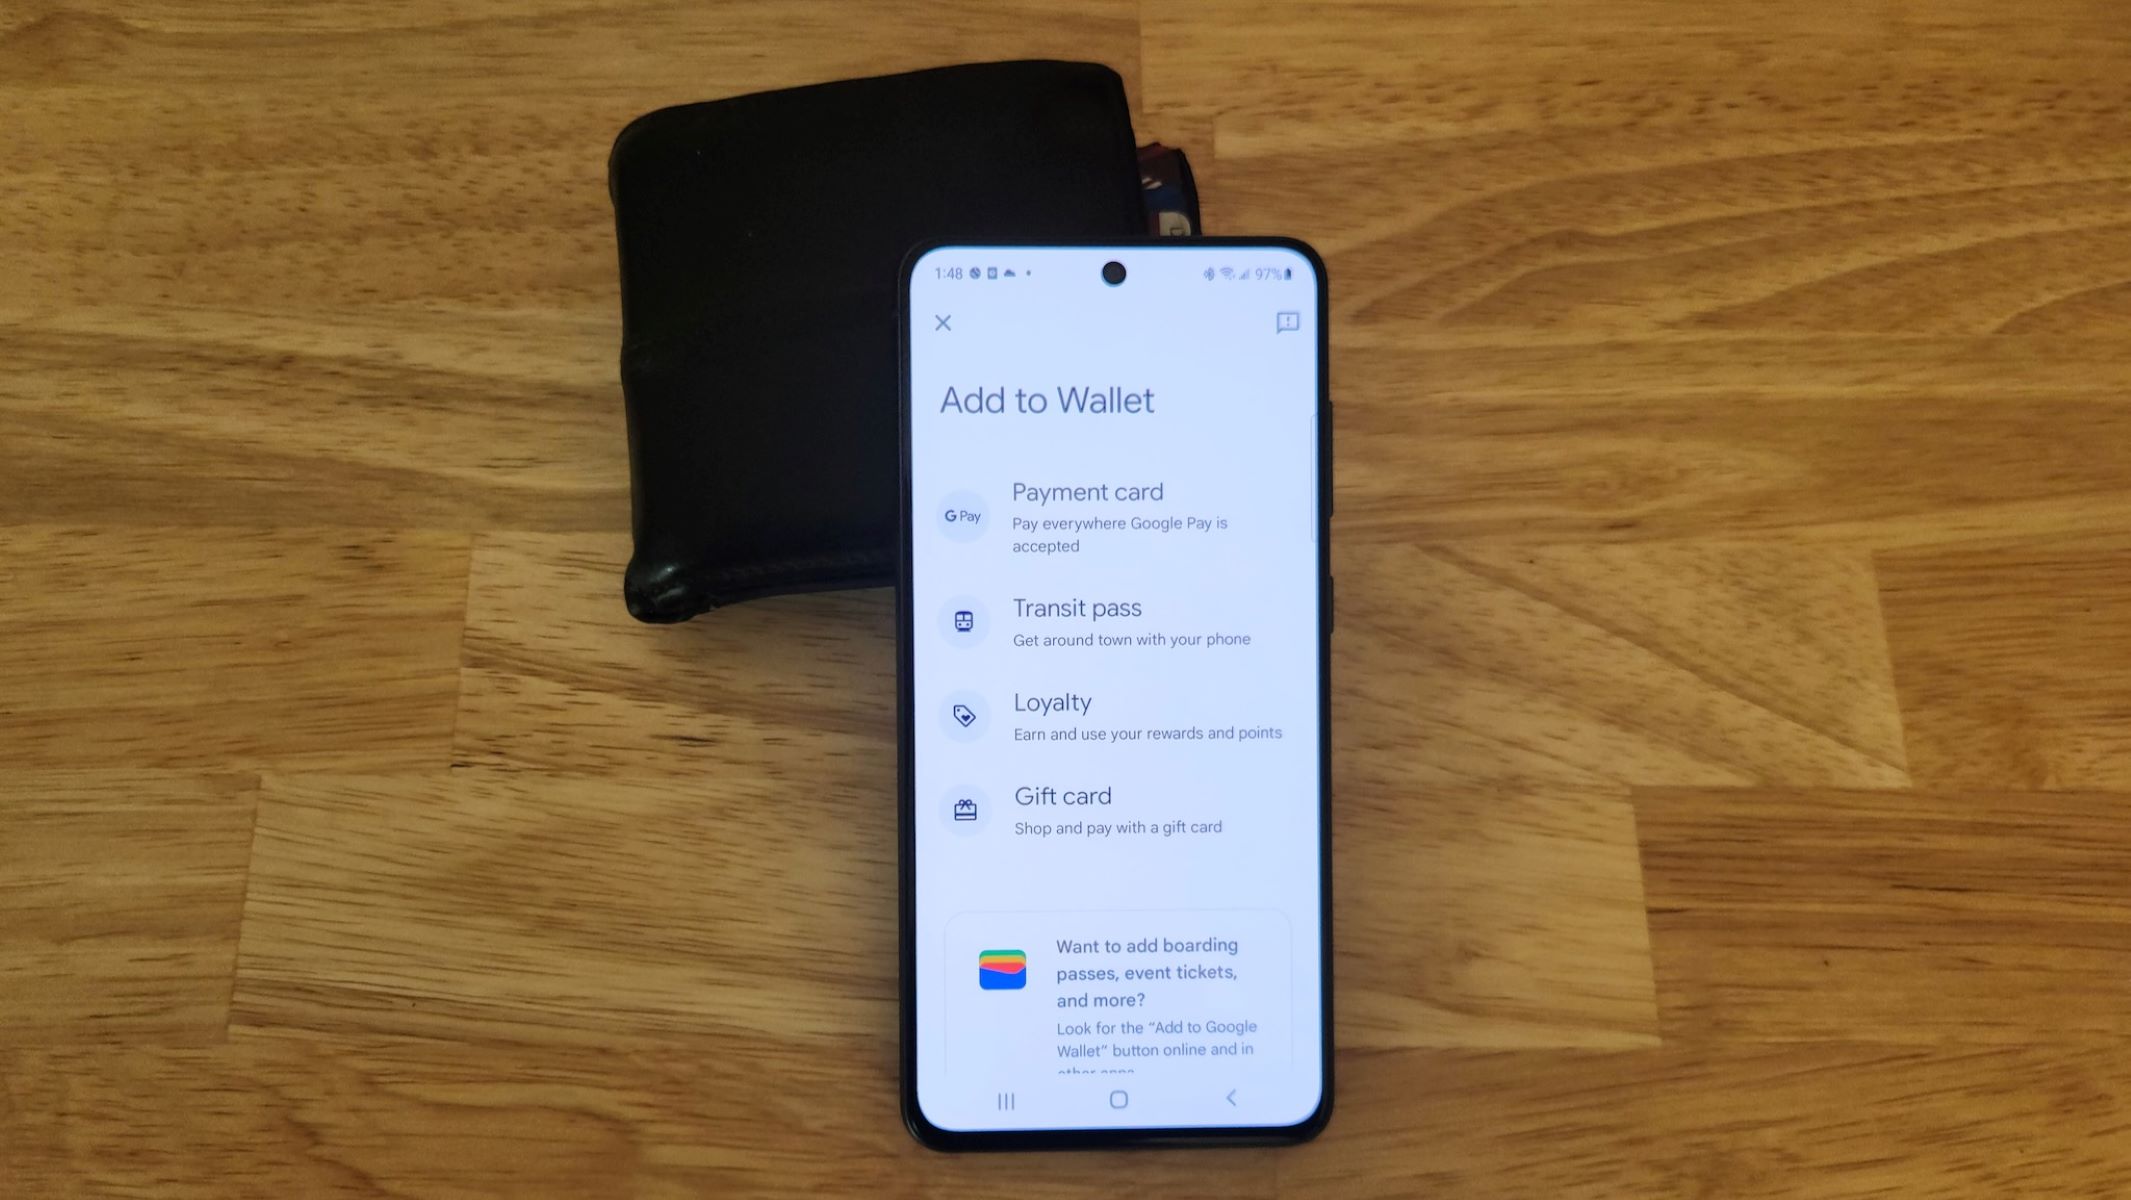
Step 4: Add a Payment Method
Now that you have signed in to your Google account in the Google Wallet app, it’s time to add a payment method. This is where you will enter the details of your credit card, allowing you to make secure and convenient transactions with Google Wallet.
To add a payment method, navigate to the home screen of the Google Wallet app. Look for the option to “Add a payment method” or “Add a card.” This option is typically located near the section displaying your current payment methods.
Tap on “Add a payment method” and you will be presented with a series of options for adding your credit card. Choose the option that allows you to enter your credit card information manually or scan your card using the camera on your device. The specific options available may vary depending on the version of the Google Wallet app you are using.
If you choose to enter your credit card information manually, you will be prompted to enter the card number, expiration date, security code (CVV), and the cardholder’s name. Ensure that you double-check the accuracy of the entered information to avoid any issues with future transactions.
If you prefer to scan your credit card using the camera on your device, follow the on-screen instructions to align the card within the frame and capture the necessary details. This method can be quicker and more convenient, as it automatically populates the card information fields for you.
After entering or scanning your credit card information, tap on the “Next” or “Continue” button to proceed.
Once you have added a payment method to your Google Wallet account, it’s time to move on to the next step: verifying your card details.
Step 5: Enter Credit Card Information
Now that you have selected the option to add a payment method in the Google Wallet app, it’s time to enter your credit card information. This step ensures that the correct details are associated with your card, allowing for seamless and secure transactions.
If you have chosen to enter your credit card information manually, you will be presented with a form that requires the following details:
- Card Number: Enter the full 16-digit number that is printed on the front of your credit card. Make sure to input the numbers accurately to avoid any issues with future transactions.
- Expiration Date: Provide the expiry month and year of your credit card, which can typically be found on the front or back of the card.
- Security Code (CVV): This is a three-digit or four-digit number located on the back of your credit card. It is used to verify the authenticity of the card during online transactions. Enter this code carefully.
- Cardholder’s Name: Input the name exactly as it appears on the front of your credit card.
Alternatively, if you have chosen to scan your credit card using the camera on your device, ensure that the card details displayed on the screen are accurate. Review the card number, expiration date, and cardholder’s name to confirm that they match the information on your physical credit card. If any inaccuracies are detected, you may need to rescan or manually enter the correct information.
Once you have entered or scanned the required credit card information, double-check all the details to ensure accuracy. Mistakes in the card number, expiration date, or security code may result in failed transactions or declined payments.
After verifying the accuracy of the entered credit card information, tap on the “Next” or “Continue” button to proceed.
With the credit card information successfully entered into the Google Wallet app, let’s move on to the next step: verifying your card details.
Step 6: Verify Card Details
After entering your credit card information in the Google Wallet app, it is crucial to verify the details to ensure that everything is correct. This verification step adds an additional layer of security and helps prevent any errors or issues with future transactions.
Upon submitting your credit card information, the Google Wallet app will typically display the card details you provided. Take a moment to review the information, including the card number, expiration date, security code (CVV), and cardholder’s name. Ensure that all the details match the physical card in your possession.
If you have scanned your credit card using the camera on your device, the app will display the scanned card image along with the generated card details. Examine the scanned image to ensure its clarity and readability. If the image or details are unclear or incorrect, you may need to rescan the card or enter the information manually.
Verifying the card details is essential as any errors or discrepancies can lead to transaction failures or potential fraud. Mistakes in the card number, expiration date, or security code can result in declined payments or incorrect charges.
If you are satisfied with the accuracy of the displayed card details, you can proceed by tapping on the “Next” or “Continue” button in the Google Wallet app. This will move you to the next step, where you can set your credit card as the default payment method.
However, if you notice any mistakes or discrepancies in the card details, it is crucial to correct them before proceeding. Tap on the “Edit” or “Correct” option within the app and make the necessary changes to the incorrect information.
By thoroughly verifying the card details, you can ensure a seamless and secure experience when using your credit card with Google Wallet. Let’s move on to the next step: setting your card as the default payment method.
Step 7: Set Card as Default Payment Method
Setting your credit card as the default payment method in Google Wallet allows for quick and effortless transactions. Whenever you make a purchase or payment through Google Wallet, it will automatically use your default payment method, saving you valuable time and effort.
Once you have successfully verified the details of your credit card in the Google Wallet app, you will be given the option to set it as the default payment method. This ensures that when you make a purchase, your preferred card is automatically selected for payment.
To set your card as the default payment method, look for the option within the Google Wallet app that allows you to designate a default card. This option is usually located in the payment methods section or during the card verification process.
When you find the option to set your card as default, tap on it. The app will then confirm your selection and display a message indicating that your card has been successfully set as the default payment method. This means that any future transactions made through Google Wallet will automatically utilize this card for payment.
If you have multiple cards associated with your Google Wallet account, you can choose which card to set as the default. Simply select your desired card from the available options and follow the same process outlined above.
Setting your preferred credit card as the default payment method streamlines your payment experience and eliminates the need to manually select a card each time you make a purchase. This convenient feature ensures a smooth and efficient transaction process.
Now that you have set your credit card as the default payment method in Google Wallet, let’s move on to the next step: confirming the addition of your card.
Step 8: Confirm Card Addition
After setting your credit card as the default payment method in Google Wallet, it’s important to confirm the addition of the card to ensure that the process is complete. This final step verifies that your card has been successfully added to your Google Wallet account and is ready for use.
Once you have designated your card as the default payment method, the Google Wallet app will typically display a confirmation message on the screen. This message will acknowledge that your credit card has been added to your account and is now ready for transactions.
Take a moment to review the confirmation message and ensure that it accurately reflects the action you just took. Double-check that the displayed card details match your credit card and that the confirmation explicitly states that the card addition was successful.
If you are presented with the option to “Proceed” or “Finish,” tap on that button to complete the process and finalize the addition of your card to Google Wallet.
At this point, it’s a good idea to navigate to the payment methods section within the Google Wallet app to verify that your credit card is indeed listed as one of the available payment options. Confirm that the card is designated as the default payment method, as indicated by a “Default” or similar label.
By confirming the addition of your credit card, you can have peace of mind knowing that your card is properly linked to your Google Wallet account and ready for use. You can now start using your credit card to make secure and convenient transactions through Google Wallet.
With the confirmation completed, let’s move on to the final step: start using your credit card with Google Wallet!
Step 9: Start Using Your Credit Card with Google Wallet
Congratulations! You have successfully added your credit card to Google Wallet. Now it’s time to start using it for seamless and secure transactions.
With your credit card added and set as the default payment method, you can now enjoy the convenience of making payments through Google Wallet. Whether you’re shopping online, purchasing in-store, or sending money to friends and family, Google Wallet offers a hassle-free way to manage your financial transactions.
To make a payment using your credit card in Google Wallet, simply select the option to pay with Google Wallet during the checkout process. This option may be labeled as “Google Wallet” or “G Pay” depending on the platform or merchant you are purchasing from.
When prompted, choose your default payment method, and if it is already set as the default, it will be automatically selected. Confirm the payment details and complete the transaction with just a few taps or clicks.
In addition to making payments, Google Wallet also allows you to view your transaction history, manage your payment methods, and keep track of any offers or promotions available.
It’s important to note that Google Wallet is widely accepted by online merchants, apps, and websites, making it a versatile payment solution that can be used across various platforms and services.
Remember to keep your credit card information and Google Wallet account details secure by choosing strong passwords and enabling additional security features such as biometric authentication.
If you ever need to update or remove your credit card information from Google Wallet, simply navigate to the payment methods section within the app and make the necessary changes.
With your credit card successfully added to Google Wallet, you are now ready to enjoy the convenience and security of mobile payments. Start using your credit card with Google Wallet today and experience a seamless and effortless way to manage your financial transactions.
Now that you’re all set, go ahead and make your first purchase with Google Wallet!
Conclusion
Adding your credit card to Google Wallet is a simple and straightforward process that empowers you to make convenient, secure, and hassle-free transactions. By following the nine steps outlined in this guide, you can seamlessly integrate your credit card with Google Wallet and enjoy the benefits of mobile payments.
Throughout each step, we highlighted the importance of accuracy and verification to avoid any issues during the payment process. It’s crucial to carefully enter or scan your credit card information and review the details for accuracy before proceeding. Verifying the card details and setting it as the default payment method ensure a seamless and efficient payment experience.
With your credit card added to Google Wallet, you can confidently make purchases online, in-store, and even send money to friends and family. The versatility and convenience offered by Google Wallet make it a valuable tool for managing your financial transactions.
Always remember to keep your credit card information and Google Wallet account secure. Choose strong and unique passwords, enable device security features, and be vigilant when sharing personal information online.
Whether you’re shopping for goods, services, or experiences, Google Wallet simplifies the payment process and ensures that your credit card information remains secure. Take advantage of the features offered by Google Wallet, such as transaction history tracking and managing multiple payment methods, to stay organized and in control of your finances.
Now that you are equipped with the knowledge of adding your credit card to Google Wallet, go ahead, download the app, and experience the seamless and secure world of mobile payments. Enjoy the convenience of quick and effortless transactions, all at your fingertips!
Remember, Google Wallet offers a range of additional features and functionalities, so take the time to explore and make the most out of this innovative payment solution. Start using your credit card with Google Wallet today and experience a new level of convenience and security in your financial transactions.
What's Hot
Latest Articles
Related Post
By: • Finance

By: • Finance

By: • Finance

By: • Finance
By: • Finance
By: • Finance

By: • Finance

By: • Finance
By: • Finance

By: • Finance

By: • Finance

By: • Finance

By: • Finance

By: • Finance

By: • Finance