Finance
How To Add A Credit Card To Steam
Published: October 26, 2023
Learn how to add a credit card to Steam for easy and convenient finance management. Expand your gaming horizons with hassle-free payment options.
(Many of the links in this article redirect to a specific reviewed product. Your purchase of these products through affiliate links helps to generate commission for LiveWell, at no extra cost. Learn more)
Table of Contents
Introduction
Adding a credit card to your Steam account is a crucial step in unlocking a world of gaming possibilities. Steam, the popular digital distribution platform for video games, offers a convenient and secure way to purchase and play your favorite titles. By linking a credit card to your account, you can quickly and easily make purchases, access exclusive deals, and manage your subscriptions.
In this guide, we’ll walk you through the step-by-step process of adding a credit card to your Steam account. Whether you’re a seasoned Steam user or a newcomer to the platform, you’ll find that adding a payment method is a simple and straightforward task. So, grab your credit card and let’s get started!
Note: Before proceeding, ensure you have a valid credit card that is accepted by Steam. This usually includes major credit cards such as Visa, Mastercard, American Express, and Discover.
Now, let’s dive into the process of adding a credit card to Steam and begin expanding your gaming library.
Step 1: Launching Steam
The first step in adding a credit card to Steam is to launch the Steam application on your computer. Locate the Steam icon either on your desktop or in your computer’s “Applications” or “Programs” folder and double-click to open it.
Once Steam is launched, you will be prompted to log in to your account. Enter your credentials, which typically include your username and password, and click on the “Login” button.
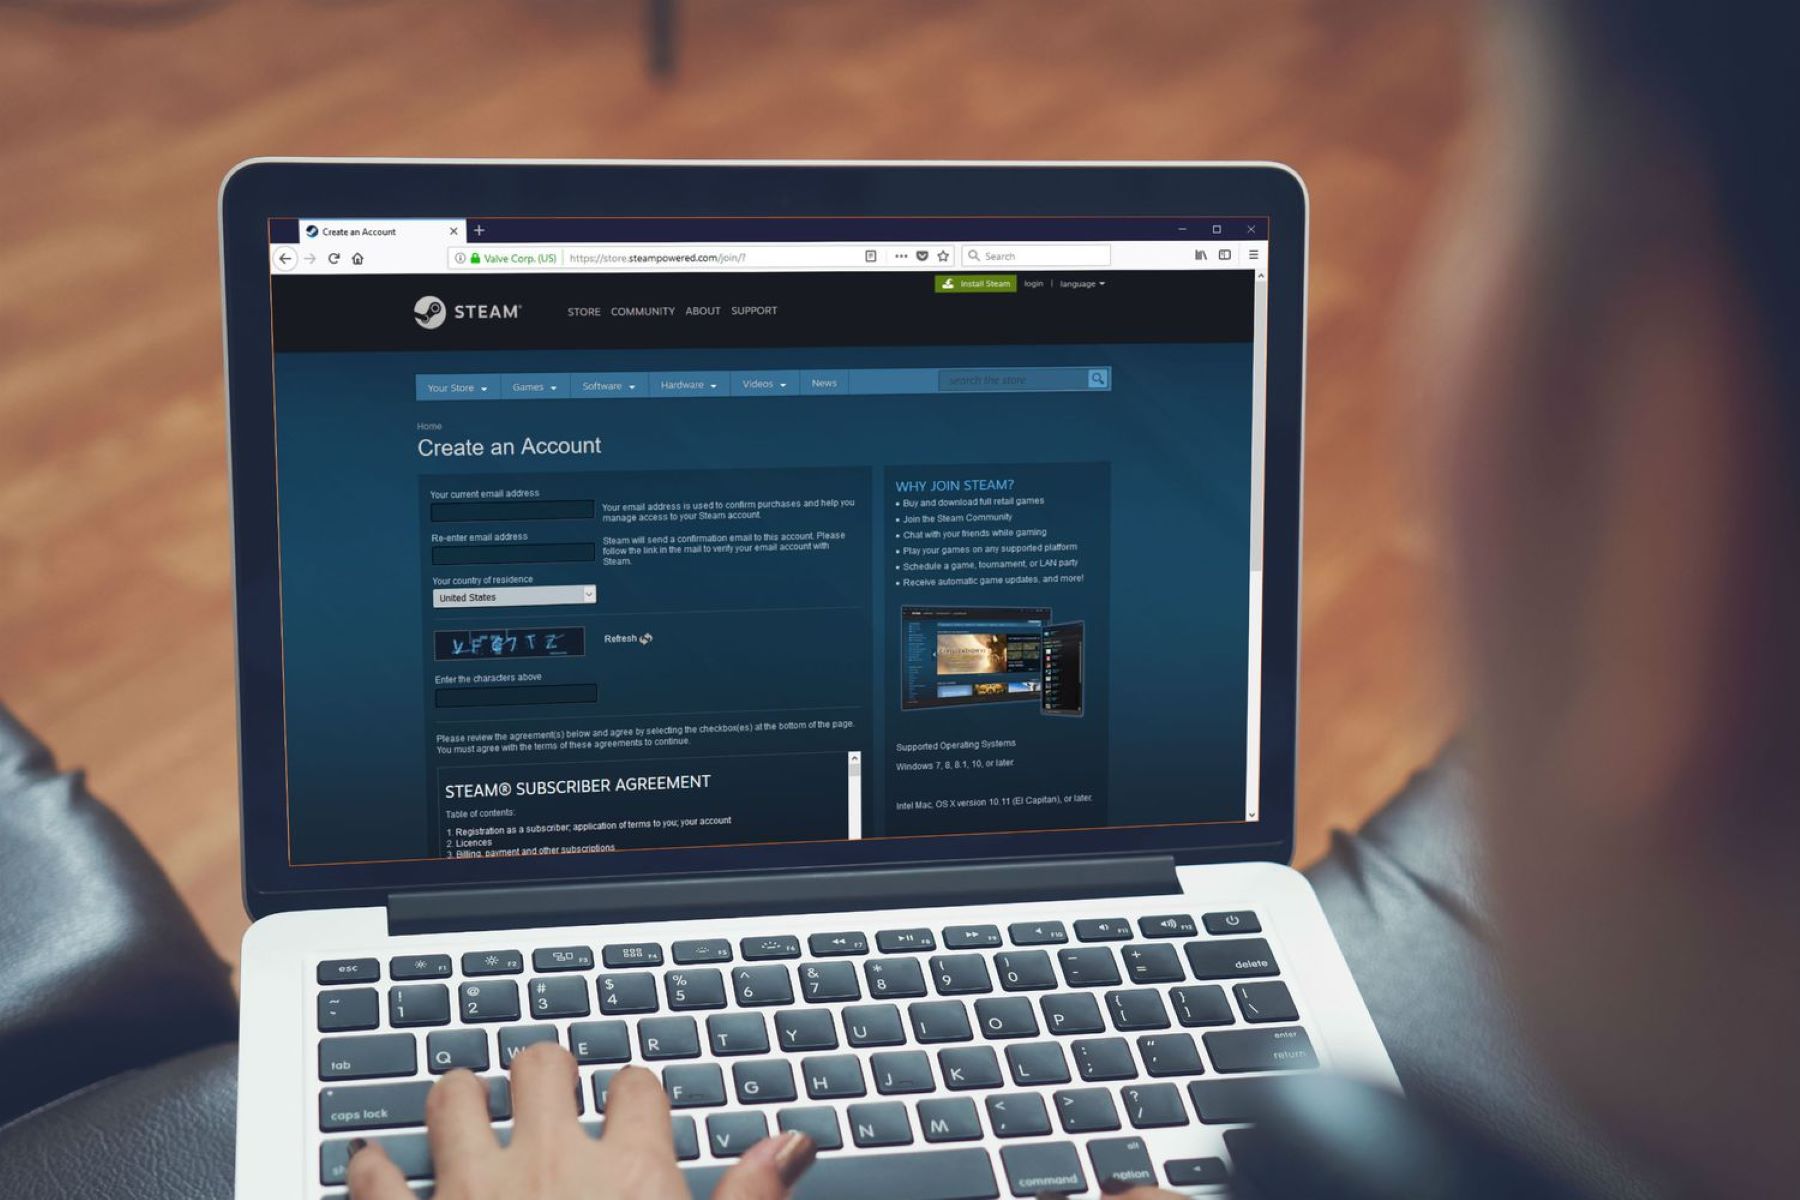
If you don’t have a Steam account yet, you can easily create one by clicking on the “Join Steam” or “Create Account” option. Follow the on-screen prompts to set up your account. Remember to choose a strong and secure password to protect your personal information.
After logging in to your Steam account, you will be taken to the Steam home screen. This is where you can access your game library, browse for new games, and manage your account settings.
Now that you’re logged in to Steam, you’re ready to proceed to the next step: navigating to your account settings.
Step 2: Navigating to Account Settings
Once you have launched the Steam application and logged in to your account, the next step is to navigate to your account settings. Account settings allow you to manage various aspects of your Steam account, including payment methods.
To access your account settings, locate the Steam menu at the top-left of the Steam application window. Click on the “Steam” option to open a drop-down menu. From the drop-down menu, select “Settings”.
Alternatively, you can also access the account settings by clicking on your username, which is typically displayed in the top-right corner of the Steam application window. A drop-down menu will appear, and you can then select “Account Details”.
Both methods mentioned above will lead you to the account settings page, where you can manage various aspects of your Steam account.
On the account settings page, you will see a list of categories on the left-hand side. These categories include “Account”, “Friends & Chat”, “Interface”, “Downloads”, “Cloud”, and more. To add a credit card, click on the “Store & Purchase History” category.
By selecting the “Store & Purchase History” category, you will be directed to a new page where you can manage your payment methods, view your purchase history, and modify other related settings.
Now that you have successfully navigated to the account settings page, it’s time to move on to the next step: selecting the “Payment” tab.
Step 3: Selecting the “Payment” Tab
After accessing the account settings page in Steam, it’s time to proceed to the next step: selecting the “Payment” tab. This tab is where you can manage your payment methods and add a new credit card to your Steam account.
To find the “Payment” tab, look for the menu on the left-hand side of the account settings page. The menu includes options such as “Account Details”, “Change Password”, “Family”, and more. Scroll down until you see the “Payment” tab and click on it.
Upon clicking on the “Payment” tab, a new page will load, displaying your current payment method, if you have one set up. If you haven’t added a credit card to your Steam account yet, this page will appear empty.
On the “Payment” page, you will have the option to add, edit, or remove payment methods. The interface is intuitive and user-friendly, making it easy to manage your payment information.
Before proceeding to add a new credit card, it’s a good practice to ensure that you have necessary information, such as your credit card details, readily available. This includes the card number, expiration date, and any additional security codes.
With the “Payment” tab selected and your credit card information at hand, you’re now ready to move on to the next step: adding a new payment method.
Step 4: Choosing “Add a new payment method”
Once you have accessed the “Payment” tab in your Steam account settings, it’s time to proceed to the next step: adding a new payment method. To achieve this, you will need to locate the option to “Add a new payment method” on the page.
When you are on the “Payment” page, look for a button or link that says “Add a new payment method” or something similar. The wording may differ slightly, but the purpose is to let you add a credit card or other payment method to your Steam account.
Once you have located the option to add a new payment method, click on it. This will prompt Steam to provide you with a form or a series of fields to enter your credit card information.
It is important to note that Steam takes security seriously, so you can rest assured that your credit card information will be encrypted and protected. However, it is still recommended to ensure that you are on a secure and trusted network when entering your card details.
After choosing “Add a new payment method”, Steam may ask you to verify your account or enter your account password for security purposes. Follow the on-screen instructions to complete the verification process, if prompted.
Now that you are ready to enter your credit card details, let’s move on to the next step, where you will enter the necessary information to link your card to your Steam account.
Step 5: Entering Credit Card Information
After selecting the option to “Add a new payment method” in your Steam account settings, you will be presented with a form or a series of fields to enter your credit card information. This step is crucial in securely linking your credit card to your Steam account.
Start by entering the cardholder’s name exactly as it appears on the credit card. Next, input the credit card number, which is typically a 16-digit number found on the front of the card. Be careful to enter the number accurately to avoid any payment issues.
Following the credit card number, you will need to enter the card’s expiration date. This includes the month and year in which the card expires. The expiration date can typically be found on the front or back of the credit card.
In addition to the expiration date, you may be required to enter a security code known as the Card Verification Value (CVV) or Card Verification Code (CVC). The CVV/CVC is a three-digit code found on the back of Visa, Mastercard, and Discover cards, or a four-digit code found on the front of American Express cards.
Ensure that you enter all credit card details accurately and double-check for any typos or mistakes before proceeding. Even a minor error can cause your payment to be declined or result in complications with your Steam account.
Additionally, some credit cards may require additional verification steps, such as entering a billing address or providing a one-time verification code. These steps are necessary to ensure the security and authenticity of the credit card during the linking process.
Once you have entered all the required credit card information correctly, click on the “Save” or “Add” button, depending on the interface of the Steam payment page. This will initiate the process of linking your credit card to your Steam account.
Congratulations! You have successfully entered your credit card information into Steam. The next step involves verifying your credit card to complete the process, which we will cover in the following section.
Step 6: Verifying the Credit Card
After entering your credit card information into Steam, the next step is to verify the card to ensure its validity and to complete the process of adding it to your account.
Steam employs various methods for credit card verification, and the specific process may vary depending on your location and card type. Here are a few common verification methods:
- Two Small Authorization Charges: Steam may make two small authorization charges (typically a few cents or pence) to your credit card. Check your bank or credit card statement for these charges and their accompanying description. Once you identify the charges, return to your Steam account and enter the exact amounts as verification.
- One-Time Verification Code: Steam might provide a one-time verification code that is sent either via email or as a text message to the phone number associated with your account. Enter this code into the designated field on the Steam payment page to verify your credit card.
- Confirmation through Online Banking: If you have online banking set up for your credit card, Steam may direct you to log in to your bank’s online platform to confirm the card’s ownership or to retrieve a verification code.
It is important to note that the verification process is crucial for security purposes. Verifying your credit card ensures that you are the rightful owner and that you have authorized its use on your Steam account. This adds an extra layer of protection against unauthorized transactions.
Follow the instructions provided by Steam during the verification process to successfully complete it. If you encounter any issues or have questions, don’t hesitate to reach out to Steam’s customer support for assistance.
Once your credit card is verified, you are ready to move on to the final step: completing the process of adding the credit card to your Steam account.
Step 7: Completing the Process
After successfully verifying your credit card, you are now in the final step of adding the card to your Steam account. This step involves completing the process and ensuring that your credit card is fully linked and ready to use for purchases on the platform.
Upon completing the verification process, you will typically receive a confirmation message indicating that your payment method has been successfully added to your Steam account.
Before considering the process complete, it’s essential to take a few additional steps to ensure everything is in order:
- Confirming Payment Method: Double-check the payment method section in your Steam account settings to ensure that your newly added credit card is displayed correctly. Verify that the cardholder’s name, card number, and expiration date are accurate.
- Making a Test Purchase: Consider making a small test purchase on Steam using your newly added credit card. This will confirm that your payment method is functioning correctly and that there are no issues with making transactions.
- Reviewing Security Measures: Take a moment to review your account security settings. Enable features such as Steam Guard, which provides an additional layer of security by requiring a unique verification code when logging in from new devices.
By completing these additional steps, you can ensure that your credit card is fully integrated into your Steam account and ready for convenient and secure game purchases.
Congratulations! You have successfully added a credit card to your Steam account. With your payment method in place, you can explore the vast library of games, take advantage of exclusive deals, and enjoy a seamless gaming experience on the Steam platform.
Remember to keep your credit card information secure and regularly monitor your account for any suspicious activity. If you encounter any issues, reach out to Steam’s customer support for assistance.
Now that you have completed the process, it’s time to dive into the world of gaming and enjoy all that Steam has to offer!
Conclusion
Adding a credit card to your Steam account is a simple and essential step that unlocks a world of gaming possibilities. By following the step-by-step process outlined in this guide, you can securely link your credit card to your Steam account and enjoy a seamless experience when making purchases and managing your subscriptions.
We started by launching the Steam application and logging in to our account. Then, we navigated to the account settings and selected the “Payment” tab. From there, we chose to add a new payment method and entered our credit card information accurately.
After entering our credit card details, we moved on to the crucial step of verifying our credit card. This process ensures the security and validity of the card, adding an extra layer of protection to our Steam account.
Finally, we completed the process by double-checking our payment method, making a test purchase, and reviewing our account security settings.
With a valid credit card linked to our Steam account, we can now explore a vast collection of games, indulge in exclusive deals, and enjoy a seamless gaming experience. It’s important to remember to keep your credit card information secure and monitor your account for any suspicious activity.
If you encounter any issues or have questions along the way, don’t hesitate to reach out to Steam’s customer support for assistance. They are there to help you navigate any obstacles and ensure a smooth experience.
Now that you have successfully added a credit card to your Steam account, you can dive into the exciting world of gaming. So, fire up Steam, explore the library of games, and get ready for countless hours of entertainment and adventure!
What's Hot
Latest Articles
Related Post
By: • Finance
By: • Finance

By: • Finance
By: • Finance
By: • Finance
By: • Finance

By: • Finance

By: • Finance

By: • Finance

By: • Finance

By: • Finance

By: • Finance


By: • Finance