Finance
How To Add Credit Card To Quickbooks
Published: October 25, 2023
Learn how to securely add a credit card to Quickbooks for all your finance needs. Streamline your accounting process and keep your financial records organized.
(Many of the links in this article redirect to a specific reviewed product. Your purchase of these products through affiliate links helps to generate commission for LiveWell, at no extra cost. Learn more)
Table of Contents
- Introduction
- Step 1: Accessing the QuickBooks Dashboard
- Step 2: Navigating to the Payment Settings
- Step 3: Adding a New Credit Card
- Step 4: Entering Credit Card Details
- Step 5: Verifying and Saving the Credit Card Information
- Step 6: Setting Up Credit Card Payment Methods
- Step 7: Testing the Credit Card Integration
- Conclusion
Introduction
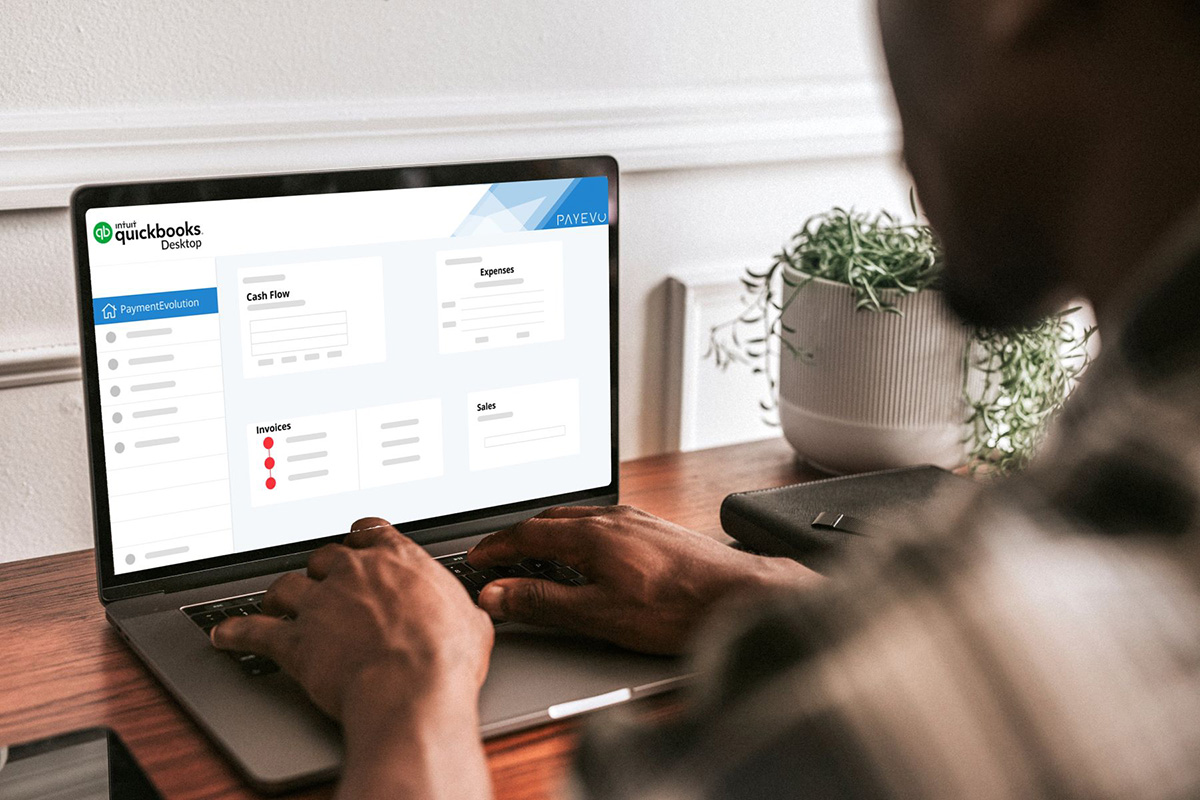
Welcome to our step-by-step guide on how to add a credit card to QuickBooks. QuickBooks is a powerful accounting software that allows businesses to efficiently manage their financial transactions. By adding your credit card information to QuickBooks, you can easily track expenses, reconcile accounts, and generate accurate financial reports.
Adding your credit card to QuickBooks offers several benefits. It allows you to seamlessly integrate your credit card transactions into your bookkeeping system, eliminating the need for manual entry. This not only saves you time but also reduces the risk of human error.
Moreover, having your credit card information incorporated into QuickBooks gives you a comprehensive view of your business’s financial health. You can analyze spending patterns, monitor cash flow, and make informed financial decisions based on accurate, real-time data.
In this article, we will guide you through the process of adding a credit card to QuickBooks. Whether you are a small business owner, a freelancer, or a finance professional, following these steps will enable you to streamline your financial management and optimize your accounting processes.
Before we dive into the details, it is essential to note that QuickBooks offers various plans and versions, and the user interface might differ slightly. However, the general steps remain consistent across different versions, ensuring a smooth experience regardless of the specific QuickBooks tool you are using.
Now, let’s get started and learn how to add a credit card to QuickBooks so that you can efficiently manage your finances and take your business to new heights!
Step 1: Accessing the QuickBooks Dashboard
The first step in adding a credit card to QuickBooks is accessing the QuickBooks dashboard. To do this, follow these simple steps:
- Launch the QuickBooks application on your computer or log in to QuickBooks Online using your web browser.
- Enter your credentials to sign in to your QuickBooks account. If you are using the desktop version, you will be prompted to select the company file you want to work with.
- Once logged in, you will be directed to the QuickBooks dashboard, which serves as the central hub for managing your company’s finances.
The QuickBooks dashboard provides a comprehensive overview of your financial activities, including income, expenses, and account balances. It also offers quick access to various features and tools that simplify financial management.
Once you have successfully accessed the QuickBooks dashboard, you are ready to proceed to the next step and navigate to the payment settings where you can add your credit card details.
Note: The steps and layout of the QuickBooks dashboard may vary slightly depending on the version of QuickBooks you are using. However, the general process remains the same, ensuring that you can easily locate the necessary features and functions regardless of the specific QuickBooks tool you have.
Step 2: Navigating to the Payment Settings
Once you have accessed the QuickBooks dashboard, the next step is to navigate to the payment settings where you can add your credit card information. Follow these instructions to find the payment settings:
- Look for the “Settings” menu, typically located in the top-right corner of the QuickBooks dashboard. It is usually represented by an icon that resembles a gear or a cogwheel.
- Click on the “Settings” menu to open the drop-down options.
- Scroll through the options and locate the “Account and Settings” or “Company Settings” option. Click on it to access the account settings page.
- Within the account settings page, look for the “Payments” or “Payment Settings” tab. This is where you can configure your payment options and add your credit card.
By following these steps, you should be able to find the payment settings tab where you can proceed to enter your credit card information. If you encounter any difficulties locating the payment settings, refer to the QuickBooks help center or consult the user guide specific to your version of QuickBooks for further assistance.
Now that you have successfully navigated to the payment settings, you are ready to move to the next step and add your credit card details.
Step 3: Adding a New Credit Card
After accessing the payment settings in QuickBooks, the next step is to add a new credit card to your account. Follow these simple instructions:
- Within the payment settings page, locate the section or tab that allows you to manage credit cards. The tab may be labeled as “Credit Cards,” “Payment Methods,” or something similar.
- Click on the option to add a new credit card. This button is usually labeled as “Add New Card” or “Add Credit Card.”
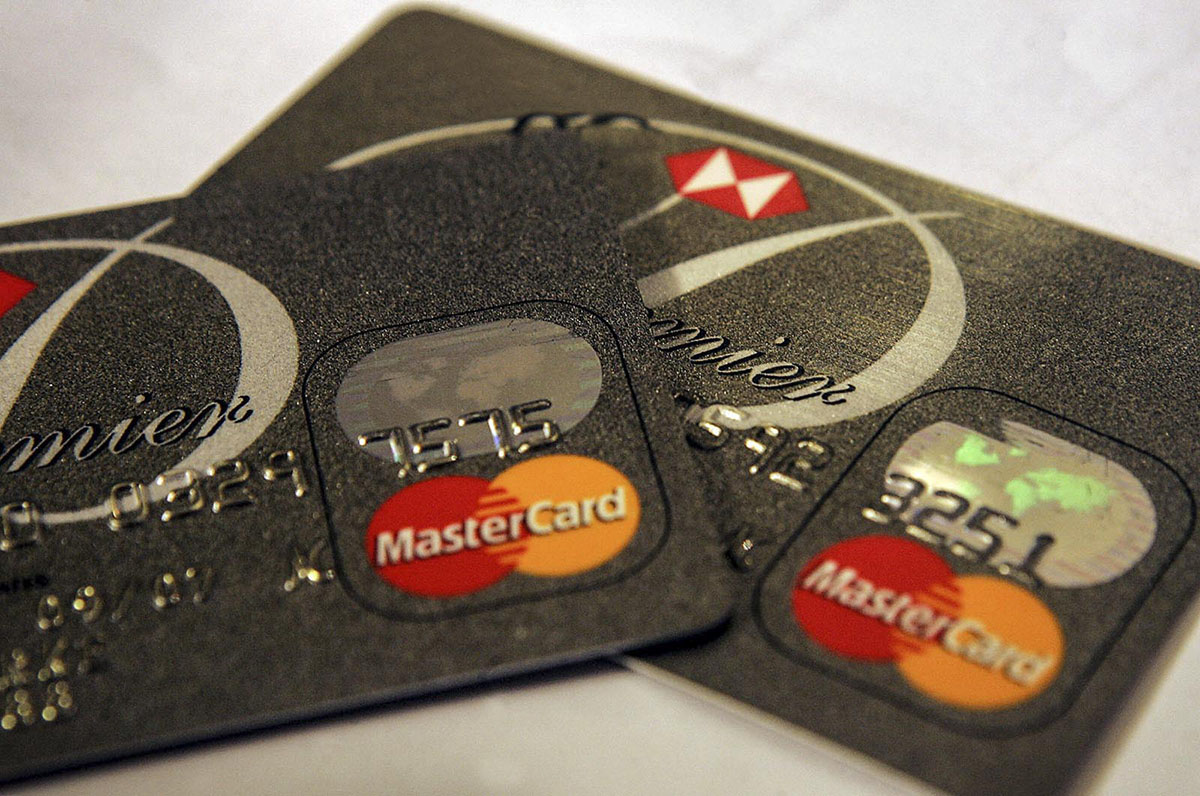
- A form will appear for you to enter the credit card details. Fill in the required information, including the credit card number, cardholder name, expiration date, and security code (CVV).
- Some versions of QuickBooks may also ask for additional information, such as the billing address associated with the credit card. Enter this information accurately to ensure seamless payment processing.
- If you have multiple credit cards, you can repeat this process to add each one to QuickBooks. This allows you to have a comprehensive view of all your credit card transactions within the software.
Once you have entered the necessary credit card information and reviewed it for accuracy, you are ready to proceed to the next step and verify and save the credit card information.
Note: QuickBooks takes the security of your credit card information seriously. It encrypts and securely stores your credit card data to protect it from unauthorized access. However, it is crucial to follow best practices and ensure the security of your own devices and network to minimize the risk of a data breach.
Step 4: Entering Credit Card Details
Entering accurate credit card details is crucial to ensure seamless payment processing and accurate financial records in QuickBooks. Follow these steps to enter the credit card details correctly:
- In the designated form fields, enter the credit card number. Ensure that you input the entire number without any spaces or dashes.
- Provide the cardholder’s name as it appears on the credit card.
- Enter the expiration date of the credit card. This includes the month and year when the card expires.
- Next, locate the security code or Card Verification Value (CVV) on the back of the credit card. Enter this three- or four-digit number in the respective field.
- Depending on your version of QuickBooks, you may also need to provide the billing address associated with the credit card. Enter the complete address, including street name, apartment or suite number, city, state, and ZIP code.
- Double-check all the entered information for accuracy. Any incorrect or incomplete information may lead to payment errors or discrepancies in your financial records.
Once you have entered the credit card details, you are ready to proceed to the next step and verify and save the information in QuickBooks.
It is important to note that the steps outlined above are general guidelines, and the specific fields and layout may vary slightly depending on the version of QuickBooks you are using. Make sure to follow the instructions provided in your specific QuickBooks tool to ensure accurate entry of credit card information.
Step 5: Verifying and Saving the Credit Card Information
After entering the credit card details in QuickBooks, it is crucial to verify the accuracy of the information before saving it. Follow these steps to verify and save the credit card information:
- Review all the entered credit card details carefully. Make sure that the credit card number, cardholder name, expiration date, CVV, and billing address (if applicable) are correct.
- Cross-check the information with the physical credit card or any other reliable source to ensure accuracy.
- If you notice any errors or incomplete information, edit the respective fields to correct the mistakes.
- Once you have verified the credit card details, click on the “Save” or “Add Card” button to save the information in QuickBooks.
- QuickBooks will process and save the credit card information securely. You should receive a confirmation message indicating that the credit card has been successfully added to your account.
By carefully verifying and saving the credit card information, you ensure that your financial records in QuickBooks remain accurate and up to date. This step is crucial to maintain the integrity of your accounting process and streamline your payment workflows.
If you encounter any issues while saving the credit card information or if there are any error messages, review the entered details again and ensure that they comply with the format requirements specified by QuickBooks. If the problem persists, refer to the QuickBooks help center or contact their customer support for further assistance.
Now that you have successfully verified and saved the credit card information, you are ready to proceed to the next step and set up the credit card payment methods in QuickBooks for seamless transaction processing.
Step 6: Setting Up Credit Card Payment Methods
Now that you have added and saved the credit card information in QuickBooks, the next step is to set up credit card payment methods. Follow these steps to configure the payment methods:
- Return to the QuickBooks dashboard and navigate to the payment settings or account settings page.
- Look for the “Payment Methods” or “Payment Options” section. Click on it to access the payment methods configuration.
- Within the payment methods section, locate the option to add a new payment method. This could be labeled as “Add Method” or “Add Payment Method.”
- Choose the credit card as the payment method type from the available options.
- Select the credit card that you added in the previous steps from the list of available cards. If you have multiple credit cards added, choose the appropriate one for this payment method.
- Specify any additional details or settings for the credit card payment method, such as the default currency, payment gateway integration, and any specific payment terms or conditions.
- Save the configured payment method by clicking on the “Save” or “Add Method” button.
Once you have set up the credit card payment methods in QuickBooks, you are ready to process transactions and record payments using the configured payment options. It is important to remember that each payment method in QuickBooks can have its own unique settings and parameters, so make sure to review and customize them according to your business requirements.
If you encounter any challenges while setting up the credit card payment methods or configuring the specific settings, refer to the QuickBooks help center or consult the user guide relevant to your version of QuickBooks for detailed instructions and troubleshooting assistance.
Congratulations! You have successfully set up the credit card payment methods in QuickBooks. Now you can seamlessly process credit card transactions and manage your finances efficiently.
Step 7: Testing the Credit Card Integration
After setting up the credit card payment methods in QuickBooks, it is crucial to test the integration to ensure smooth transactions and accurate recording of payments. Follow these steps to test the credit card integration:
- Create a test transaction or select an existing transaction in QuickBooks that you want to process using a credit card payment method.
- During the transaction process, select the credit card payment method that you configured in the previous steps.
- Enter the necessary transaction details, including the amount, customer information, and any other applicable details.
- Review the transaction details to ensure accuracy and confirm that the payment will be processed using the credit card payment method.
- Complete the transaction and proceed with the payment processing.
- After the transaction is processed, check the payment records in QuickBooks to ensure that the payment has been accurately recorded and reconciled.
- If the payment records and transaction details appear correctly in QuickBooks, the credit card integration has been successfully tested. You can now confidently process credit card transactions using the configured payment methods.
- If any discrepancies or errors occur during the testing process, review the payment settings, credit card details, and transaction data to identify and resolve any issues.
By testing the credit card integration in QuickBooks, you can verify the functionality and reliability of the payment processing system. This step ensures that all transactions are accurately recorded and reconciled, providing you with reliable financial data for decision-making and reporting.
If you encounter any challenges or issues during the testing process, refer to the QuickBooks help center or reach out to their customer support for further guidance and troubleshooting assistance.
Congratulations! You have successfully tested the credit card integration in QuickBooks. Now you can confidently process credit card transactions, knowing that they will be accurately recorded and managed within your accounting system.
Conclusion
Adding a credit card to QuickBooks can greatly enhance your financial management capabilities, allowing you to seamlessly track expenses, reconcile accounts, and generate accurate financial reports. By following the step-by-step guide outlined in this article, you can easily integrate your credit card transactions into QuickBooks and streamline your accounting processes.
We started by accessing the QuickBooks dashboard and navigating to the payment settings. From there, we added a new credit card by entering the necessary details accurately. After verifying and saving the credit card information, we moved on to setting up credit card payment methods. Finally, we tested the credit card integration to ensure successful transactions and proper recording of payments.
Throughout the process, it is crucial to double-check the entered information for accuracy to avoid any payment errors or discrepancies in your financial records. QuickBooks provides a secure environment for storing credit card information, but it is essential to maintain the security of your own devices and networks to protect sensitive data.
By adding a credit card to QuickBooks, you gain a comprehensive view of your business’s financial health, improve efficiency in managing transactions, and make informed financial decisions based on real-time data. The seamless integration of credit card transactions saves you time and reduces the risk of manual entry errors.
If you encounter any challenges or have specific questions regarding the credit card integration in QuickBooks, refer to their help center or contact their customer support for further assistance. They are equipped with the knowledge and expertise to guide you through any queries or issues you may have.
Congratulations! You are now equipped with the knowledge and steps to add a credit card to QuickBooks. Utilize this newfound capability to optimize your financial management, streamline your processes, and take your business to new heights of success!
What's Hot
Latest Articles
Related Post

By: • Finance

By: • Finance
By: • Finance

By: • Finance
By: • Finance

By: • Finance
By: • Finance

By: • Finance

By: • Finance
By: • Finance

By: • Finance

By: • Finance