Finance
How To Change Paypal Credit Card
Published: November 5, 2023
Learn how to easily change your credit card on Paypal and manage your finance with our step-by-step guide. Take control of your online payments today!
(Many of the links in this article redirect to a specific reviewed product. Your purchase of these products through affiliate links helps to generate commission for LiveWell, at no extra cost. Learn more)
Table of Contents
Introduction
Changing the credit card associated with your PayPal account is a simple process that can be done in a few easy steps. Whether you want to update your credit card information, add a new card, or remove an old one, PayPal provides a user-friendly interface that allows you to manage your payment methods effortlessly.
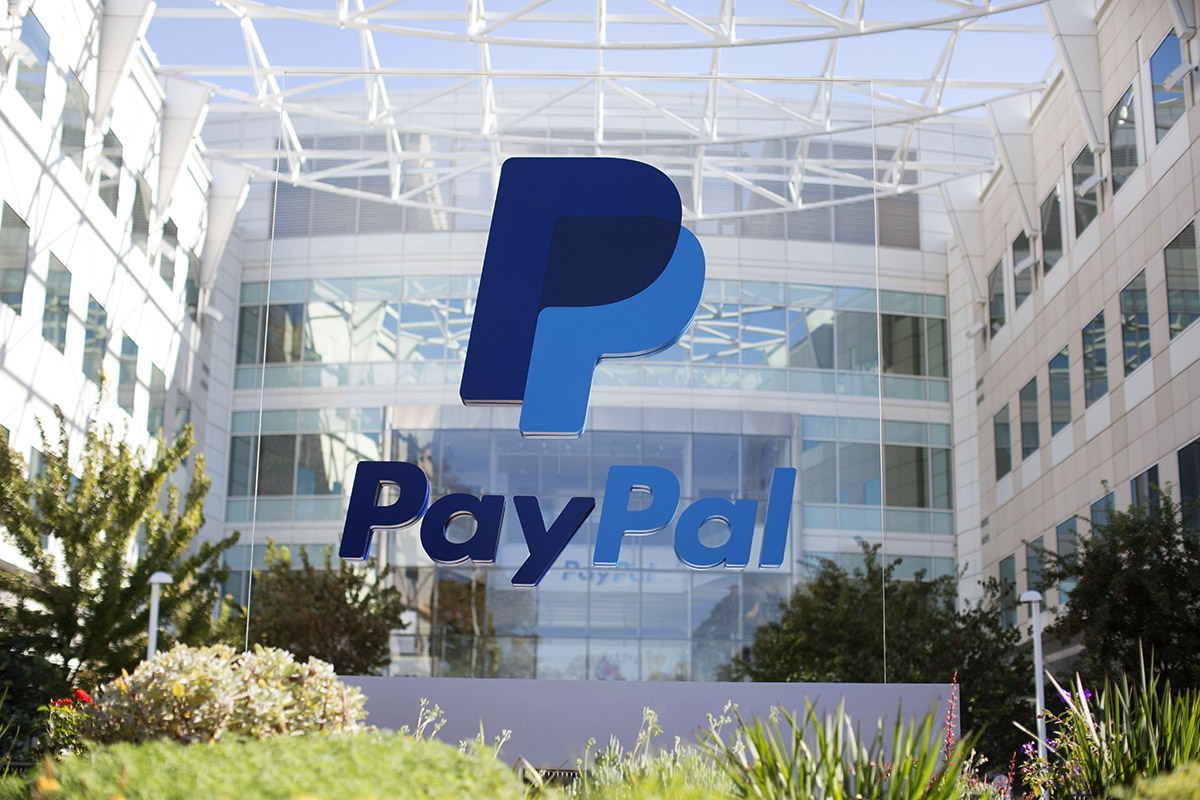
PayPal is a widely used online payment platform that allows individuals and businesses to make transactions securely and conveniently. By linking your credit card to your PayPal account, you can make online purchases, send money to friends and family, and even receive payments from clients or customers.
However, there may be instances where you need to change the credit card associated with your PayPal account. Perhaps you’ve switched banks, got a new credit card with better rewards, or simply want to update your payment method. Whatever the reason may be, PayPal makes it easy to update your credit card information.
In this article, we will guide you through the step-by-step process of changing your credit card on PayPal. Whether you’re using the PayPal website or the mobile app, the process remains fairly similar, and we will cover both methods to ensure you have all the information you need.
So, if you’re ready to update your credit card information on PayPal, let’s dive into the steps required to make the change.
Step 1: Logging into your PayPal account
The first step to change your credit card on PayPal is to log into your account. You can do this by visiting the PayPal website or using the PayPal mobile app. If you don’t have a PayPal account yet, you will need to create one before you can proceed with this process.
Once you are on the PayPal homepage, look for the “Log In” button or link. Click on it, and you will be directed to the login page. Enter your email address or mobile number associated with your PayPal account and your password. Click on the “Log In” button to access your account.
If you are using the PayPal mobile app, open the app on your device and enter your login credentials to access your account. Make sure you have a stable internet connection to ensure a smooth login process.
Once you have successfully logged into your PayPal account, you will be directed to your account overview page. This page provides an overview of your recent transactions, balance, and other essential information related to your PayPal account.
Before proceeding to the next step, ensure that you are logged into the correct PayPal account. Double-check your account details and confirm that you are logged into the account where you want to change the credit card information.
Now that you are logged into your PayPal account, we can move on to the next step, which is navigating to the Wallet section.
Step 2: Navigating to the Wallet section
After successfully logging into your PayPal account, the next step in changing your credit card is to navigate to the Wallet section. This is where you can manage your payment methods, including adding and removing credit cards.
On the PayPal website, you can find the Wallet section by clicking on the “Wallet” tab located in the top navigation menu. Once you click on it, you will be taken to the Wallet page, where you can view and manage your payment methods.
If you’re using the PayPal mobile app, you can find the Wallet section by tapping on the menu icon (usually represented by three horizontal lines) located in the top-left corner of the app. From the menu, select “Wallet” to access the Wallet page.
Once you are on the Wallet page, you will see a list of your current payment methods, including any credit cards that are linked to your PayPal account. This page provides an overview of your payment methods and allows you to make changes or updates to your cards.
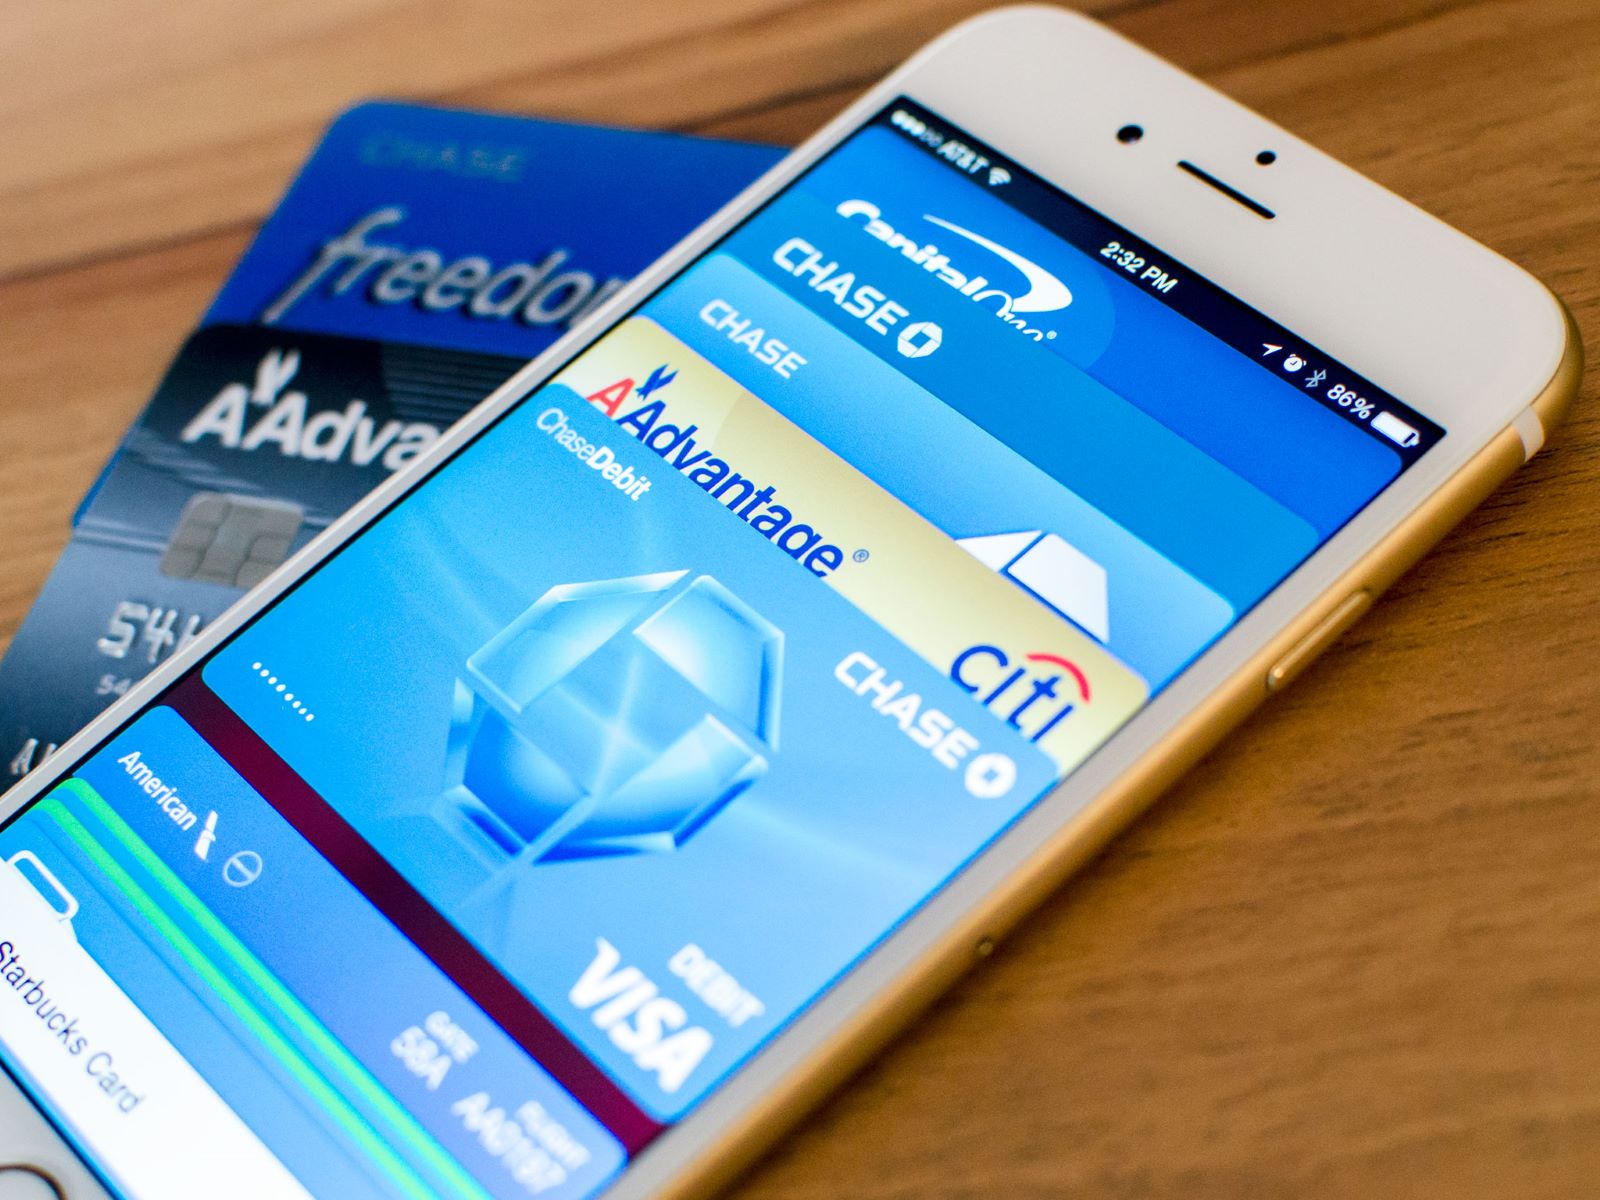
Take a moment to review the current cards linked to your PayPal account. If you want to remove an existing card, make note of the card details before proceeding further. If you’re planning to add a new card, make sure you have the necessary information, such as the card number, expiration date, and CVV code.
Now that you have navigated to the Wallet section and have a clear understanding of your current payment methods, it’s time to move on to the next step: adding a new credit card to your PayPal account.
Step 3: Adding a new credit card
Adding a new credit card to your PayPal account is a straightforward process. Whether you want to replace an existing card or add an additional card to your payment options, PayPal makes it easy to do so.
On the PayPal website, once you’re on the Wallet page, look for the “Link a card” or “Add a card” button. This button is usually located near the list of your current payment methods. Click on it, and you will be prompted to enter your new credit card information.
If you’re using the PayPal mobile app, on the Wallet page, look for the “Add a card” or “+ Add a card” option. Tap on it, and you will be presented with a form where you can enter your new credit card details.
When adding a new credit card, you will need to provide the cardholder’s name, card number, expiration date, and the CVV code (the three-digit security code usually found on the back of the card). If you’re using the PayPal mobile app, you may also have the option to scan your credit card using your device’s camera, which can speed up the process of entering the card information.
Ensure that you enter the correct information without any errors, as any mistakes may result in unsuccessful verification or issues with future transactions. Double-check the card details before proceeding to the next step.
Once you have entered the required information, click on the “Add” or “Save” button to add the new credit card to your PayPal account. PayPal will then verify the card details to ensure its validity.
Now that you have successfully added a new credit card to your PayPal account, it’s time to move on to the next step: verifying the new credit card.
Step 4: Verifying the new credit card
After adding a new credit card to your PayPal account, the next step is to verify the card to ensure its authenticity and enable its use for transactions.
PayPal typically verifies credit cards by charging a small amount to the card and then asking you to confirm the amount charged. This process helps verify that you have access to the card and can accurately provide the charged amount.
If you’re using the PayPal website, you may receive an email notification asking you to review your recent transactions and confirm the charged amount. Alternatively, you can also check your PayPal account notification center for any pending verification requests.
If you’re using the PayPal mobile app, you may receive a push notification or an in-app alert asking you to review the recent transaction and confirm the charged amount. You can find the verification request in the notifications section or within your PayPal app message center.
Once you have received the verification request, carefully review the transaction details and note the amount charged to your credit card. This amount is typically a random value between $0.01 and $1.00.
Next, log into your PayPal account and navigate to the Wallet section. Look for the card that needs to be verified and click or tap on it to view the details. You should see an option to confirm or enter the verification code or amount.
Enter the exact amount charged to your credit card or the provided verification code in the appropriate field and submit it. PayPal will then verify the information and confirm the successful verification.
It’s important to note that the verification process may take a few minutes or up to a couple of hours to complete. If you’re experiencing any issues or have not received the verification request, it’s recommended to contact PayPal customer support for further assistance.
Once the new credit card has been successfully verified, you can move on to the next step: setting the new credit card as your primary payment method.
Step 5: Setting the new credit card as your primary payment method
Once you have added and verified the new credit card on your PayPal account, the next step is to set it as your primary payment method. Setting a primary payment method ensures that any future transactions made through PayPal will be charged to this card by default.
To set the new credit card as your primary payment method, go to the Wallet section of your PayPal account. Look for the list of your payment methods and locate the newly added card. You should see an option to set it as your primary or default payment method.
On the PayPal website, you can typically find the “Set as primary” or “Make default” button next to the card. Click on it, and PayPal will update your settings to make the new card the primary payment method.
If you’re using the PayPal mobile app, look for the ellipsis or three-dot icon (…) next to the card you want to set as primary. Tap on the icon, and you should see an option to set it as primary or make it the default payment method. Select this option, and the app will update your preferences accordingly.
Setting the new credit card as your primary payment method ensures that any purchases or transactions you make through PayPal will be automatically charged to this card. However, it’s important to note that you can still choose a different payment method for individual transactions if needed.
By setting the new credit card as your primary payment method, you’ve completed the process of updating your credit card on PayPal. However, if you need to remove the old credit card from your account, there is one more step to follow.
Proceed to the next step to learn how to remove the old credit card from your PayPal account.
Step 6: Removing the old credit card
If you have added a new credit card and set it as your primary payment method on PayPal, it’s recommended to remove the old credit card from your account for security and organization purposes. Removing the old card ensures that you only have the most up-to-date and relevant payment methods linked to your PayPal account.
To remove the old credit card from your PayPal account, go to the Wallet section. Look for the list of your payment methods and locate the old card that you want to remove.
On the PayPal website, you can typically find an option to remove the card next to its details. Click on the “Remove” or “Delete” button, and PayPal will prompt you to confirm the removal. Follow the on-screen instructions to confirm the removal of the old credit card.
If you’re using the PayPal mobile app, look for the ellipsis or three-dot icon (…) next to the card you want to remove. Tap on the icon, and you should see an option to remove or delete the card. Select this option, and the app will guide you through the process of removing the old credit card.
Before completing the removal process, double-check that you are removing the correct card. Ensure that you have switched to the new credit card as your primary payment method to avoid any disruption in your transactions.
Once you have successfully confirmed the removal of the old credit card, it will no longer be linked to your PayPal account. It’s a good practice to keep your payment methods updated, ensuring that you have accurate and relevant information for seamless transactions.
With the old credit card removed, you have completed the process of changing your credit card on PayPal. Congratulations! You can now enjoy making secure and convenient transactions using your newly added and verified credit card.
Remember, should you ever need to make further changes to your payment methods on PayPal, you can follow these steps to add, verify, set as primary, and remove credit cards as needed.
Thank you for choosing PayPal, and happy shopping!
Conclusion
Changing your credit card on PayPal is a simple process that allows you to update your payment methods and ensure smooth and secure transactions. Whether you want to add a new credit card, replace an existing one, or remove an old card, PayPal provides an intuitive interface that makes it easy to manage your payment options.
In this article, we have walked you through the step-by-step process of changing your credit card on PayPal. Starting from logging into your PayPal account, navigating to the Wallet section, adding a new credit card, verifying the card, setting it as your primary payment method, and finally removing the old credit card, we have covered all the necessary steps to successfully update your credit card information.
It’s important to keep your payment methods up-to-date on PayPal to ensure seamless transactions and avoid any inconveniences. By following the outlined steps, you can easily manage your credit cards and keep your PayPal account properly configured to meet your financial needs.
Remember to double-check the accuracy of the information you enter, especially when adding a new credit card and verifying it. Pay attention to any notification or verification requests sent by PayPal to ensure a smooth and successful process.
By keeping your credit card information updated and secure on PayPal, you can enjoy the convenience and reliability of making online transactions with peace of mind.
Thank you for choosing PayPal as your trusted payment platform, and we hope this guide has been helpful in changing your credit card. If you have any further questions or need assistance, don’t hesitate to reach out to PayPal’s customer support for additional guidance.
What's Hot
Latest Articles
Related Post
By: • Finance

By: • Finance
By: • Finance
By: • Finance
By: • Finance
By: • Finance

By: • Finance
By: • Finance
By: • Finance

By: • Finance
By: • Finance

By: • Finance


By: • Finance

By: • Finance