
Finance
How To Change Your Credit Card On Netflix
Published: November 4, 2023
Learn how to update your Netflix credit card information in a few simple steps. Keep your finance on track with our easy guide.
(Many of the links in this article redirect to a specific reviewed product. Your purchase of these products through affiliate links helps to generate commission for LiveWell, at no extra cost. Learn more)
Table of Contents
Introduction
Netflix, the popular streaming platform, offers a wide range of TV shows, movies, and documentaries for subscribers to enjoy. As a Netflix user, you may need to update your payment information from time to time, especially if you want to change your credit card. Whether your card has expired, you want to switch to a different provider, or for any other reason, updating your credit card details on Netflix is a simple process.
By following a few easy steps, you can change your credit card on Netflix and ensure uninterrupted access to your favorite content. In this article, we will guide you through the process, providing clear instructions along the way.
Please note that the steps may vary slightly depending on the device you are using. However, the general process remains the same across different platforms, including web browsers and mobile devices.
So, if you’re ready to update your credit card information on Netflix, let’s dive in and get started!
Step 1: Logging In to Your Netflix Account
The first step to changing your credit card on Netflix is logging in to your account. Depending on the device you are using, the login process may differ slightly. Here’s a general outline of how to log in to your Netflix account:
- Open your preferred web browser and visit the Netflix website.
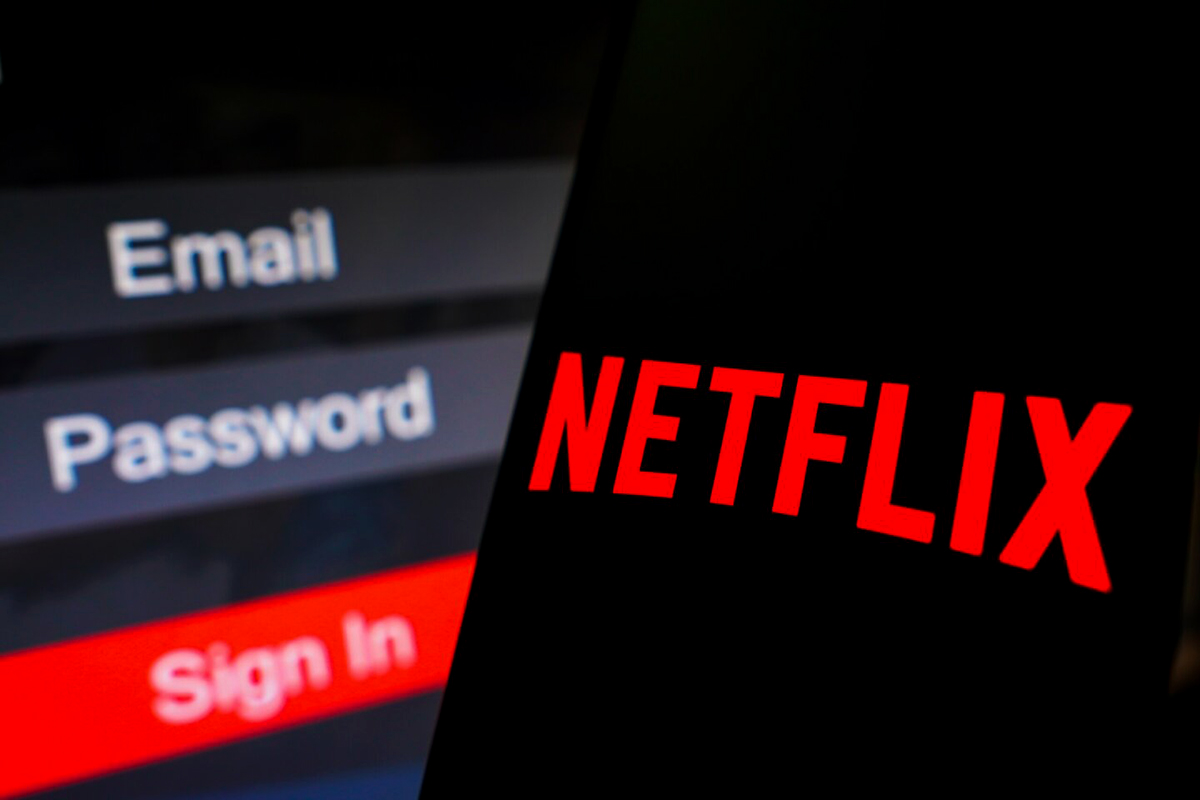
- Click on the “Sign In” or “Log In” button, usually located in the top-right corner of the homepage.
- Enter your login credentials, including your email address and password.
- Click on the “Sign In” or “Log In” button to proceed.
If you are using a mobile device, you can also log in to your Netflix account using the Netflix mobile app. Simply open the app, tap on the “Sign In” or “Log In” button, enter your login details, and tap on the “Sign In” or “Log In” button to access your account.
It’s important to note that you need to have an active Netflix account to proceed with changing your credit card details. If you don’t have an account yet, you will need to sign up for a Netflix subscription before being able to manage your payment information.
Once you are successfully logged in to your account, you can proceed to the next step and navigate to the account settings to change your credit card details.
Step 2: Navigating to the Account Settings
After logging in to your Netflix account, the next step is to navigate to the account settings section where you can manage your payment information. Follow these steps to easily find the account settings:
- Once you are logged in, locate your profile icon or your account name in the top-right corner of the Netflix homepage.
- Click on the profile icon or account name to access a drop-down menu.
- In the drop-down menu, select the “Account” or “Account Settings” option.
The account settings page typically contains various options and settings related to your Netflix account. You will find options to change your email address, password, billing information, and more. For this guide, we will focus on managing your payment information.
It’s important to note that navigating to the account settings may vary slightly depending on the device you are using or the version of the Netflix interface. If you are using a mobile app or a smart TV, the menu options may be presented differently, but you should still be able to find the account settings by exploring the interface or using the search functionality within the app.
Once you have successfully accessed the account settings, you are ready to proceed to the next step and manage your payment information.
Step 3: Managing Payment Information
Now that you have navigated to the account settings, you can proceed to manage your payment information on Netflix. Follow these steps to update your credit card details:
- On the account settings page, locate the “Payment” or “Billing” section. This section is usually displayed prominently, and you may need to scroll down to find it.
- Click on the “Update payment method” or “Change payment method” option. This will lead you to the payment information page.
- On the payment information page, you will see the current credit card details associated with your Netflix account, including the cardholder’s name, billing address, and the last four digits of the card number.
- To change your credit card, click on the “Change” or “Edit” button next to the credit card information.
At this point, you will need to enter the details of your new credit card. Provide the cardholder’s name, the new card number, expiration date, and the security code (CVV). Additionally, you may need to enter the billing address associated with the credit card.
Make sure to double-check the information you entered to ensure accuracy and avoid any payment issues. It is important to provide valid, up-to-date credit card details to ensure uninterrupted access to your Netflix subscription.
Once you have entered the details of your new credit card, follow the on-screen prompts to proceed. Netflix may require additional information or verification steps to ensure the security of your account and payment details.
After successfully updating your payment information, you can move on to the next step and verify the new credit card.
Step 4: Adding a New Credit Card
Now that you have reached the point of updating your payment information on Netflix, you will need to add your new credit card. Follow these steps to add a new credit card:
- On the payment information page, click on the “Add payment method” or “Add a new card” option.
- You will be prompted to enter the details of your new credit card, including the cardholder’s name, card number, expiration date, and security code (CVV).
- In some cases, you may also need to provide the billing address associated with the credit card.
- Double-check the information you entered to ensure accuracy and completeness.
Make sure to provide up-to-date and valid credit card details to ensure a smooth transaction and uninterrupted access to your Netflix subscription. It is crucial to provide accurate information to avoid any issues with payment processing.
Once you have entered the details of your new credit card, follow the on-screen prompts to proceed. Netflix may require additional information or verification steps to ensure the security of your account and payment details.
Once you have successfully added your new credit card, you can proceed to the next step and verify the new payment method.
Step 5: Verifying the New Credit Card
After adding your new credit card details on Netflix, the next step is to verify the card to ensure its validity. This verification process helps prevent unauthorized use of payment methods and enhances the security of your account. Follow these steps to verify your new credit card:
- Once you have added your new credit card, Netflix may request verification by performing a small transaction on your card.
- Check your email inbox associated with your Netflix account for any verification emails. Netflix will typically send an email with instructions on how to verify your card.
- Open the verification email and follow the instructions provided. This usually involves clicking on a verification link or entering a verification code sent in the email.
- Return to your Netflix account and check the payment information page. You should see a notification indicating that your new credit card is verified and ready to use.
It’s essential to complete the verification process to ensure that your new credit card is successfully linked to your Netflix account. This step adds an extra layer of security and helps prevent any unauthorized charges or misuse of your payment method.
If you encounter any issues during the verification process or have not received a verification email, you can reach out to Netflix customer support for assistance. They will guide you through the necessary steps to verify your card and resolve any issues you may encounter.
Once your new credit card is verified, you can proceed to the next step and remove the old credit card from your Netflix account.
Step 6: Removing the Old Credit Card
Now that you have successfully added and verified your new credit card on Netflix, it’s time to remove the old credit card from your account. Removing the old credit card ensures that you no longer have any outdated or unnecessary payment information attached to your Netflix subscription. Follow these steps to remove the old credit card:
- On the payment information page in your Netflix account settings, locate the old credit card details under the “Payment Method” section.
- Click on the “Remove” or “Delete” button next to the old credit card’s details.
- Confirm your selection when prompted to remove the old credit card.
Once you have confirmed the removal of the old credit card, it will no longer be associated with your Netflix account. This ensures that future charges will be made to your new credit card, maintaining the accuracy and security of your payment information.
Removing the old credit card is an important step to keep your payment information up-to-date and relevant. It also helps simplify your Netflix account management by minimizing unnecessary clutter.
After successfully removing the old credit card, you can proceed to the final step and confirm the changes you have made to your payment information.
Step 7: Confirming the Changes
After updating your payment information, adding a new credit card, verifying it, and removing the old credit card, it is essential to confirm the changes to ensure everything is in order. Here’s how you can confirm the changes you’ve made:
- Review the payment information page in your Netflix account settings.
- Verify that the new credit card details are accurately displayed, including the cardholder’s name, card number (masked for security), expiration date, and billing address if applicable.
- Take a moment to confirm that the old credit card has been successfully removed from your account.
By confirming the changes, you can have peace of mind knowing that your new credit card is correctly associated with your Netflix account. This confirmation step ensures that you will be billed correctly for your subscription and that your payment information is updated and secure.
If at any point during the confirmation process you notice any discrepancies or have concerns regarding your payment information, it is recommended to reach out to Netflix customer support. They will be able to assist you in resolving any issues or addressing any questions you may have.
Congratulations! You have successfully changed your credit card on Netflix. Now you can continue enjoying your favorite movies, TV shows, and documentaries without interruption.
It’s worth mentioning that should you ever need to update your payment information again in the future, you can follow the same steps outlined in this guide to ensure a smooth transition.
Remember to keep your credit card information up-to-date and regularly monitor your billing details to ensure the smooth operation of your Netflix account.
Thank you for using this guide, and we hope you find it helpful in managing your payment information on Netflix!
Conclusion
Changing your credit card on Netflix is a straightforward process that ensures uninterrupted access to your favorite movies and TV shows. By following the steps outlined in this guide, you can easily update your payment information and keep your account details up to date.
We started the process by logging in to your Netflix account and navigating to the account settings. From there, we managed your payment information by adding a new credit card and verifying it for security purposes. We then removed the old credit card from your account to keep your payment details streamlined.
Lastly, we emphasized the importance of confirming the changes you’ve made to ensure the accuracy of your payment information. By following these steps, you can have peace of mind knowing that your Netflix subscription is linked to your preferred credit card.
Remember, it’s crucial to keep your payment information up to date. Regularly reviewing and updating your credit card details on Netflix helps prevent any disruption in your streaming experience and ensures that you can continue enjoying unlimited access to the vast library of content on the platform.
If you encounter any issues or have questions during the process of changing your credit card on Netflix, don’t hesitate to reach out to their customer support. They are always available to assist you and provide any necessary guidance.
Thank you for using this guide, and we hope it has been helpful in enabling you to successfully update your payment information on Netflix. Sit back, relax, and enjoy your favorite shows and movies!

