
Finance
How To Put Credit Card On IPhone
Published: November 11, 2023
Learn how to easily add and manage your credit card on your iPhone for convenient finance management. Simplify your life with this step-by-step guide.
(Many of the links in this article redirect to a specific reviewed product. Your purchase of these products through affiliate links helps to generate commission for LiveWell, at no extra cost. Learn more)
Table of Contents
Introduction
With the advancement of technology, our smartphones have become more than just devices to communicate with others. They have become a central hub for managing various aspects of our lives, including our finances. If you’re an iPhone user, you have the convenience of being able to add your credit card to your device and make secure payments through Apple Pay.
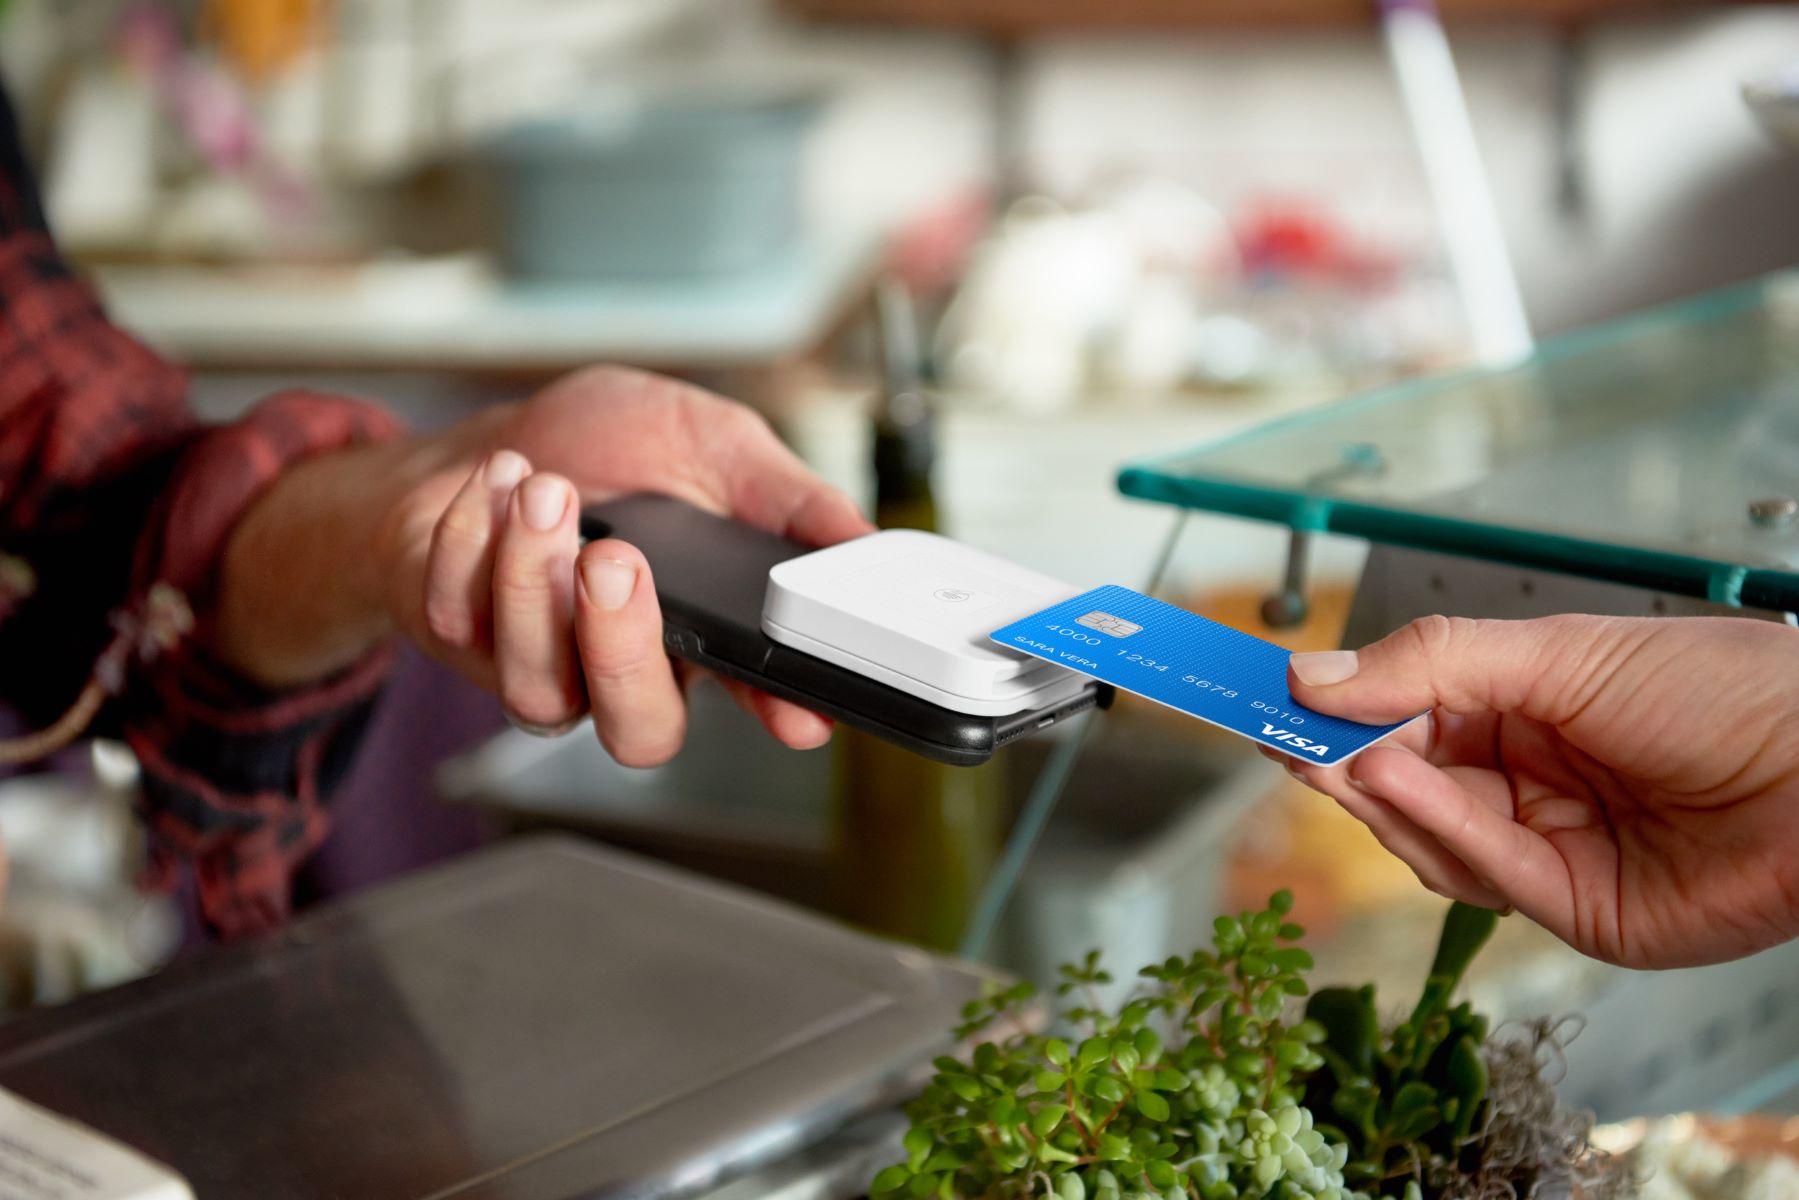
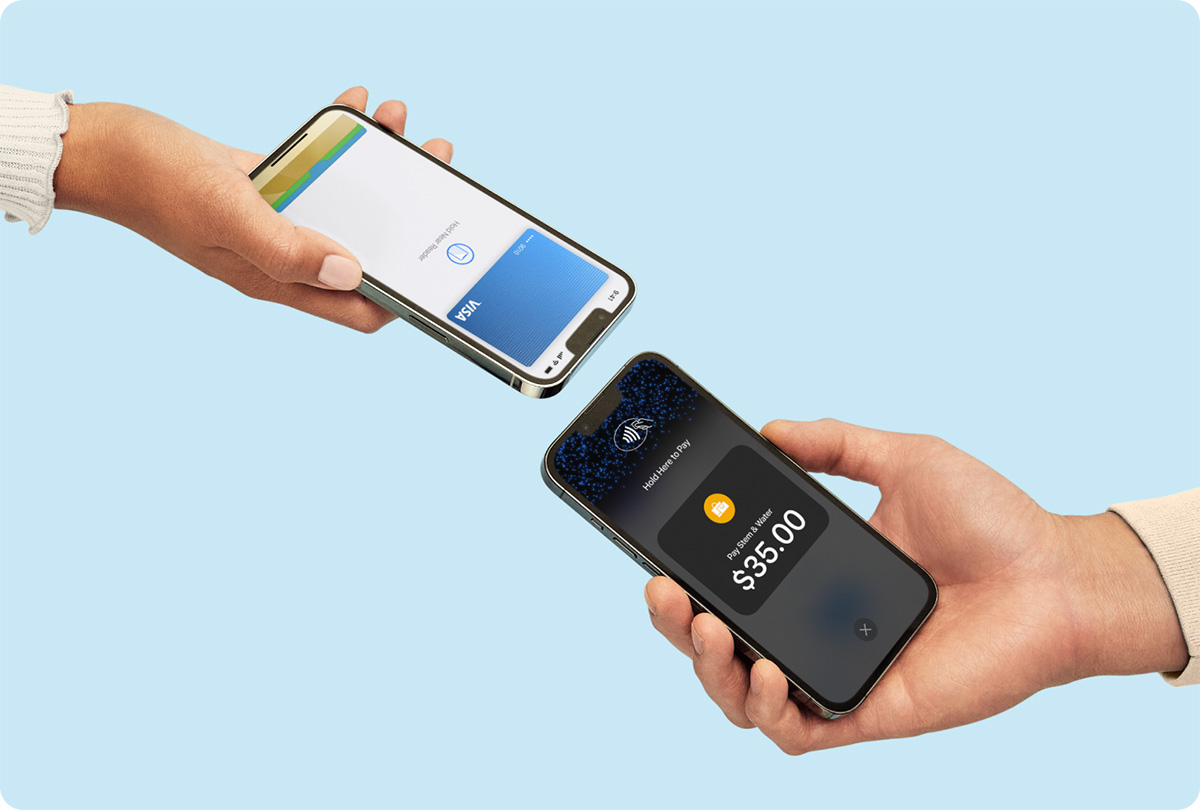
Apple Pay is a digital wallet and mobile payment service offered by Apple. It allows iPhone users to add their credit or debit cards to their device and make contactless payments at supported merchants. By adding your credit card to your iPhone, you can enjoy the convenience of leaving your physical wallet at home and effortlessly complete transactions with just a tap of your phone.
In this article, we will guide you through the process of adding a credit card to your iPhone, step by step. Whether you’re new to Apple Pay or just need a refresher, we’ve got you covered.
Before we dive into the steps, it’s important to note that Apple Pay is compatible with various financial institutions and credit card issuers. However, availability may vary depending on your country or region. Additionally, not all retailers accept Apple Pay, so it’s always wise to check if the merchant supports this payment method before making a purchase.
With that said, let’s get started on how to put a credit card on your iPhone!
Step 1: Setting up Apple Pay
The first step to adding a credit card to your iPhone is setting up Apple Pay, the digital wallet that allows you to make secure payments. Follow these simple instructions to get started:
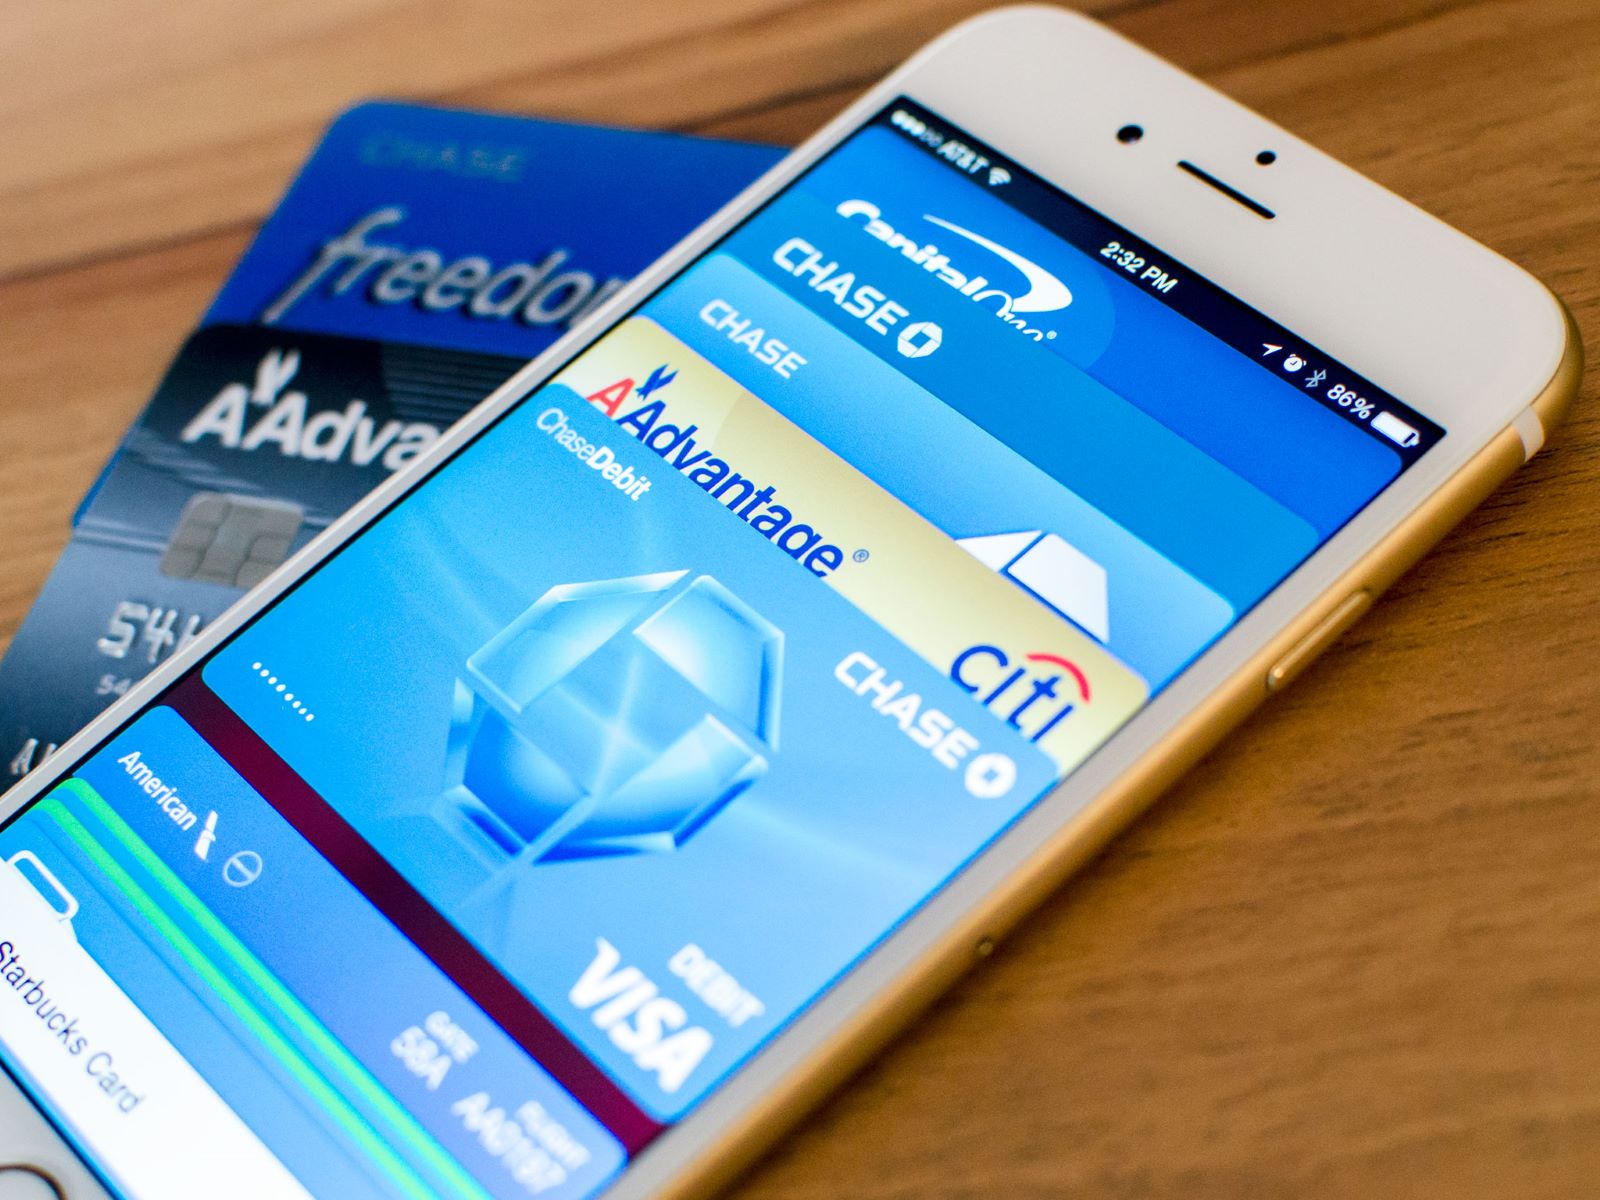
- Open the “Wallet” app on your iPhone. This app is denoted by an icon resembling a wallet filled with cards.
- If you’ve never set up Apple Pay before, you will be prompted to add a card. If you have already set up Apple Pay, skip to Step 2.
- Tap on the “Continue” button when the Apple Pay setup screen appears.
- You will be presented with two options: “Set Up Apple Pay” or “Set Up Later in Wallet.” Choose the first option to proceed with the setup process.
- Next, you will be asked to select a card. If you have a supported card already associated with your Apple ID, it will be displayed here. Alternatively, you can tap on the “Add a different card” option to manually enter your card details.
- Follow the on-screen instructions to add your card. This may involve providing your card details, including the card number, expiration date, and security code.
- Once you’ve entered your card details, your card issuer may require additional verification. This can be done through various methods, such as receiving a verification code via SMS or email.
- After you’ve completed the verification process, your card will be added to Apple Pay, and you can start using it for contactless payments.
Setting up Apple Pay only takes a few minutes, and once you’ve completed this step, you’re ready to move on to adding your credit card.
Step 2: Adding a Credit Card
Now that you have set up Apple Pay on your iPhone, it’s time to add your credit card to your device. Follow these steps to seamlessly add your credit card:
- Open the “Wallet” app on your iPhone.
- Tap the plus sign (+) icon in the top-right corner of the screen.
- Select the option to “Add Credit or Debit Card.”
- If you already have your card details saved in your iCloud Keychain or have previously used it with another Apple device, you can choose the “Use Card on File” option for quick and convenient setup. Otherwise, tap “Enter Card Details Manually.”
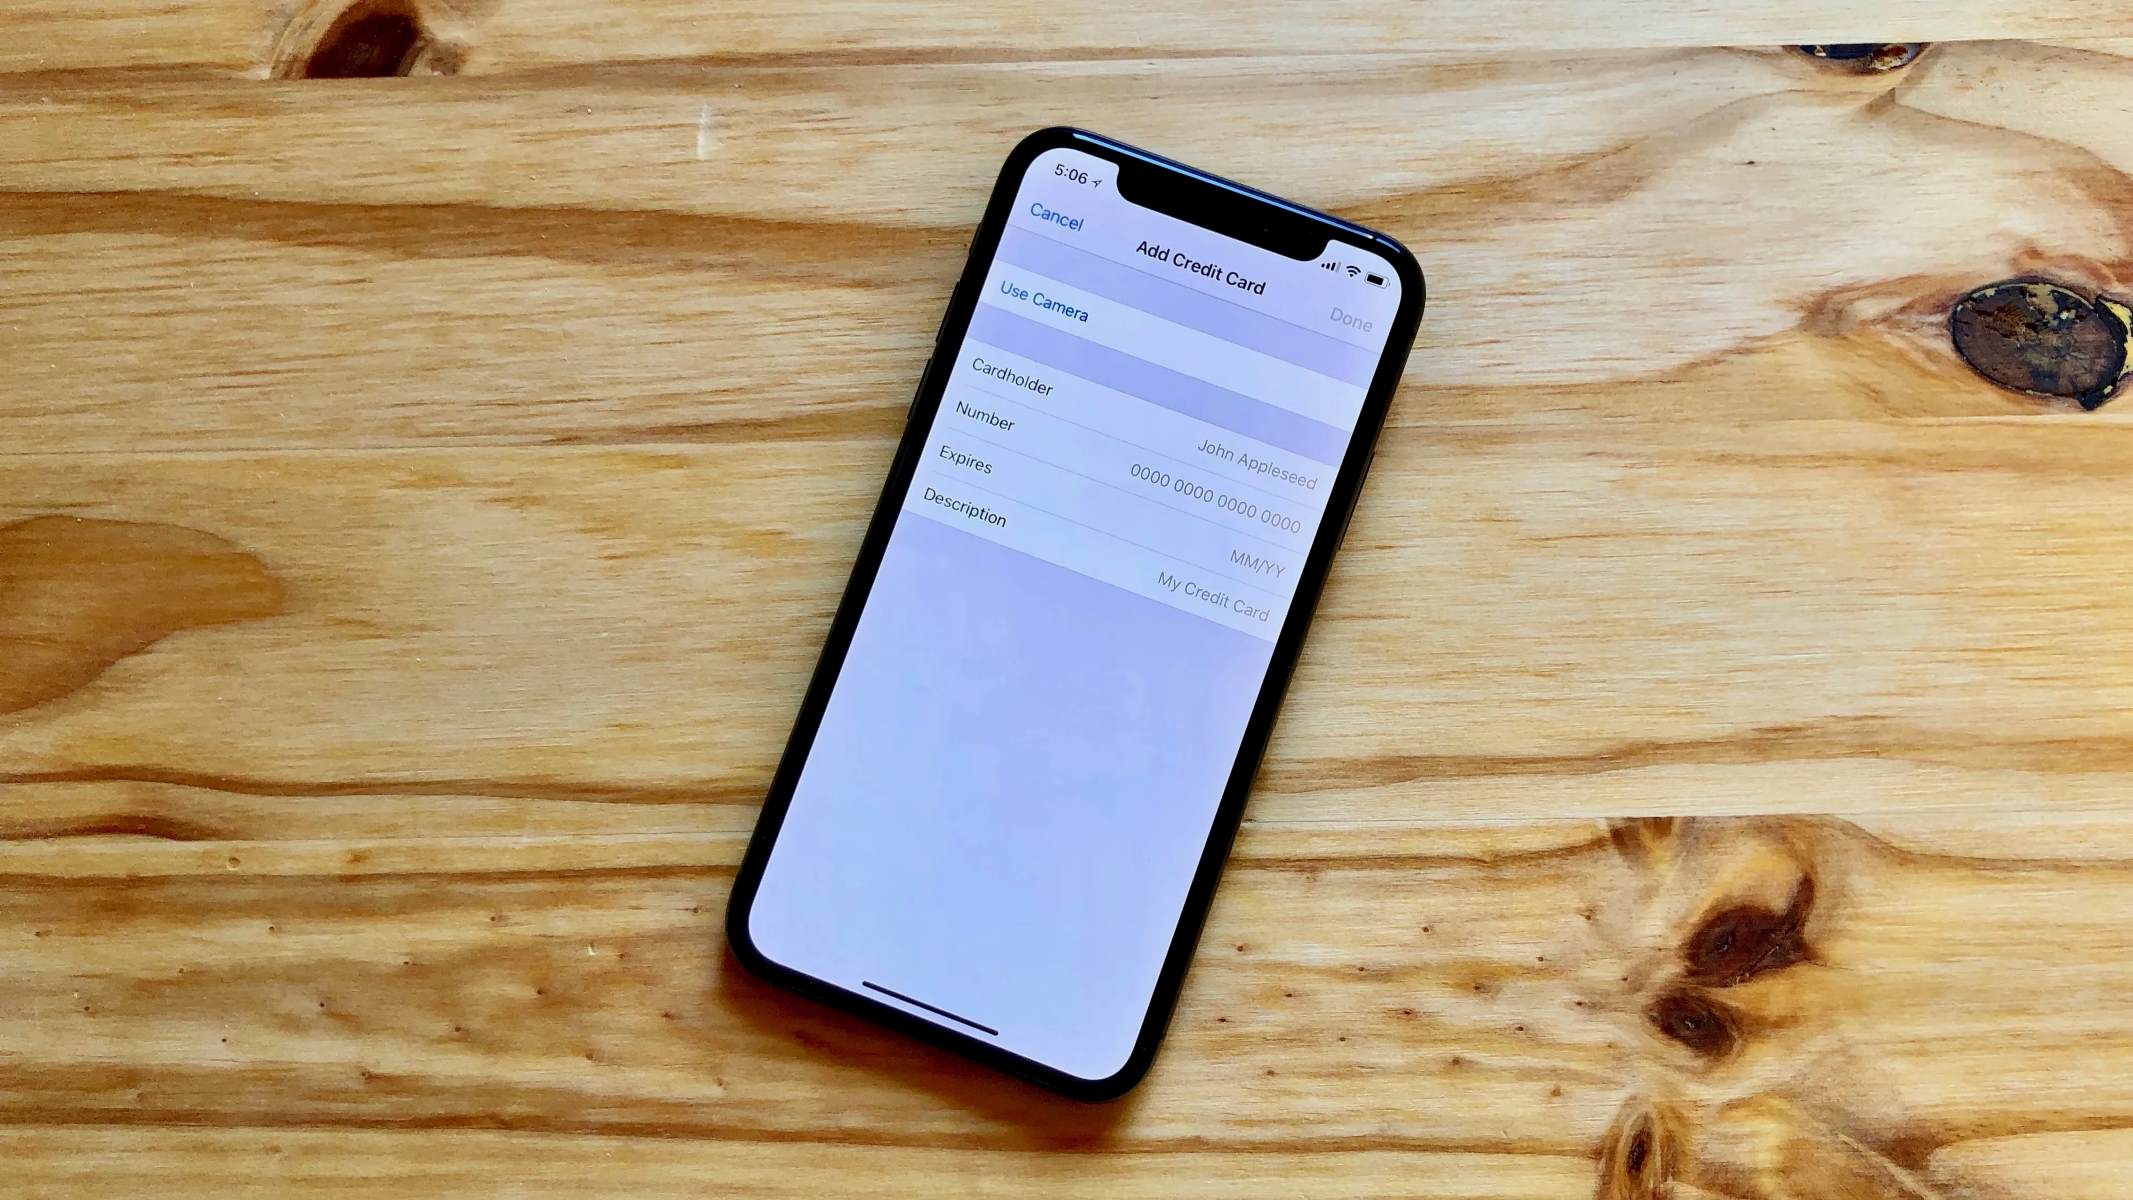
- Using your iPhone’s camera, you can scan your card by aligning it within the frame. This will automatically capture the card details and fill in the necessary information. Alternatively, you can manually enter the card details if the scanning option is not available or doesn’t work correctly.
- Enter the required information, including the cardholder’s name, card number, expiration date, and security code.
- If asked, confirm your card’s billing address. This address should match the billing address associated with the credit card.
- Agree to the terms and conditions presented.
- Wait for the verification process to complete. Your card issuer may require additional steps for verification, such as sending a one-time password or making a small transaction that needs to be confirmed.
- Once your credit card is successfully added, you can see it listed in the “Wallet” app. You may also notice a notification from your card issuer confirming the addition of your card to Apple Pay.
Congratulations! You have successfully added your credit card to your iPhone, and you’re now ready to start using Apple Pay for contactless payments.
Step 3: Verifying the Credit Card
After adding your credit card to Apple Pay on your iPhone, the next step is to verify the card. This verification process varies depending on your card issuer and may involve one or more of the following methods:
- One-Time Password (OTP): You may receive a one-time password via SMS or email. Enter this code in the designated field within the Wallet app to complete the verification.
- Phone Verification: In some cases, you may need to call your card issuer’s customer service and provide additional information to verify the card.
- Online Verification: Your card issuer might require you to log in to your online banking account and verify the addition of your card to Apple Pay through their website or mobile app.
- Small Transaction: As an added security measure, your card issuer may make a small transaction on your card, which you will need to verify by checking your card statement and confirming the transaction amount within the Wallet app.
The verification step is crucial to ensure the security and legitimacy of the credit card being added to Apple Pay. It helps protect against unauthorized use of your card and provides peace of mind when using contactless payment methods.
Once you have successfully completed the verification process, your credit card will be fully verified and ready to use with Apple Pay on your iPhone.
Step 4: Managing Credit Cards on iPhone
Now that you have added and verified your credit card on your iPhone, it’s essential to know how to manage your credit cards within the Wallet app. Here are some key features and tasks you can perform to effectively manage your credit cards:
- Default Card: You can set a default card for Apple Pay transactions. To do this, open the Wallet app, tap on the desired card, and enable the “Set as Default” option. This will ensure that your default card is automatically selected for payment when using Apple Pay.
- Removing Cards: If you no longer wish to use a credit card with Apple Pay, you can easily remove it from your iPhone. Open the Wallet app, tap on the card you want to remove, scroll down, and select “Remove This Card.” Confirm your decision to remove the card, and it will no longer be available for use with Apple Pay.
- Adding More Cards: If you want to add more credit cards to Apple Pay, repeat the steps mentioned earlier in this guide. You can add multiple cards and conveniently switch between them during payment transactions.
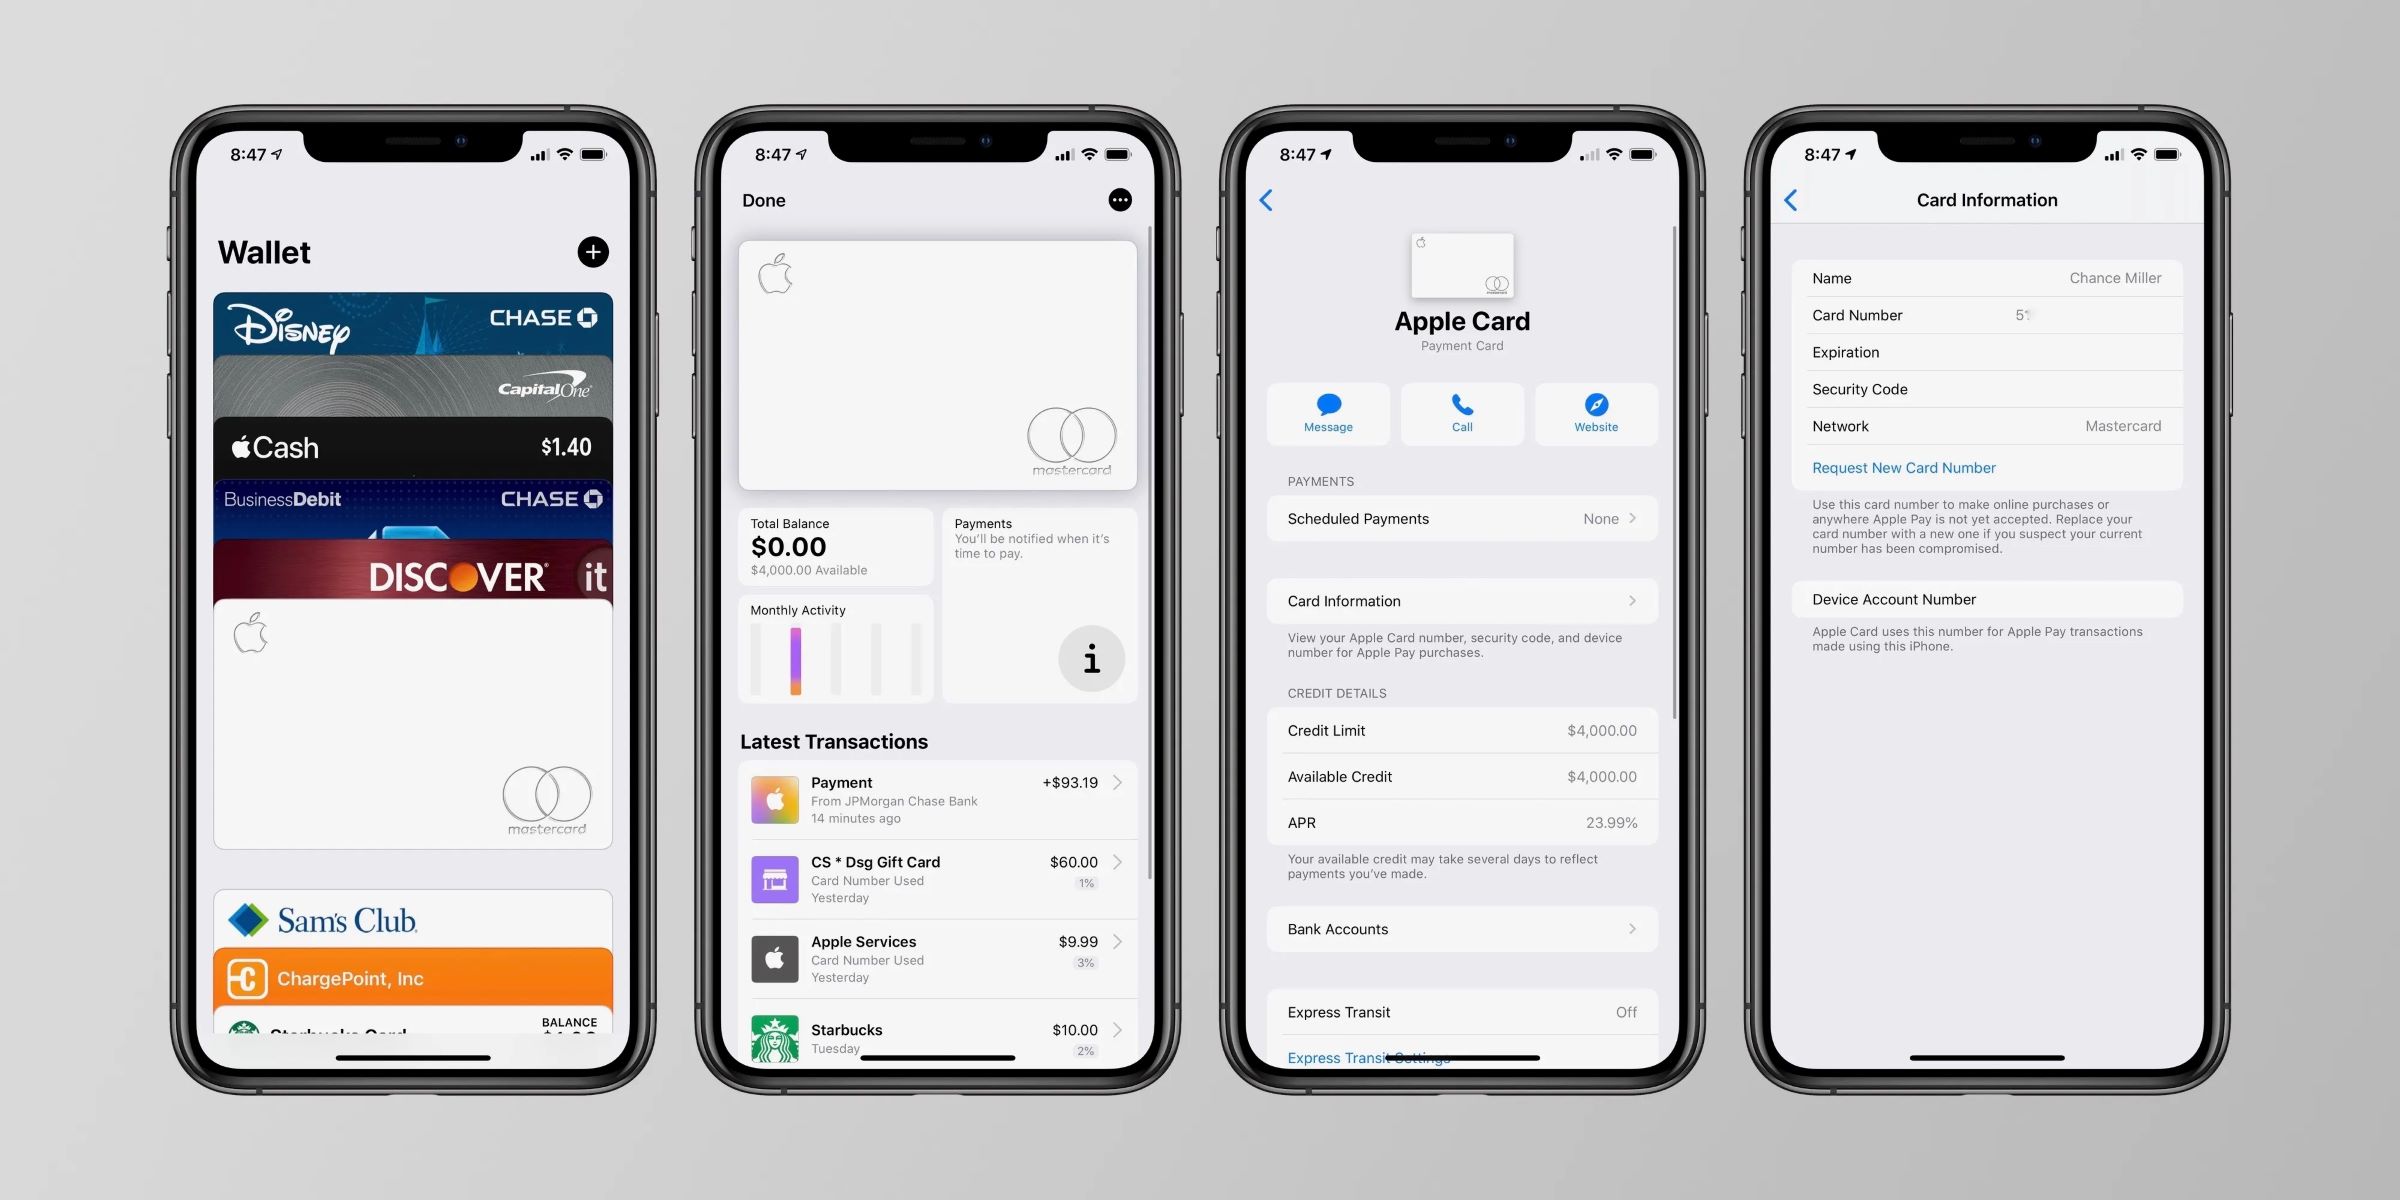
- Viewing Transaction History: The Wallet app allows you to view your recent transaction history for each credit card added to Apple Pay. Simply open the Wallet app, select the desired card, and you’ll be able to see the most recent transactions made using that card.
- Managing Rewards and Offers: Some credit cards offer rewards programs or special offers. You can manage and view these rewards within the Wallet app. Look for the rewards or offers section for each card, where you can explore and take advantage of any available promotions.
- Lost or Stolen Cards: If your iPhone is lost or stolen, you can remotely suspend or remove your credit cards from Apple Pay using the Find My app or by contacting your card issuer’s customer service immediately. This step is crucial to prevent unauthorized transactions.
By effectively managing your credit cards within the Wallet app on your iPhone, you can stay organized, track your transactions, and make secure payments with ease.
Conclusion
Adding and managing your credit cards on your iPhone through Apple Pay is a convenient and secure way to make contactless payments. By following the simple steps outlined in this guide, you can easily set up Apple Pay, add your credit card, verify its authenticity, and effectively manage your cards within the Wallet app.
With Apple Pay, you no longer need to carry your physical wallet everywhere you go. Your iPhone becomes your digital wallet, allowing you to complete transactions quickly and securely with just a tap of your phone. Plus, the added benefits of managing rewards and offers, viewing transaction history, and setting a default card make it even more convenient.
However, it’s important to note that while Apple Pay is widely accepted, not all retailers or establishments support this payment method. It’s always a good idea to check with the merchant before attempting to use Apple Pay for payment.
Remember to protect your iPhone and credit card information by enabling passcodes or biometric authentication features such as Face ID or Touch ID. In case of a lost or stolen iPhone, take immediate action to suspend or remove your credit cards from Apple Pay.
With Apple Pay and the capability to add your credit card to your iPhone, making payments has never been easier. Embrace the convenience and security of Apple Pay and enjoy a seamless and efficient payment experience!
What's Hot
Latest Articles
Related Post
By: • Finance

By: • Finance

By: • Finance
By: • Finance
By: • Finance
By: • Finance
By: • Finance
By: • Finance

By: • Finance
By: • Finance

By: • Finance


By: • Finance

By: • Finance