Finance
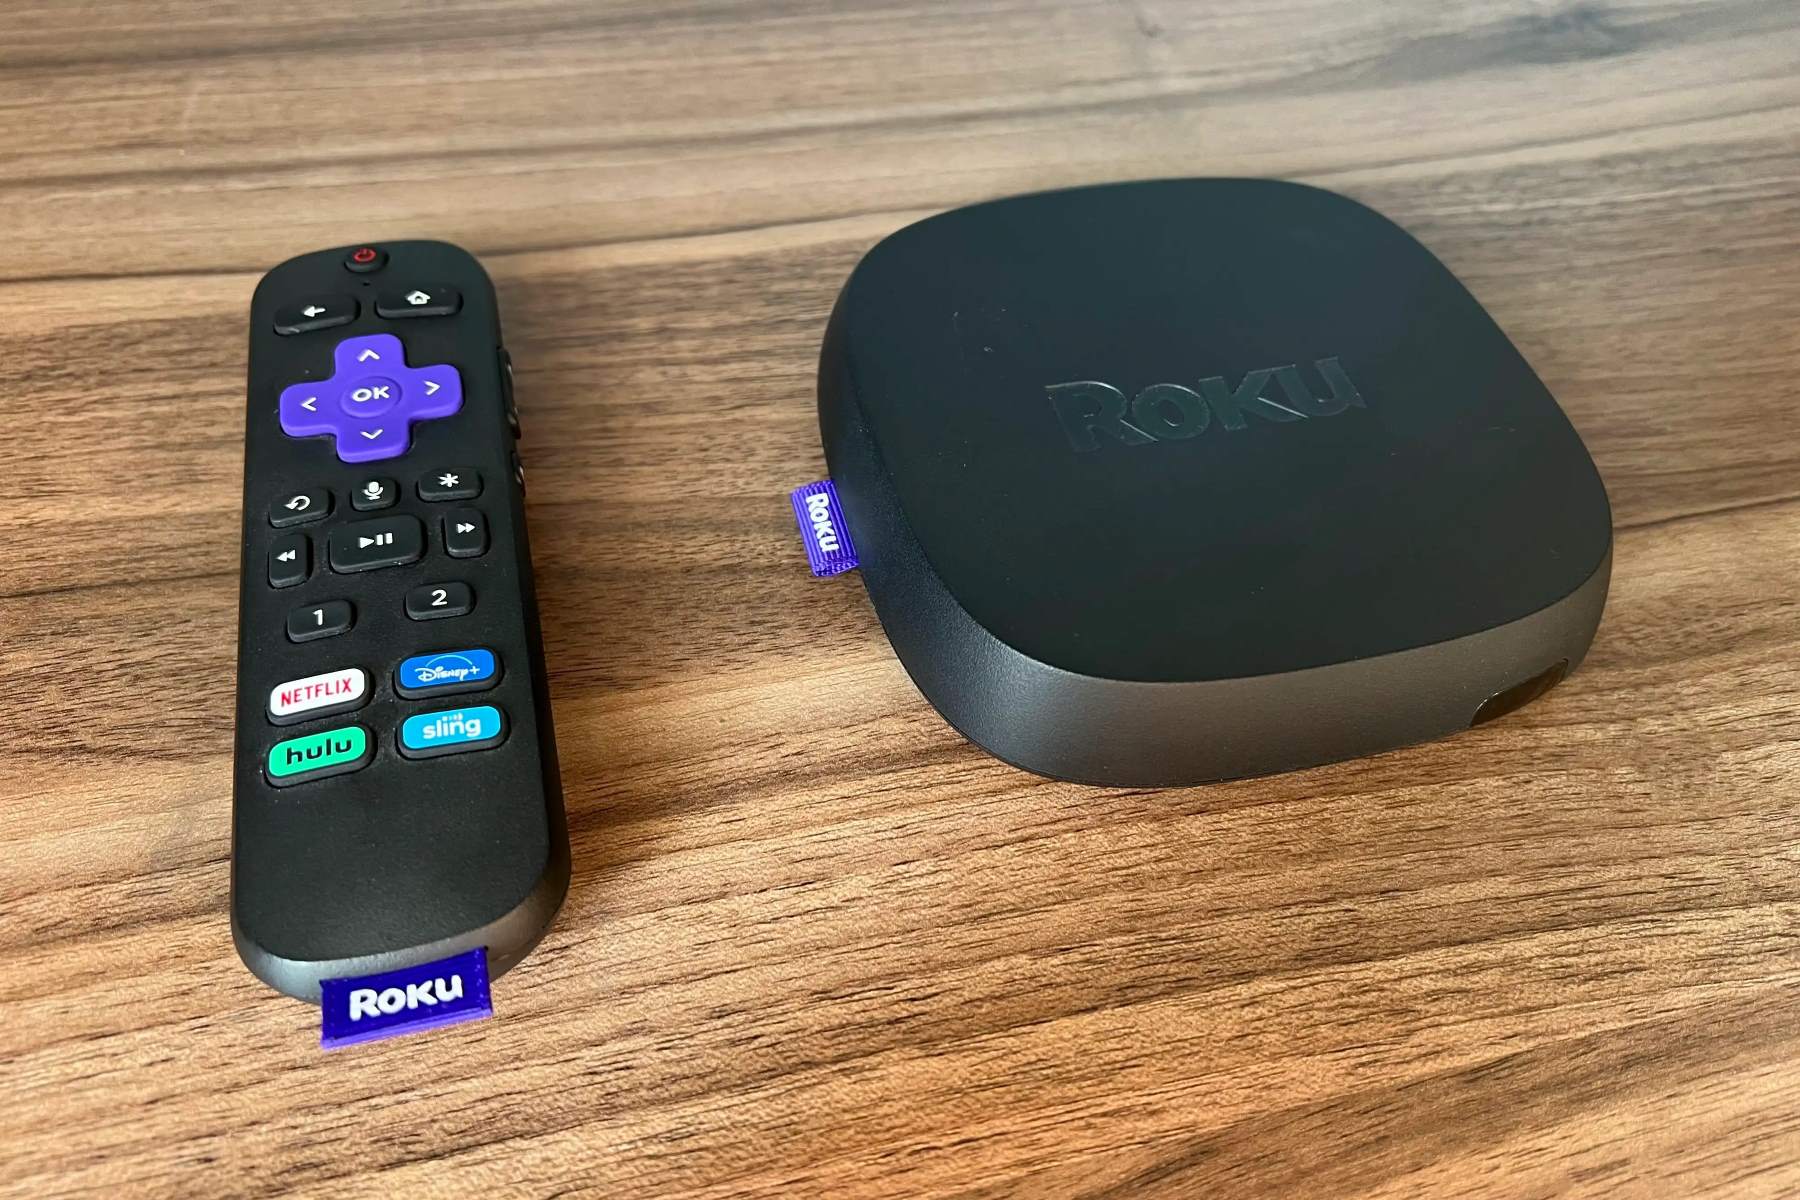
How To Set Up Roku Without Credit Card
Published: October 25, 2023
Learn how to set up Roku without a credit card and start streaming your favorite finance-related content today.
(Many of the links in this article redirect to a specific reviewed product. Your purchase of these products through affiliate links helps to generate commission for LiveWell, at no extra cost. Learn more)
Table of Contents
Introduction
Welcome to our guide on how to set up Roku without a credit card. Roku is a popular streaming media player that allows you to access a wide range of entertainment channels, including movies, TV shows, music, and more. While setting up a Roku device usually requires entering credit card information, we understand that not everyone has or wants to use a credit card for this purpose.
Fortunately, there is a way to set up Roku without the need for a credit card. By following some simple steps, you can easily create a Roku account and start enjoying your favorite content without having to provide credit card information. Whether you prefer to use a debit card, PayPal, or simply want to skip the payment step altogether, we’ve got you covered.
In this article, we will walk you through the step-by-step process of setting up Roku without a credit card. We will cover everything from connecting your Roku device to your television and home network, to creating a Roku account and skipping the credit card payment method. By the end of this guide, you’ll have your Roku up and running without the hassle of credit card requirements.
Before we dive into the setup process, it’s important to note that while setting up Roku without a credit card is possible, there are certain limitations to be aware of. Without a credit card linked to your Roku account, you won’t be able to make purchases or subscribe to paid channels directly through the Roku Channel Store. However, you can still access a wide range of free channels and enjoy a variety of content without any additional charges.
Now, let’s get started with the step-by-step instructions to set up your Roku without a credit card!
Step 1: Connect Roku to Your Television
The first step in setting up your Roku is to connect it to your television. Here’s how:
1. Locate the HDMI port on your television. Most modern televisions have multiple HDMI ports, so make sure to choose one that is available.
2. Take one end of the HDMI cable (included with your Roku device) and insert it into the HDMI port on your television.
3. Connect the other end of the HDMI cable to the HDMI port on the Roku device. The HDMI port on the Roku device is typically labeled “HDMI.”
4. Once the HDMI cable is securely connected, turn on your television and change the input/source setting to the HDMI port where you connected the Roku device.
5. Next, connect the power adapter to the Roku device and plug it into a power outlet. The Roku device will power on automatically.
6. You should now see the Roku logo or the initial setup screen on your television. If not, make sure you have properly switched the input/source setting on your television.
Congratulations! You have successfully connected your Roku device to your television. Now, let’s move on to the next step to connect your Roku device to your home network.
Step 2: Connect Roku to Your Home Network
After connecting your Roku device to your television, the next step is to connect it to your home network. Here’s how:
1. On the setup screen, select your preferred language and click on “Ok” to continue.
2. The Roku device will start scanning for available wireless networks. Once the list of networks appears, select your home Wi-Fi network from the list.
3. If your home network is secured with a password, enter your Wi-Fi password using the on-screen keyboard. Double-check that the password is entered correctly to avoid any connectivity issues.
4. After entering the Wi-Fi password, click on “Connect.” The Roku device will now attempt to connect to your home network.
5. Once the connection is established, your Roku device will download the latest software updates, which may take a few minutes. It’s important to ensure that your Roku device is connected to a stable internet connection during this process.
6. After the software updates are downloaded, your Roku device will reboot and display the Roku logo again. This is normal and signifies that the updates have been successfully installed.
7. On the next screen, you will see a unique code displayed on your television. This code is necessary to link your Roku device to your Roku account. Leave this screen on and proceed to the next step.
Congratulations! You have successfully connected your Roku device to your home network. Now, let’s move on to creating a Roku account in the next step.
Step 3: Create a Roku Account
In order to fully set up your Roku device and access its wide range of content, you need to create a Roku account. Follow these simple steps to create your Roku account:
1. On your computer or smartphone, open a web browser and visit the Roku website at www.roku.com.
2. Click on the “Sign In” button located at the top right corner of the webpage.
3. On the sign-in page, click on “Create account” to set up a new Roku account.
4. Fill in the required information, including your first name, last name, email address, and password. Make sure to provide a valid email address as it will be used for account verification and future communication.
5. After filling in the required details, click on the “Continue” button.
6. On the next page, you will be prompted to provide a PIN for your Roku account. This PIN will be used to authorize any purchases or installations made through your Roku device. Set a unique, secure PIN and click on “Continue.”
7. Review the terms and conditions and privacy policy, then check the box to agree to them.
8. Finally, click on the “Continue” button to complete the account creation process.
Congratulations! You have successfully created your Roku account. Now, let’s move on to the next step to choose a payment method and skip the credit card requirement.
Step 4: Choose Payment Method and Skip Credit Card
When setting up a Roku account, the usual requirement is to provide credit card information for payment purposes. However, if you prefer not to use a credit card, you have options to skip this step. Follow the instructions below:
1. On your computer or smartphone, go back to the Roku website (www.roku.com) and sign into your Roku account using the email address and password you used during account creation.
2. Once signed in, click on your account name at the top right corner of the webpage, then select “My Account” from the dropdown menu.
3. On the My Account page, look for the “Payment Method” section and click on the “Update” button next to it.
4. You will be directed to a new page where you can choose a payment method for your Roku account. Here, you have several options:
- Debit card: If you prefer to use a debit card, you can enter the relevant information, including card number, expiration date, and billing address.
- PayPal: If you have a PayPal account, you can select this option and log in to your PayPal account to link it to your Roku account.
- Roku Pay: If you wish to make purchases or subscribe to paid channels in the future, you can set up Roku Pay. This is a convenient way to pay for Roku services without using a credit card.
5. To skip the credit card requirement entirely, select either the debit card or PayPal option and provide the necessary information. If you choose not to use Roku Pay, you can leave that option unchecked.
6. Once you have selected your preferred payment method or opted out of Roku Pay, click on the “Save Changes” button to update your account settings.
Congratulations! You have successfully chosen a payment method for your Roku account without having to use a credit card. Now, let’s move on to the final step to complete the Roku setup process.
Step 5: Complete Roku Setup
After choosing your payment method and skipping the credit card requirement, you are now ready to complete the Roku setup process. Follow these final steps:
1. Return to your television screen where the Roku device is connected. If you see the unique code displayed, make sure it is still visible.
2. On your computer or smartphone, go back to the Roku website (www.roku.com) and sign in to your Roku account if you are not already signed in.
3. From your Roku account dashboard, click on the “Link a device” option.
4. On the device linking page, select the device type, which should be Roku. Then, click on the “Continue” button.
5. You will be asked to enter the unique link code displayed on your television screen. Take note of the code and enter it into the appropriate field on the Roku website.
6. Once you have entered the link code, click on the “Submit” button.
7. The Roku device will now go through the final setup process. It may take a few minutes for the device to link to your Roku account and sync with your preferences and settings.
8. Once the setup is complete, you will see a success message on your television screen. You can now start exploring the wide range of channels and content on your Roku device.
Congratulations! You have successfully completed the Roku setup process without the need for a credit card. You can now enjoy streaming your favorite movies, TV shows, music, and more on your Roku device.
Remember, while you may have skipped the credit card requirement during setup, you can still enjoy a variety of free channels and content. If you ever decide to make purchases or subscribe to paid channels in the future, you can always go back and update your payment method in your Roku account settings.
Enjoy your Roku streaming experience!
Conclusion
Setting up Roku without a credit card is a convenient option for those who prefer not to use or don’t have access to credit cards. By following the step-by-step guide outlined in this article, you can easily connect your Roku device to your television, home network, and create a Roku account without the need for credit card information.
Throughout the setup process, we have covered how to connect your Roku device to your television using an HDMI cable, connect it to your home network, and create a Roku account. We have also provided instructions on how to choose a payment method and skip the credit card requirement.
While setting up Roku without a credit card allows you to enjoy a wide range of free channels and content, it’s important to note that there may be limitations. Without a credit card linked to your account, you won’t be able to make purchases or subscribe to paid channels directly through the Roku Channel Store. However, you can still access a plethora of free channels and enjoy various streaming options without any additional charges.
Remember, you can always go back and change your payment method in your Roku account settings if you decide to make purchases or subscribe to paid channels in the future.
We hope this guide has been helpful in assisting you with the setup process for your Roku device without a credit card. Now, you can sit back, relax, and enjoy endless hours of entertainment on your Roku streaming media player.
Happy streaming!
What's Hot
Latest Articles
Related Post
By: • Finance
By: • Finance
By: • Finance
By: • Finance
By: • Finance

By: • Finance

By: • Finance

By: • Finance
By: • Finance

By: • Finance


By: • Finance

By: • Finance

By: • Finance