Finance
How To Pay Burlington Credit Card
Published: October 25, 2023
Looking to pay your Burlington Credit Card? Explore our step-by-step guide and expert tips on managing your finances and making payments efficiently.
(Many of the links in this article redirect to a specific reviewed product. Your purchase of these products through affiliate links helps to generate commission for LiveWell, at no extra cost. Learn more)
Table of Contents
Introduction
Welcome to our comprehensive guide on how to pay your Burlington Credit Card. As a responsible credit card holder, it is crucial to make timely payments to maintain a good credit score and avoid unnecessary fees or penalties. Burlington Credit Card provides a convenient way to make purchases and enjoy rewards, but it’s equally important to understand the payment process.
In this article, we will walk you through the steps to pay your Burlington Credit Card, whether you prefer to do it manually or set up automatic payments. We will also provide troubleshooting tips in case you encounter any issues during the payment process.
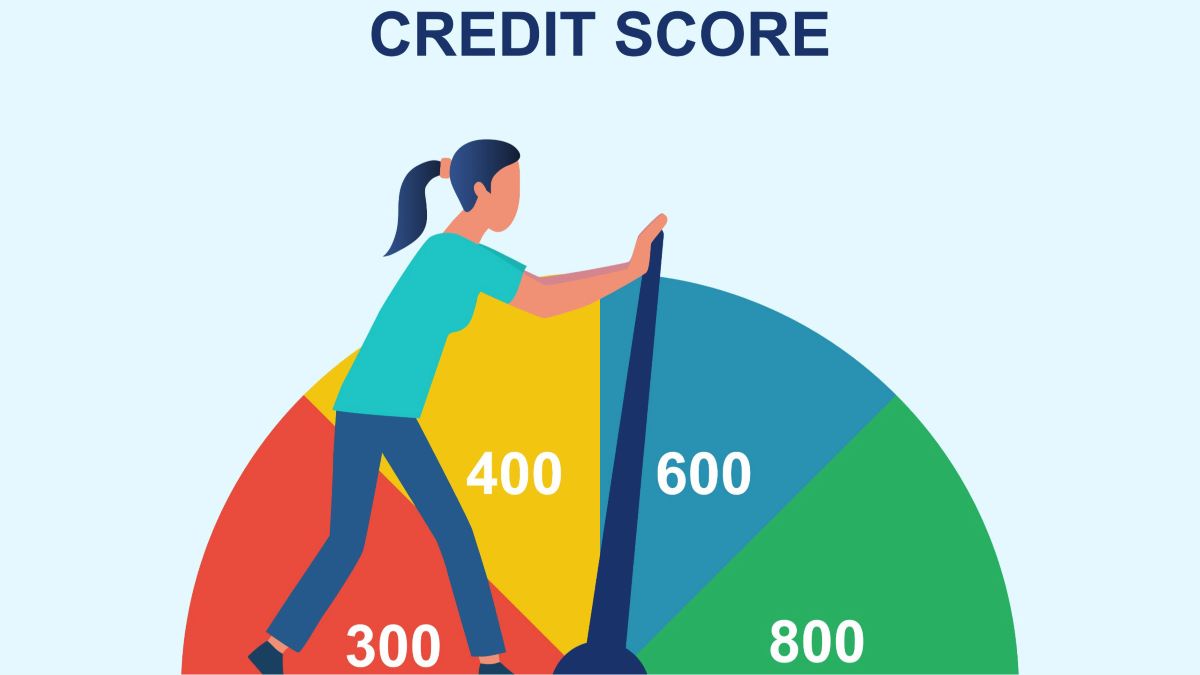
Before we dive into the steps, it’s essential to note that paying your Burlington Credit Card on time not only helps you avoid additional costs but also contributes to building a positive credit history. A good credit history is important for future financial endeavors, such as applying for a loan or mortgage.
Now, let’s get started with the step-by-step guide on how to pay your Burlington Credit Card.
Step 1: Create an Account with Burlington Credit Card
The first step in paying your Burlington Credit Card is to create an online account. Having an online account allows you to conveniently manage your credit card payments, view your transaction history, and access other account features. Here’s how to create an account:
- Visit the Burlington Credit Card website: Open your preferred web browser and go to the official Burlington Credit Card website.
- Click on “Sign Up”: Look for the “Sign Up” or “Register” button on the homepage and click on it.
- Provide the required information: Fill out the registration form with your personal details, including your full name, email address, and account number. You may also be asked to create a username and password for your account.
- Verify your email: After submitting the registration form, you will receive an email with a verification link. Click on the link to verify your email address and activate your account.
- Set up security measures: As an added layer of protection, you may be prompted to set up security measures such as security questions or a two-factor authentication process. Follow the instructions provided to complete this step.
Once you have successfully created your Burlington Credit Card account, you can proceed to the next step of logging in to your account.
Please note that the specific steps may vary slightly depending on the Burlington Credit Card website’s layout and any updates made to the registration process. If you encounter any difficulties or have any questions during the account creation process, you can contact Burlington Credit Card customer support for assistance.
Step 2: Login to Your Burlington Credit Card Account
Once you have created your account with Burlington Credit Card, logging in is a simple process. Logging in allows you to access your account information and proceed with making your credit card payment. Follow these steps to login:
- Go to the Burlington Credit Card website: Open your web browser and navigate to the Burlington Credit Card website.
- Click on “Login” or “Sign In”: Look for the “Login” or “Sign In” button on the homepage and click on it. This will redirect you to the login page.
- Enter your login credentials: On the login page, enter your username and password that you previously created during the account registration process.
- Click “Login” or “Sign In”: Once you have entered your login credentials, click on the “Login” or “Sign In” button to proceed.
If you’ve entered the correct username and password combination, you will be successfully logged into your Burlington Credit Card account. In case you forget your username or password, most platforms have a “Forgot username/password” option that allows you to recover or reset your login credentials.
It is important to keep your login credentials secure. Avoid using easily guessable passwords and consider enabling additional security measures, such as two-factor authentication, if offered by the Burlington Credit Card website. These steps will help protect your account from unauthorized access and ensure the safety of your personal and financial information.
Once you have successfully logged into your account, you can proceed to the next step of adding your payment method.
Step 3: Add your Payment Method
After logging into your Burlington Credit Card account, you need to add a payment method to your account. This will allow you to make payments towards your credit card balance. Follow these steps to add your payment method:
- Access the payment settings: Once you are logged into your account, locate the “Payment” or “Payment Settings” option. This is usually found in the account settings or profile section of the website.
- Select “Add a Payment Method”: Click on the “Add a Payment Method” option to begin the process of adding your payment details.
- Choose your payment method: Burlington Credit Card typically accepts various payment methods, including credit cards, debit cards, and bank account transfers. Select the option that you prefer and proceed.
- Enter your payment details: Depending on your chosen payment method, you will be prompted to enter the relevant details. For credit or debit card payments, provide the card number, expiry date, CVV code, and billing address. If you opt for a bank account transfer, you may need to provide your account and routing number.
- Save your payment method: Once you have entered all the required payment details, click on the “Save” or “Add” button to save your chosen payment method to your Burlington Credit Card account.
It is important to double-check the accuracy of the information you enter to ensure successful and secure payment transactions. Keep in mind that Burlington Credit Card may also have specific requirements or limitations regarding which payment methods are accepted, so be sure to review their guidelines.
Once you have added your payment method, you are now ready to make your credit card payment. In the next step, we will explore how to set up automatic payments for added convenience.
Step 4: Set up Automatic Payments
To make the payment process even more convenient, Burlington Credit Card offers the option to set up automatic payments. With automatic payments, your credit card bill will be paid automatically from your chosen payment method on a specified date each month. This eliminates the need for manual payments and helps ensure that your payments are always made on time. Here’s how to set up automatic payments:
- Access the payment settings: Once you are logged into your Burlington Credit Card account, navigate to the payment settings or payment options section.
- Choose automatic payments: Look for the option to set up automatic payments and click on it.
- Select your payment method: Choose the payment method you want to use for automatic payments (e.g., linked bank account or credit card).
- Specify the payment amount: Enter the amount you want to pay automatically each month. You can choose to pay the minimum payment, the full balance, or a custom amount.
- Select the payment date: Choose the date each month when the automatic payment will be processed. Be sure to select a date that allows enough time for the payment to be made before the due date.
- Save or confirm your settings: Once you have entered all the necessary information, save or confirm your settings to set up automatic payments.
It’s important to regularly review your automatic payment settings to ensure they are accurate and up to date. If you need to make any changes to the payment amount or date, simply follow the same steps outlined above to update your preferences.
Setting up automatic payments can provide peace of mind, knowing that your Burlington Credit Card bill will be paid on time without the need for manual intervention. However, it’s still important to monitor your account regularly to ensure the payments are being made as intended and to review your monthly statements for any discrepancies or errors.
Now that you have set up automatic payments, let’s move on to the next step of making a manual payment for those who prefer more control over their payment process.
Step 5: Make a Manual Payment
If you prefer to have more control over your credit card payments or need to make a one-time payment outside of the automatic payment schedule, you can make a manual payment. Follow these steps to make a manual payment on your Burlington Credit Card:
- Access the payment section: Log in to your Burlington Credit Card account and navigate to the payment section.
- Select “Make a Payment”: Look for the option that says “Make a Payment” or something similar and click on it.
- Choose your payment method: Select the payment method you want to use for this manual payment, such as a linked bank account or credit card.
- Enter the payment details: Provide the necessary payment information, including the payment amount and any additional instructions or references if required.
- Review and confirm: Take a moment to review the payment details and ensure everything is accurate. Once you are satisfied, click on the “Confirm” or “Submit” button to initiate the manual payment.
- Receive confirmation: After submitting the payment, you should receive a confirmation message or email indicating that your payment has been successfully processed.
It’s important to make your manual payment well before the due date to allow for processing time. Late or missed payments may result in fees and negatively impact your credit score.
If you encounter any issues while making a manual payment, such as receiving an error message or facing difficulties with your chosen payment method, contact Burlington Credit Card customer support for assistance. They will be able to provide guidance and help troubleshoot the problem.
Now that you know how to make a manual payment, let’s explore how you can check your payment history for reference and record-keeping in the next step.
Step 6: Check your Payment History
Monitoring your payment history is an important part of managing your Burlington Credit Card account. It allows you to keep track of your past payments, view the dates and amounts paid, and ensure that all transactions are accurately reflected. Here’s how you can check your payment history:
- Login to your Burlington Credit Card account: Access the credit card website and log in using your username and password.
- Navigate to your account or profile section: Look for the section where you can view your account details, transactions, or history.
- Find the payment history section: Within the account or profile section, locate the area specifically dedicated to payment history.
- Review your payment history: Once you’re in the payment history section, you should see a list of your past payments sorted by date. Take the time to review the information and ensure that all payments are recorded accurately.
- Check for pending payments: If you’ve made a recent payment that hasn’t reflected in the payment history yet, there may be a “Pending” or “Processing” status for that transaction. Keep an eye on this section to ensure all payments are eventually cleared.
- Save or print your payment history: If desired, you can save or print a copy of your payment history for your records. This can be useful for reference or documentation purposes.
Regularly checking your payment history is crucial for reconciling your records and identifying any discrepancies or missing payments. If you notice any errors or inconsistencies, it’s recommended to reach out to Burlington Credit Card customer support for assistance in resolving the issue.
Now that you are familiar with checking your payment history, let’s move on to the final step, where we will provide troubleshooting tips to help you overcome any potential payment-related challenges.
Step 7: Troubleshooting Tips
While paying your Burlington Credit Card is usually a straightforward process, there may be times when you encounter issues or challenges. Here are some troubleshooting tips to help you overcome common payment-related problems:
- Check your payment information: Double-check that you have entered the correct payment details, such as the payment amount, account numbers, or card information. Even a minor mistake can cause a payment to fail or be rejected.
- Verify available funds: If you are making a payment from a bank account, ensure that you have sufficient funds to cover the payment amount. Insufficient funds can result in declined payments and potential fees.
- Update your payment method: If your payment method has expired or you have changed accounts, make sure to update your payment information in your Burlington Credit Card account settings.
- Contact customer support: If you encounter any technical difficulties or have questions regarding the payment process, don’t hesitate to reach out to Burlington Credit Card customer support. They can provide guidance and assist you in resolving any issues.
- Check for system updates or maintenance: Occasionally, the Burlington Credit Card website or payment system may undergo updates or maintenance. If you experience difficulties making a payment, check if there are any notices or announcements regarding system downtime or interruptions.
- Clear your browser cache: If you are experiencing issues with the website, such as slow loading or error messages, try clearing your browser cache and cookies. This can help resolve any temporary technical glitches that may be affecting the payment process.
- Try a different browser or device: If you are encountering issues on a specific browser or device, try accessing the Burlington Credit Card website through a different browser or device. This can help identify if the problem is specific to your current setup.
If none of the troubleshooting tips above resolve the issue, it’s crucial to contact Burlington Credit Card customer support for further assistance. They have the expertise to guide you through any specific issues or technical challenges you may encounter.
Congratulations! You have now completed all the steps to pay your Burlington Credit Card. By following this comprehensive guide, you can ensure timely payments and manage your account effectively. Remember, staying on top of your credit card payments helps you maintain a good credit score and financial well-being.
If you have any additional questions or concerns, feel free to consult the official Burlington Credit Card resources or reach out to their customer support for further assistance. Happy payment managing!
Conclusion
Managing your Burlington Credit Card payments is an essential aspect of maintaining good financial health. By following the steps outlined in this comprehensive guide, you can easily navigate the payment process and stay on top of your credit card commitments.
We started by creating an account with Burlington Credit Card, ensuring you have a secure online platform to manage your payments. Then, we explored how to log in to your account and add your preferred payment method, whether it’s a credit or debit card or a bank account.
For added convenience, we discussed setting up automatic payments, which can help you stay on track with regular payments without the need for manual intervention. However, we also provided instructions on how to make a manual payment for those who prefer more control or need to make a one-time payment outside the automatic payment schedule.
To keep tabs on your payment history, we explained how to access and review your payment history on the Burlington Credit Card website. Regularly checking this information ensures that all your payments are accurately recorded and allows you to address any discrepancies promptly.
Lastly, we provided troubleshooting tips to help you navigate any potential payment-related challenges. Following these tips can help you overcome common issues and ensure a smooth payment process.
Remember, timely payment of your Burlington Credit Card bill not only helps you avoid unnecessary fees but also contributes to a positive credit history. A good credit history opens doors to future financial opportunities, such as obtaining loans or mortgages on favorable terms.
If you have any additional questions or encounter any difficulties during the payment process, do not hesitate to reach out to Burlington Credit Card customer support. They are there to assist you and provide guidance whenever needed.
Now that you have the knowledge and tools to pay your Burlington Credit Card with ease, you can confidently manage your credit card payments and stay on top of your financial responsibilities. Here’s to successful payment management and a bright financial future!
What's Hot
Latest Articles
Related Post
By: • Finance

By: • Finance
By: • Finance

By: • Finance

By: • Finance

By: • Finance

By: • Finance
By: • Finance

By: • Finance

By: • Finance

By: • Finance
By: • Finance

By: • Finance
By: • Finance
By: • Finance