Finance
How To Add Credit Card To PS4
Published: October 23, 2023
Learn how to add a credit card to your PS4 for convenient and secure transactions. Manage your finances easily with this step-by-step guide.
(Many of the links in this article redirect to a specific reviewed product. Your purchase of these products through affiliate links helps to generate commission for LiveWell, at no extra cost. Learn more)
Table of Contents
Introduction
Adding a credit card to your PS4 can be a convenient way to make purchases on the PlayStation Store without the need for physical gift cards or prepaid game cards. With your credit card linked to your PS4, you can easily purchase games, DLCs, and other digital content with just a few clicks.
In this article, we will guide you through the simple steps of adding a credit card to your PS4. Whether you’re a seasoned gamer or new to the world of PlayStation, this guide will help you navigate the process smoothly and securely.
Before we begin, it’s important to note that the steps outlined here may vary slightly depending on the region or version of the PS4 operating system you have. However, the general process remains the same, and we will provide instructions that apply to most users.
Now, let’s dive in and learn how to add a credit card to your PS4!
Step 1: Accessing Account Settings
The first step towards adding a credit card to your PS4 is accessing the Account Settings on your console. Follow these steps:
- Turn on your PS4 and make sure you are signed in to your PlayStation Network (PSN) account. If not, go ahead and sign in using your PSN credentials.
- From the main menu, navigate to the top row of icons and select the “Settings” icon. It is represented by a toolbox icon.
- In the Settings menu, scroll down and select “Account Management.”
- Within the Account Management menu, select “Account Information.”
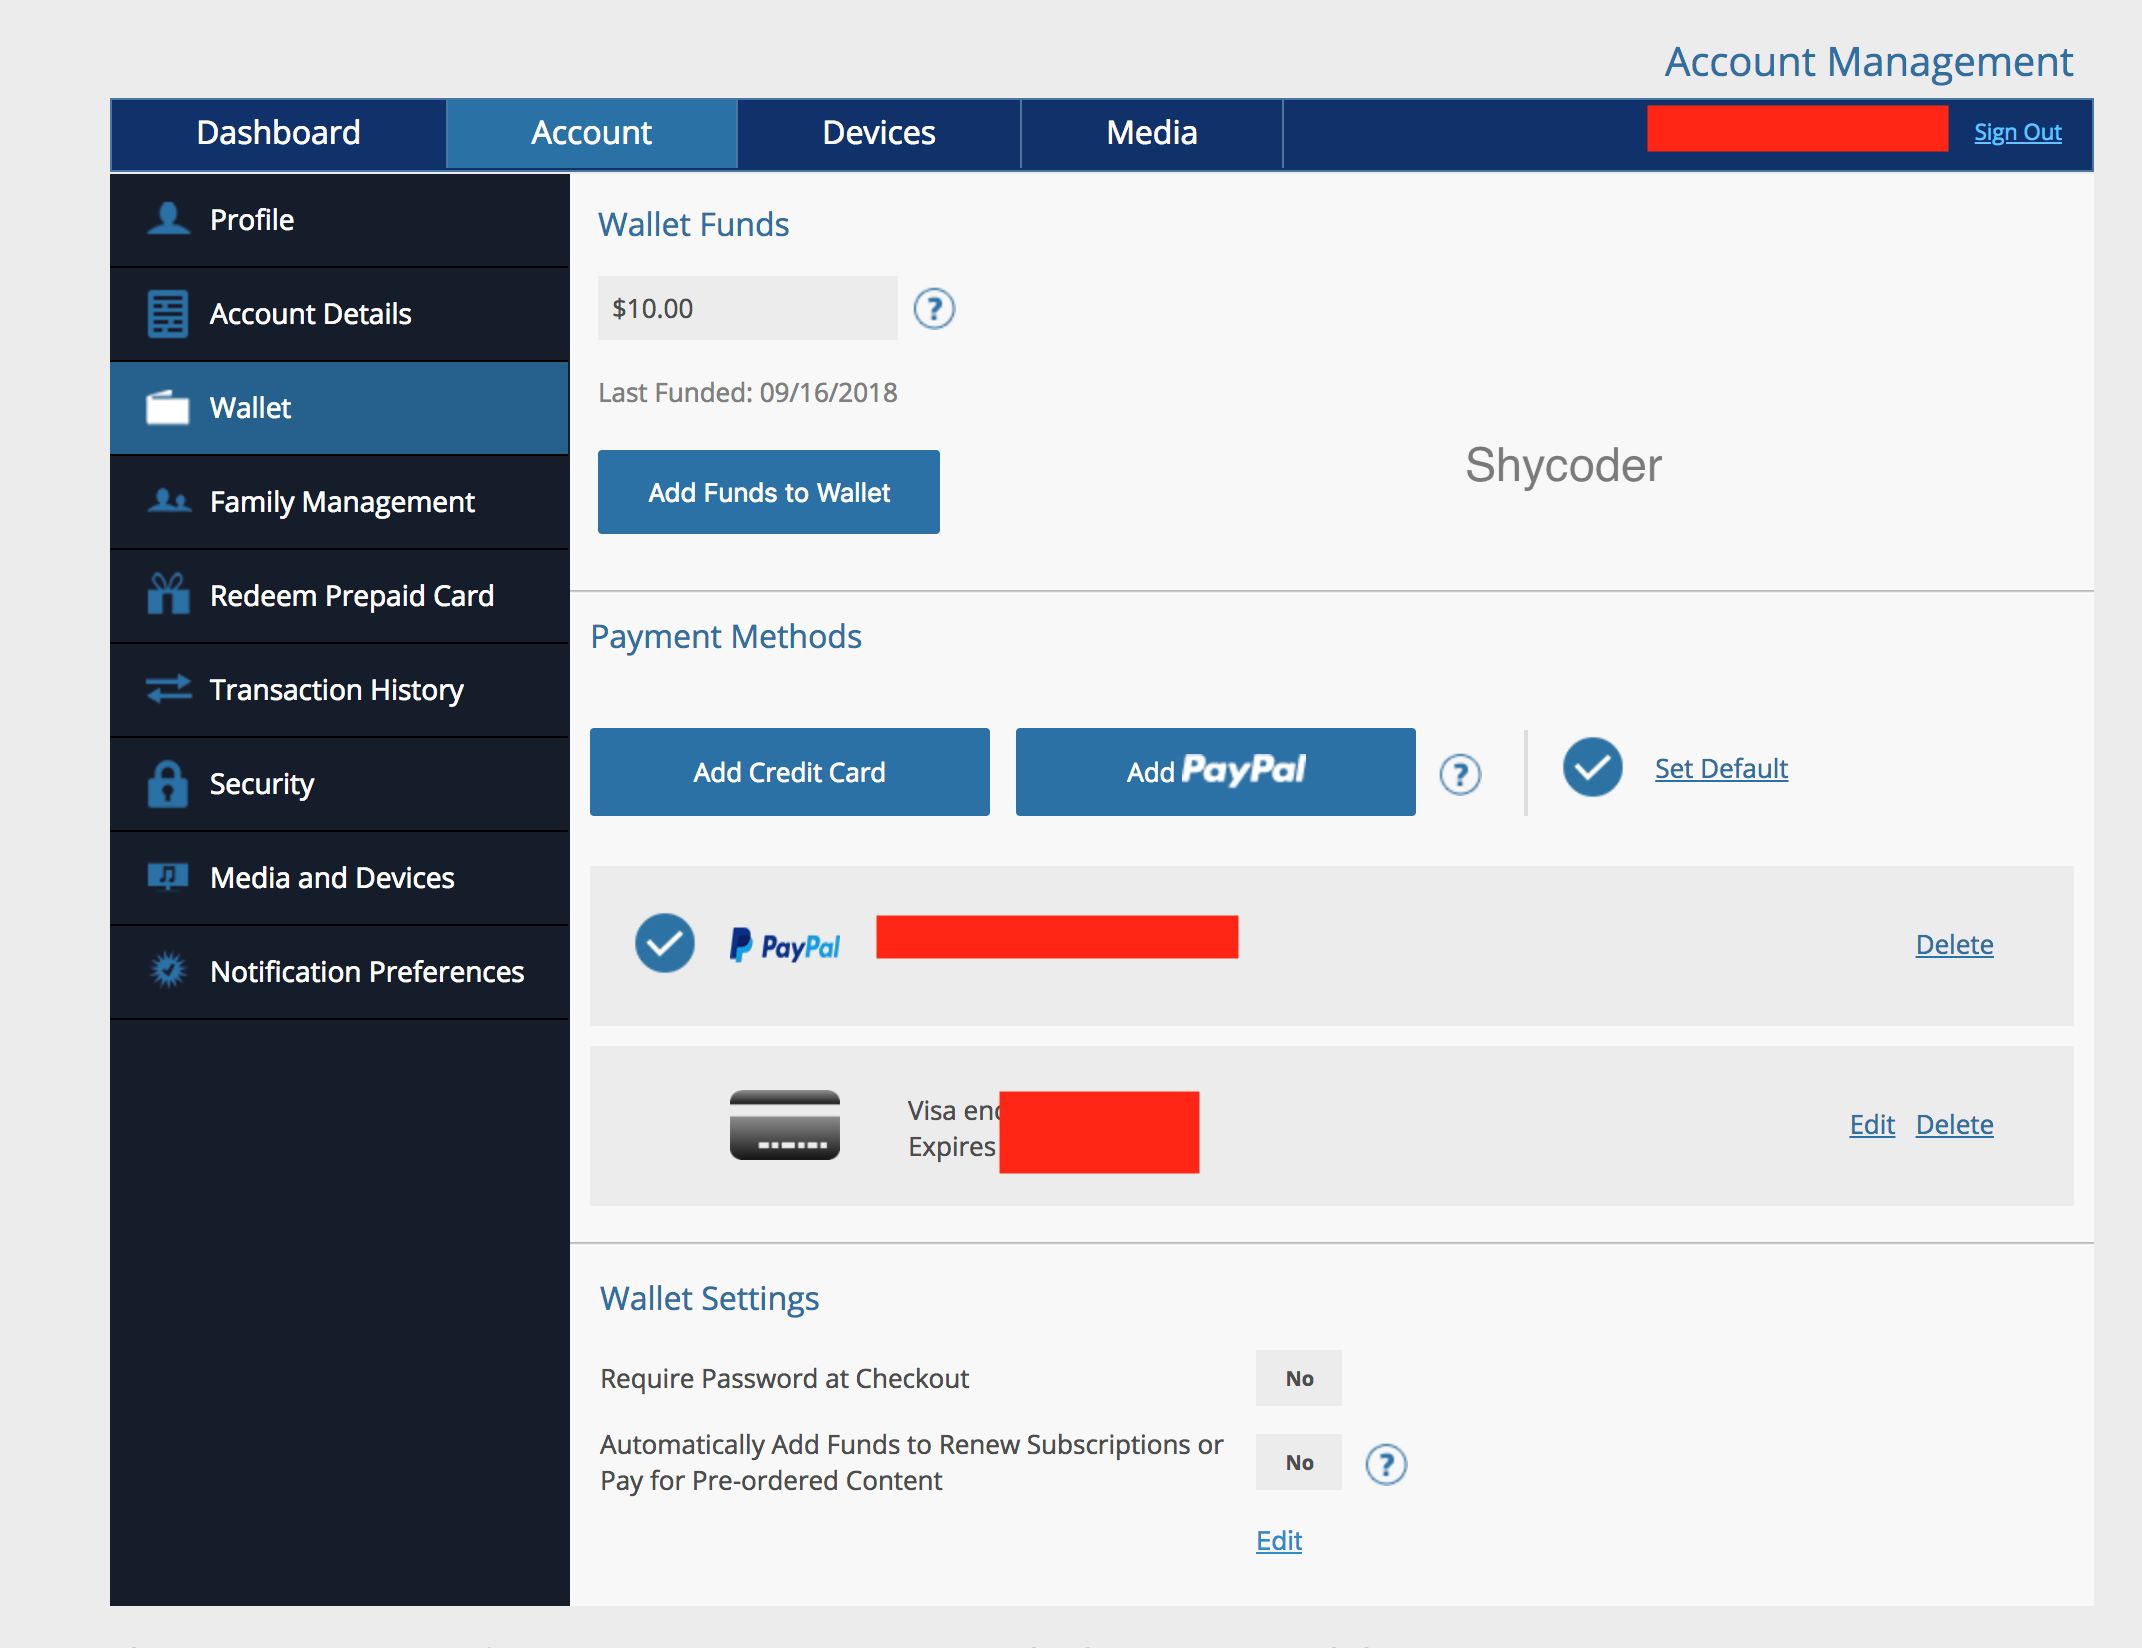
- Finally, choose the “Wallet” option, which is where you manage your payment methods on your PS4.
Once you have reached the Wallet page in the Account Settings, you are ready to proceed to the next step of adding a credit card to your PS4. With these simple navigation steps, you will be well on your way to conveniently making purchases on the PlayStation Store.
Step 2: Adding a New Payment Method
Now that you have accessed the Wallet section of your PS4 Account Settings, it’s time to add a new payment method. Follow these steps:
- From the Wallet menu, select the “Payment Methods” option.
- In the Payment Methods section, you will see the existing payment methods linked to your PS4 account, if any. Choose the “Add a Credit Card or Debit Card” option to proceed.
- Next, you will be prompted to enter the necessary details for your credit card. Make sure to have your card information, such as the card number, expiration date, and security code, readily available.
- Additionally, you may need to provide your name exactly as it appears on the credit card and the billing address associated with the card.
It is essential to enter the information accurately to ensure a smooth and error-free transaction process. Double-check your inputs before proceeding to the next step.
Once you have entered the necessary credit card information, you are now ready to verify the details to ensure their accuracy. This will be covered in the next step of the process.
Step 3: Entering Credit Card Information
In this step, you will enter your credit card information into the designated fields on your PS4. Follow these steps:
- On the “Add a Credit Card or Debit Card” page, start by entering the 16-digit card number. This can typically be found on the front of your credit card.
- Next, input the expiration date of your credit card. This includes the month and year. You can find this information on the front of your card as well.
- Now, enter the security code. This is a 3-digit number typically found on the back of your card, near the signature panel.
- Lastly, input the name as it appears on the credit card. Make sure to enter it exactly as it is shown, including any spaces or punctuation.
- Once all the required information is entered, you will have the option to save your credit card details for future use or to proceed without saving.
Remember, accuracy is key when entering your credit card information. Check your inputs carefully to ensure that everything is correct before moving on to the next step.
Now that you have entered your credit card information, it’s time to verify the details to ensure their accuracy. This will be covered in the next step of the process.
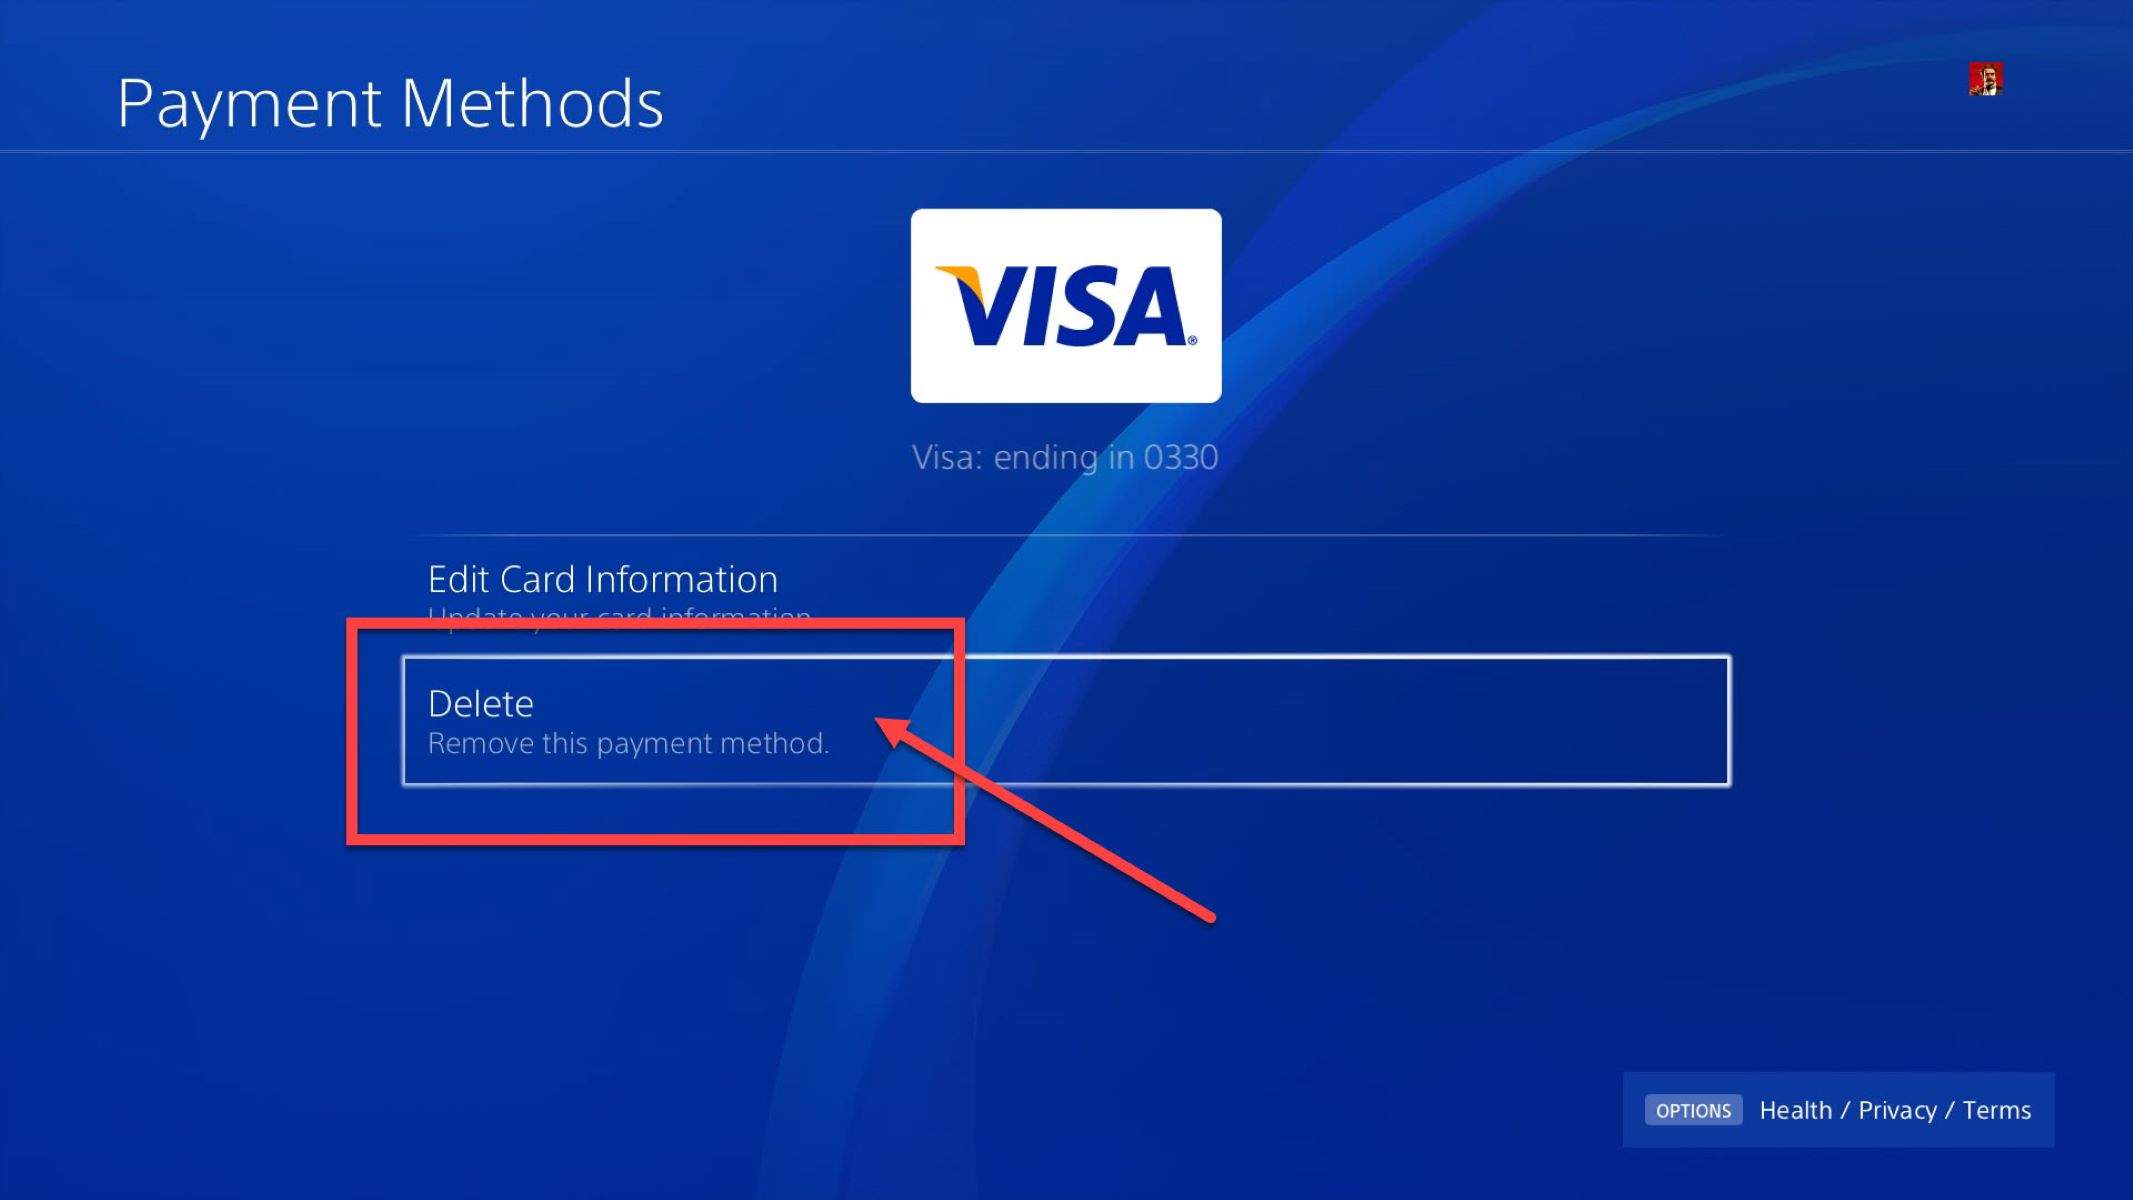
Step 4: Verifying Card Details
After entering your credit card information, it is crucial to verify the details to ensure everything is accurate. Follow these steps to confirm the card details:
- Review the information you entered, including the card number, expiration date, security code, and the name associated with the credit card.
- Make sure that the card number is correct and matches the card you are using. Check for any typographical errors or missing digits.
- Verify that the expiration date is accurate and the card is not expired. An expired card will not be accepted as a payment method.
- Double-check the security code to ensure it is entered correctly. This three-digit code is essential for validating your card.
- Confirm that the name on the credit card matches the name you entered. Any discrepancies may result in payment issues.
By verifying the card details, you can ensure a smooth and error-free process when making purchases on your PS4.
Once you have confirmed the accuracy of the card information, it’s time to move on to the final step of adding a credit card to your PS4: confirming the payment method. We will cover this in the next section.
Step 5: Confirming the Payment Method
In the final step of adding a credit card to your PS4, you will confirm the payment method to complete the process. Follow these steps:
- On the confirmation page, review the card details once again to ensure their accuracy. Pay close attention to the card number, expiration date, security code, and the name associated with the credit card.
- If everything looks correct, select the option to confirm the payment method. This will authorize your credit card to be used for future purchases on the PlayStation Store.
- In some cases, you may be prompted to enter additional information, such as your billing address, to further verify your credit card details. Follow the prompts and provide the requested information accurately.
Once you have confirmed the payment method and any additional information, you will receive a notification confirming that your credit card has been successfully added to your PS4. You can now use this card to make purchases on the PlayStation Store without the need for physical gift cards or prepaid game cards.
It’s important to note that your credit card information is securely stored within the PlayStation Network’s systems. Sony prioritizes the security of your personal and financial information, implementing strict measures to protect your data.
With the completion of this final step, you have successfully added a credit card to your PS4. Enjoy the convenience of purchasing games, DLCs, and other digital content directly from the PlayStation Store using your newly linked credit card.
Conclusion
Adding a credit card to your PS4 opens up new possibilities for convenient and seamless purchases on the PlayStation Store. By following the steps outlined in this guide, you can easily link your credit card to your PS4 and enjoy a hassle-free gaming experience.
We started by accessing the Account Settings on your PS4 and then proceeded to add a new payment method. You entered your credit card information carefully, ensuring its accuracy. Next, we emphasized the importance of verifying the card details to avoid any issues in the future. Finally, you confirmed the payment method and completed the process with confidence.
It’s crucial to note that the security of your personal and financial information is of the utmost importance. The PlayStation Network has implemented stringent measures to protect your data, giving you peace of mind when making purchases using your linked credit card.
Now that you have successfully added a credit card to your PS4, you can enjoy the convenience of purchasing games, DLCs, and other digital content directly from the PlayStation Store. No more reliance on physical gift cards or prepaid game cards – simply select your desired items, click a few buttons, and indulge in the world of gaming.
Remember to keep your credit card information safe and secure, only using trusted networks and platforms for transactions. Regularly monitor your account for any unusual activity and report any discrepancies immediately.
Thank you for following this guide on how to add a credit card to your PS4. We hope you found it helpful and that it enhances your gaming experience. Happy gaming!
What's Hot
Latest Articles
Related Post

By: • Finance
By: • Finance
By: • Finance
By: • Finance

By: • Finance
By: • Finance
By: • Finance

By: • Finance

By: • Finance

By: • Finance

By: • Finance

By: • Finance

By: • Finance

By: • Finance

By: • Finance