
Finance
How To Change Credit Card Info On PS3
Published: November 9, 2023
Looking to update your credit card information on your PS3? Learn how to change your credit card details hassle-free and manage your finances with ease.
(Many of the links in this article redirect to a specific reviewed product. Your purchase of these products through affiliate links helps to generate commission for LiveWell, at no extra cost. Learn more)
Table of Contents
Introduction
Welcome to the world of PlayStation gaming! If you’re a proud owner of a PlayStation 3 console, you might find yourself needing to update your credit card information on the PlayStation Store at some point. Whether you’ve got a new card, expired card, or simply want to switch to a different payment method, it’s important to know how to change your credit card information to ensure uninterrupted access to your favorite games and content.
In this article, we’ll guide you through the step-by-step process of changing your credit card information on the PS3. Don’t worry if you’re not a tech-savvy gamer – we’ve got you covered with easy-to-follow instructions and helpful tips along the way.
Before we dive into the process, it’s essential to mention that you’ll need a stable internet connection and a valid credit card to complete these steps. So, make sure you have both on hand before getting started.
Ready to update your credit card information and get back to gaming without any hiccups? Let’s jump right in and explore the steps to change your credit card info on your PS3!
Step 1: Accessing the PlayStation Store
The first step in changing your credit card information on the PS3 is to access the PlayStation Store. This is the digital marketplace where you can browse and download games, movies, and other content for your console.
To access the PlayStation Store, ensure that your PS3 console is connected to the internet. Then, turn on your console and navigate to the PlayStation Network icon on the XrossMediaBar (XMB) – the PS3’s main menu.
Once you’ve selected the PlayStation Network icon, you’ll be taken to the PlayStation Store. Here, you’ll find a wide range of categories and options to explore. Take a moment to familiarize yourself with the layout, as we’ll be navigating through the different sections in the upcoming steps.
If you encounter any issues accessing the PlayStation Store, double-check your internet connection and ensure it’s stable. You may also need to update your PS3 software if prompted by the console.
Now that you’re in the PlayStation Store, let’s move on to the next step and navigate to the account settings where you can change your credit card information.
Step 2: Navigating to Account Settings
Now that you’re in the PlayStation Store, it’s time to navigate to the account settings where you can make changes to your credit card information. Follow these steps to access the account settings:
- From the PlayStation Store’s main menu, scroll to the top and locate the “Account” option. It’s usually located on the right-hand side of the screen.
- Press the “X” button on your controller to select the “Account” option.
- In the account settings menu, you’ll see various options such as Account Information, Wallet, Subscriptions, and Transaction Management. You need to select the “Account Information” option.
- Press the “X” button to enter the account information section.
Once you’ve successfully navigated to the account information section, you’re one step closer to updating your credit card details. Stay tuned for the next step where we’ll show you how to access the payment methods section and add a new credit card to your account.
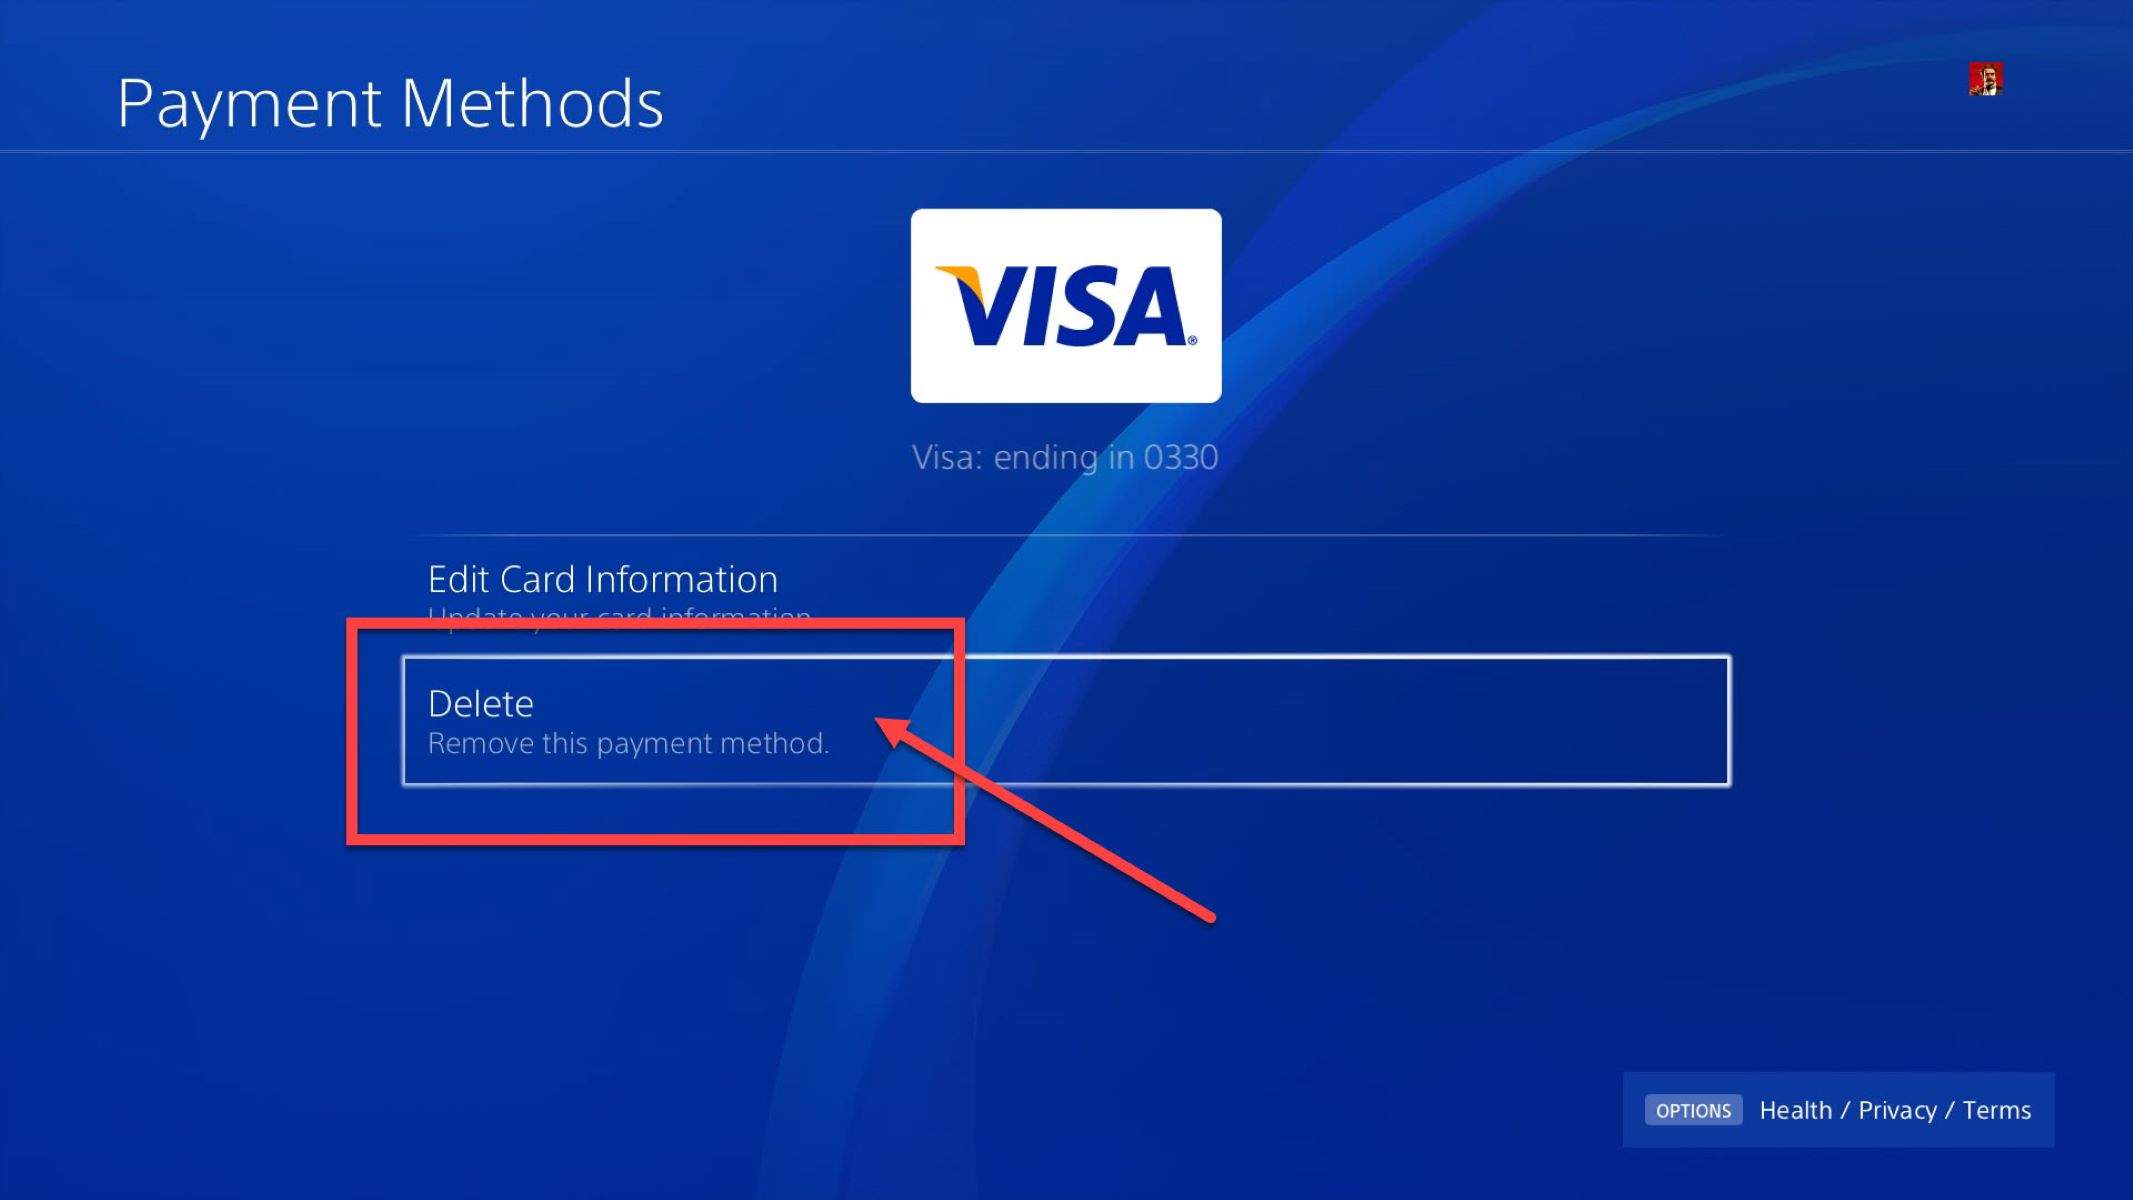
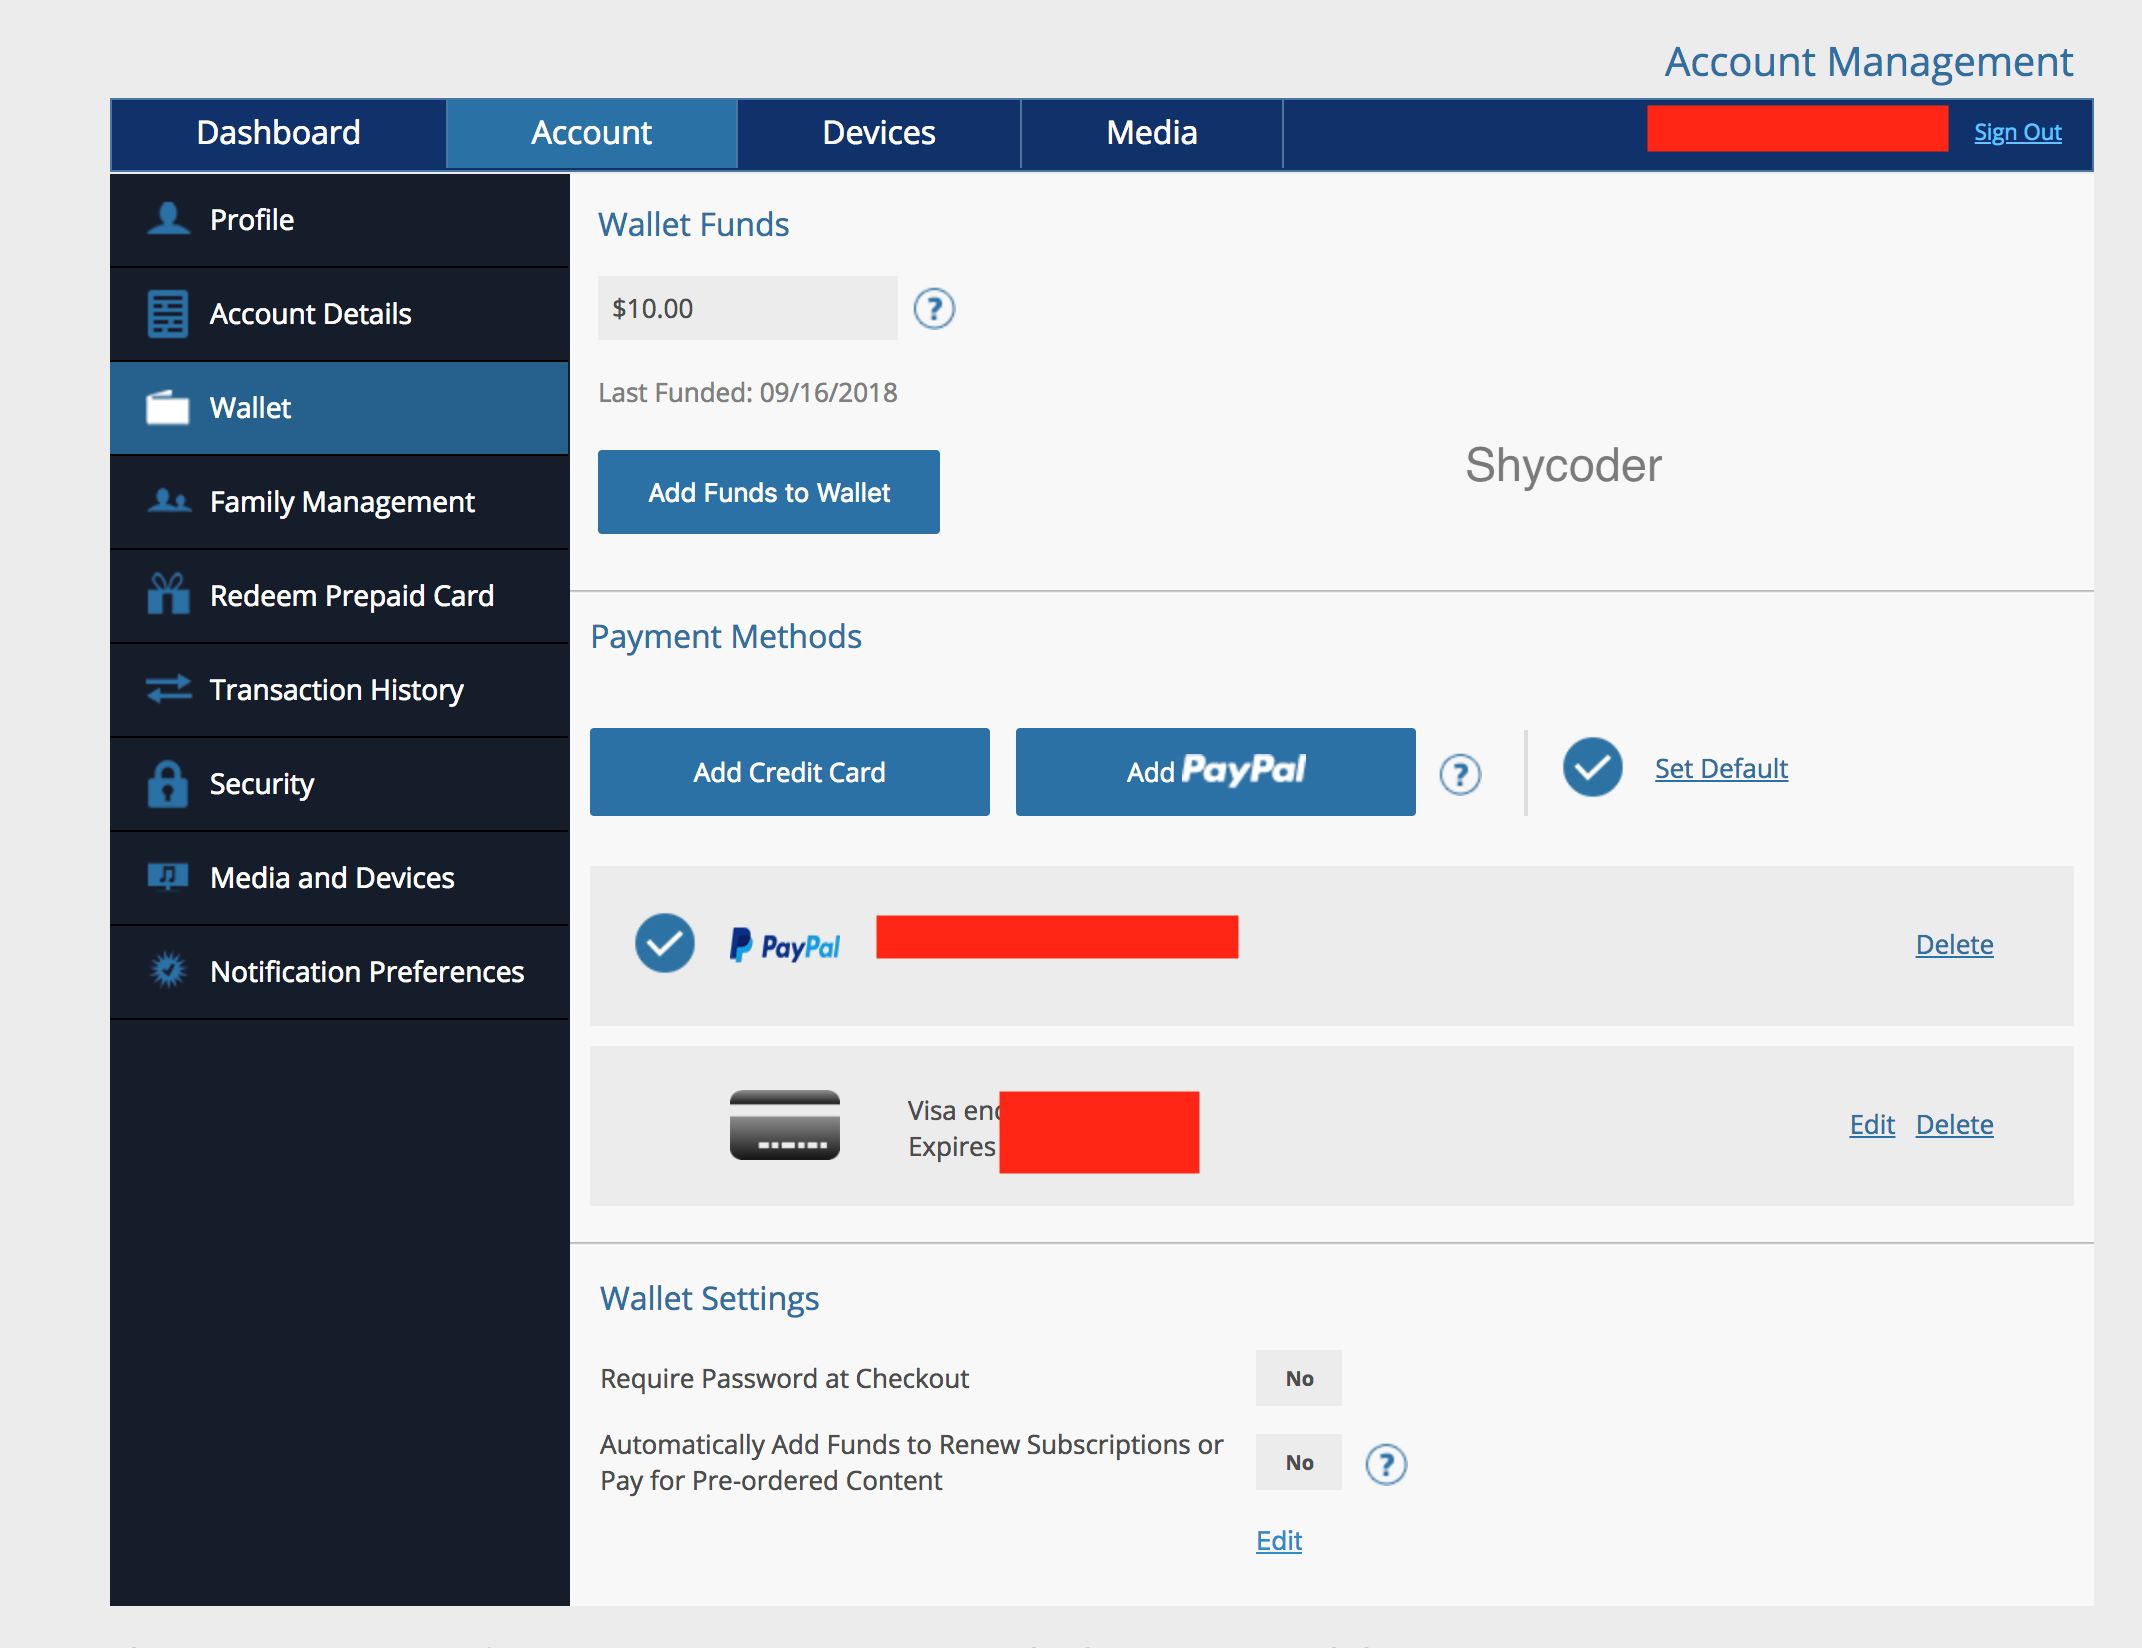
Step 3: Selecting Payment Methods
Now that you’re in the account information section, it’s time to select the payment methods option. Follow these steps to access the payment methods section:
- From the account information menu, scroll down and locate the “Wallet” option. It’s usually located towards the bottom of the screen.
- Press the “X” button on your controller to select the “Wallet” option.
- In the wallet menu, you’ll find various options related to your payment methods and transaction history. Look for the “Payment Methods” section and select it by pressing the “X” button.
By selecting the payment methods option, you’ll be able to view and manage the credit cards linked to your account. This is where you can add a new credit card or edit the existing ones. It’s important to note that the PS3 supports a wide range of payment methods, including credit cards, debit cards, and even PayPal for select regions.
Now that you’ve successfully accessed the payment methods section, let’s move on to the next step, where we’ll guide you through adding a new credit card to your account.
Step 4: Adding a New Credit Card
Ready to update your credit card information? Here’s how you can add a new credit card to your PS3 account:
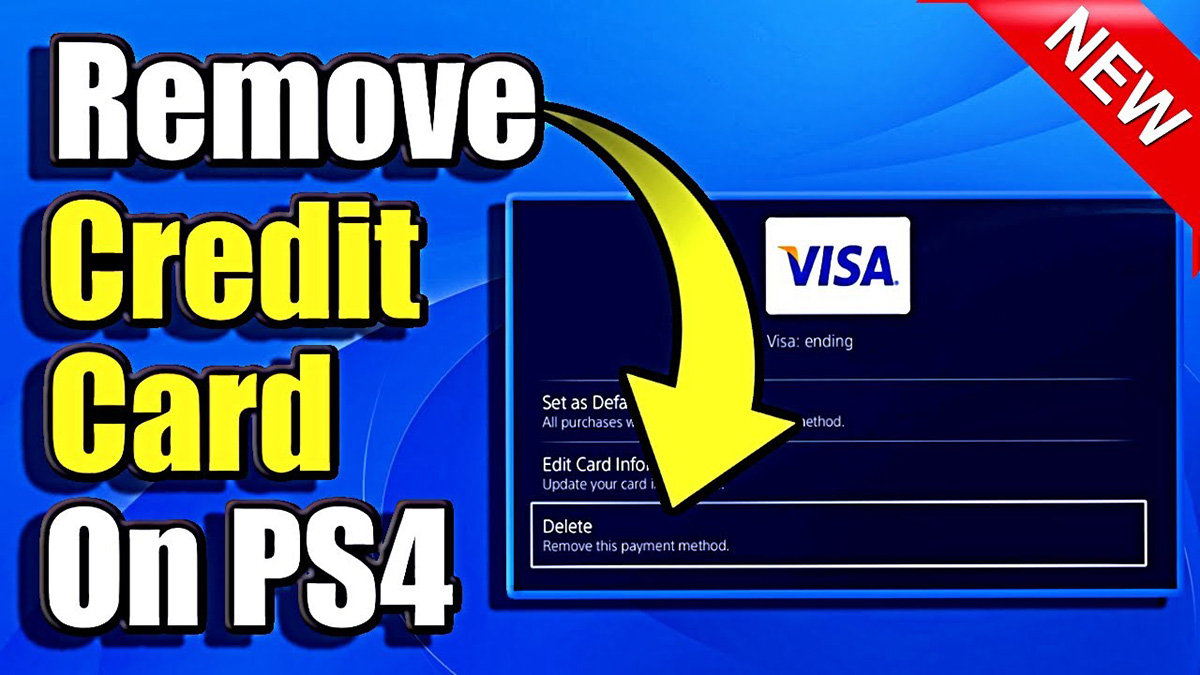
- In the payment methods section, you’ll see a list of the credit cards currently linked to your account. To add a new card, select the “Add New Card” or “Add New Payment Method” option. Press the “X” button on your controller to proceed.
- A new window will appear, prompting you to enter the details of your new credit card. You’ll typically be asked to provide information such as the cardholder’s name, card number, expiration date, and security code. Make sure to enter the details accurately.
- Use the controller to navigate through the on-screen keyboard and enter the required information for your new credit card. If you make an error, you can use the “Backspace” button to delete characters.
- Once you’ve entered all the necessary details, double-check them to ensure they are correct. Accuracy is crucial to avoid any issues with payment processing.
Congratulations! You’ve successfully added a new credit card to your PS3 account. But before you can start using it, there’s an additional step to verify the details and ensure the accuracy of the information provided. Continue reading to learn how to verify your credit card details.
Step 5: Entering Credit Card Information
After adding a new credit card to your PS3 account, it’s essential to verify the information to ensure its accuracy. Follow these steps to enter your credit card information:
- In the payment methods section, select the newly added credit card from the list. This will bring up the details of the selected card on the screen.
- Carefully review the information displayed, including the cardholder’s name, card number, expiration date, and security code. Ensure that all the details are accurate and match the information on your credit card.
- If any changes or corrections are required, select the “Edit” or “Modify” option and update the necessary fields using the on-screen keyboard.
- Once you’ve verified and confirmed the accuracy of the credit card information, select the “Save” or “Confirm” option to proceed.
By entering and verifying your credit card information, you’re taking a crucial step to ensure a hassle-free payment process on the PlayStation Store. This verification process helps protect your account against unauthorized use and ensures that your purchases are processed smoothly.
Now that your credit card information is accurately entered and verified, let’s move on to the next step to complete the process and save the changes made to your account.
Step 6: Verifying Credit Card Details
Verifying your credit card details is an important step to ensure the security and accuracy of your payment information on your PS3 account. Follow these steps to complete the verification process:
- After saving the changes to your credit card information, you’ll be prompted to verify the card details. This verification process typically involves a small temporary charge being made to your credit card.
- Check your credit card statement or online banking to identify the exact amount charged to your card. It’s usually a small amount, such as $1 or less.
- Return to your PS3 console and navigate back to the payment methods section.
- Select the newly added credit card again, and this time, you’ll be prompted to enter the exact amount charged to your card for verification purposes.
- Using the on-screen keyboard, carefully enter the exact amount charged to your credit card.
- If the amount entered matches the charge on your credit card statement, select the “Confirm” or “Verify” option to complete the verification process.
By verifying your credit card details, you’re adding an extra layer of security to your PlayStation account and ensuring that only authorized transactions are processed.
Once you’ve successfully verified your credit card details, you’re ready to make purchases and enjoy the wide range of content available on the PlayStation Store. However, there’s one more crucial step to complete the process – saving the changes made to your account. Continue reading to learn how to save your changes.
Step 7: Saving Changes
After going through the process of adding and verifying your new credit card information, it’s crucial to save the changes made to your PS3 account. Follow these steps to ensure that your changes are saved:
- Once you’ve completed the previous steps, navigate to the option that allows you to save your changes. This option is usually labeled as “Save,” “Confirm,” or “Apply.”
- Select the appropriate option using your controller and press the “X” button to save the changes to your PS3 account.
- You may receive a notification or confirmation message indicating that your changes have been successfully saved. Take a moment to read and acknowledge this message before proceeding.
By saving your changes, you’re making sure that your updated credit card information is securely stored on your PS3 account. This ensures that you can make seamless purchases and enjoy uninterrupted access to the content available on the PlayStation Store.
Congratulations! You have now successfully changed your credit card information on your PS3. Your account is updated, and you’re ready to make purchases and explore the vast collection of games, movies, and more.
Remember to keep your credit card information and account details secure. Avoid sharing your account information and regularly monitor your transactions for any unauthorized activity.
Thank you for following along with this step-by-step guide. We hope this article has been helpful in assisting you with changing your credit card information on your PS3. Happy gaming!
Conclusion
Updating your credit card information on your PS3 is a straightforward process that ensures seamless transactions and uninterrupted access to the PlayStation Store. By following the steps outlined in this guide, you can easily add a new credit card, verify its details, and save the changes to your account.
Remember, having accurate and up-to-date credit card information is essential for a smooth gaming experience. Whether you need to replace an expired card, switch to a different payment method, or update your billing details, the PS3 provides a user-friendly interface to make these changes.
Throughout the process, prioritizing the security of your account is crucial. Always ensure that you’re making changes from a trusted and secure internet connection, double-check the accuracy of the information you enter, and be vigilant about unauthorized activity on your account.
If you ever encounter difficulties or have questions, don’t hesitate to consult the PlayStation support resources or reach out to their customer service for assistance. They are dedicated to providing help and guidance to their users.
Now that you’ve successfully updated your credit card information, you can dive back into your favorite games, movies, and content available on the PlayStation Store. Enjoy the immersive world of gaming and entertainment that awaits you!
Thank you for reading this guide and happy gaming!
What's Hot
Latest Articles
Related Post

By: • Finance
By: • Finance
By: • Finance
By: • Finance
By: • Finance
By: • Finance

By: • Finance
By: • Finance

By: • Finance

By: • Finance

By: • Finance

By: • Finance
By: • Finance

By: • Finance
By: • Finance