Finance
How To Create A Balance Sheet In Google Sheets
Published: December 27, 2023
Learn how to create a balance sheet in Google Sheets and effectively manage your finances. Master the art of financial analysis and tracking with our step-by-step guide.
(Many of the links in this article redirect to a specific reviewed product. Your purchase of these products through affiliate links helps to generate commission for LiveWell, at no extra cost. Learn more)
Table of Contents
Introduction
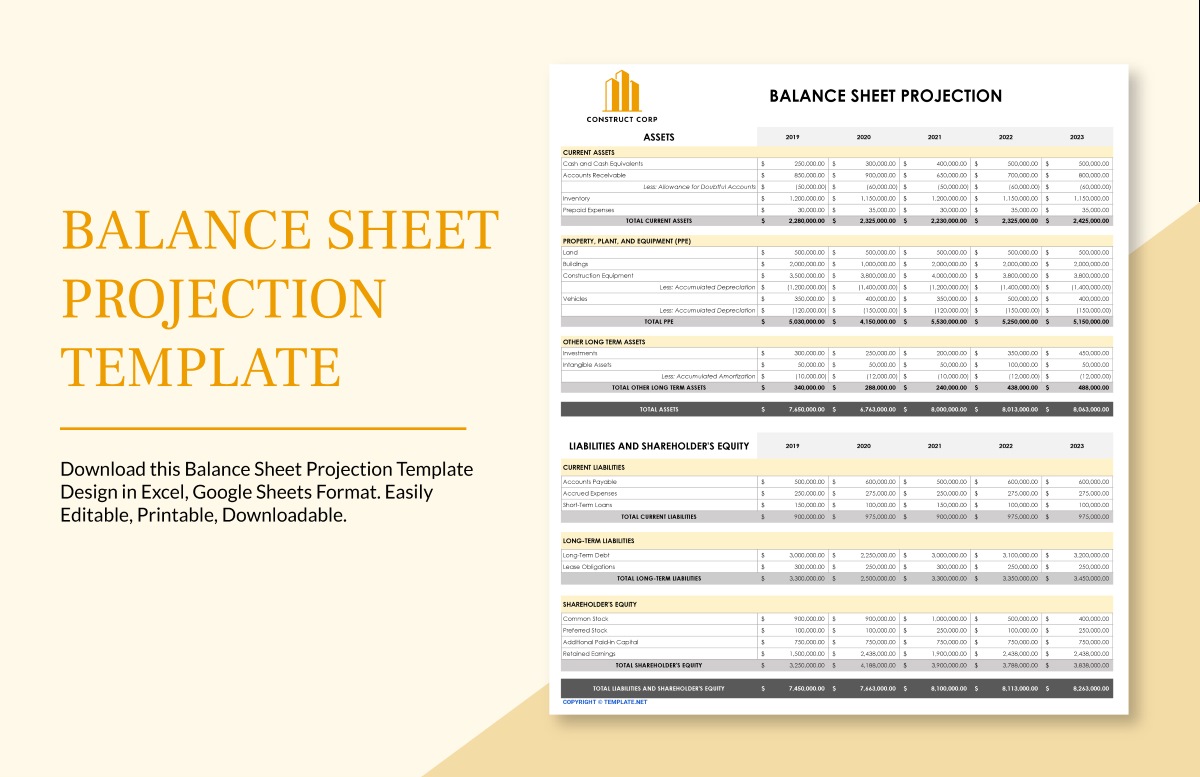
Creating a balance sheet is an essential part of managing your finances, whether it’s for personal or business purposes. A balance sheet provides a snapshot of your financial position by listing your assets, liabilities, and owner’s equity. It helps you assess your financial health, track your progress, and make informed decisions regarding investments, loans, and overall financial planning.
While there are various software and tools available to create balance sheets, Google Sheets offers a convenient and user-friendly option. With its cloud-based capabilities and easy accessibility, Google Sheets allows you to create, edit, and share balance sheets seamlessly. In this article, we will guide you through the process of creating a balance sheet in Google Sheets.
By following the step-by-step instructions provided, you’ll be able to create a well-structured and accurate balance sheet that reflects your financial standing. Whether you’re a small business owner, an accounting professional, or an individual managing your personal finances, this guide will equip you with the necessary knowledge to create a balance sheet using Google Sheets.
So, let’s dive in and explore the steps required to create a balance sheet in Google Sheets. By the end of this tutorial, you’ll have a comprehensive and visually appealing balance sheet that will serve as a valuable tool in evaluating your financial position.
Step 1: Open Google Sheets and create a new spreadsheet
The first step in creating a balance sheet in Google Sheets is to open Google Sheets and create a new spreadsheet. To do this, follow these simple steps:
- Go to https://docs.google.com/spreadsheets in your web browser.
- Sign in to your Google account if you haven’t already.
- Click on the “+” button to create a new spreadsheet.
Once you’ve created a new spreadsheet, you’ll find yourself on a blank canvas ready to build your balance sheet.
Google Sheets provides a convenient interface with a toolbar at the top and a grid-like structure for entering and organizing your data. You can use the toolbar to customize your sheet, including changing the font, adjusting cell formatting, and adding formulas.
It’s important to note that Google Sheets automatically saves your progress, so you don’t need to worry about losing your work. Additionally, you can access your balance sheet from any device with an internet connection, making it highly accessible and convenient for collaboration purposes.
Now that you’ve set up your Google Sheets and have a blank spreadsheet in front of you, it’s time to move on to the next step and begin structuring your balance sheet.
Step 2: Set up your Balance Sheet structure
Setting up the structure of your balance sheet is crucial for organizing your financial information effectively. It ensures that your assets, liabilities, and owner’s equity are categorized correctly and easily identifiable. To set up the structure of your balance sheet in Google Sheets, follow these steps:
- Label the first column as “Assets”.
- Label the second column as “Liabilities”.
- Label the third column as “Owner’s Equity”.
- Leave a few rows blank below the column labels for entering your actual data.
By creating these labeled columns, you’re establishing the foundation for your balance sheet. This structure allows you to input data in an organized manner and ensures accurate calculations of your financial position.
Furthermore, it’s essential to format your balance sheet for easy readability and distinction between different sections. You can customize the font, font size, and cell borders to make it visually appealing and professional.
Once you’ve set up the structure of your balance sheet, you’re ready to move on to the next step and start entering your assets.
Step 3: Enter your assets
Entering your assets on the balance sheet is essential as it represents what you own and the value of your investments. Assets can include cash, accounts receivable, inventory, property, investments, and other tangible or intangible items of value. To enter your assets on the balance sheet, follow these steps:
- In the “Assets” column, list each asset category in separate rows. Common asset categories include:
- Cash and cash equivalents
- Accounts receivable
- Inventory
- Investments
- Property, plant, and equipment
- Intangible assets
- Under each asset category, input the specific assets you have, along with their corresponding values. For example:
- Cash and cash equivalents: $10,000
- Accounts receivable: $5,000
- Inventory: $20,000
- Investments: $50,000
- Property, plant, and equipment: $100,000
- Intangible assets: $30,000
Ensure that you accurately report the values of your assets based on their current market or book value. This information will give you a clear understanding of the resources available to you.
Google Sheets provides various formatting options to make your asset values stand out. You can use currency formatting or adjust decimal places to reflect accurate calculations. Additionally, you can apply conditional formatting to highlight certain asset values based on specific criteria.
Once you’ve entered all your assets, you can proceed to the next step and input your liabilities on the balance sheet.
Step 4: Enter your liabilities
Entering your liabilities on the balance sheet is crucial as it represents your debts and financial obligations. Liabilities can include bank loans, credit card debt, accounts payable, mortgages, and any other amounts owed to external parties. To enter your liabilities on the balance sheet, follow these steps:
- In the “Liabilities” column, list each liability category in separate rows. Common liability categories include:
- Bank loans
- Credit card debt
- Accounts payable
- Mortgages
- Other debts
- Under each liability category, input the specific liabilities you have, along with their corresponding values. For example:
- Bank loans: $50,000
- Credit card debt: $10,000
- Accounts payable: $8,000
- Mortgages: $150,000
- Other debts: $5,000
Ensure that you accurately report the values of your liabilities based on the outstanding amounts. This information will give you a clear understanding of the financial obligations you need to fulfill.
Similar to assets, you can use various formatting options in Google Sheets to make your liability values stand out. Apply currency formatting or adjust decimal places to present accurate calculations. You can also use conditional formatting to highlight certain liability values based on specific criteria.
Once you’ve entered all your liabilities, you can move on to the next step and calculate the owner’s equity on the balance sheet.
Step 5: Calculate the owner’s equity
Calculating the owner’s equity is an important step in the balance sheet creation process. It represents the net worth of the owner or owners of a business and is obtained by subtracting the total liabilities from the total assets. To calculate the owner’s equity on the balance sheet, follow these steps:
- In the “Owner’s Equity” column, list the owner’s equity as a single category.
- Below the owner’s equity category, insert a formula to calculate the total owner’s equity. The formula should subtract the total liabilities from the total assets. For example:
- =SUM(Total Assets – Total Liabilities)
- The cell displaying the calculated owner’s equity will automatically update as you modify the asset and liability values.
This calculated owner’s equity value provides valuable insight into the net worth of the business or the owner’s investment in the company. It represents the residual interest in the assets of the business after deducting all liabilities.
Google Sheets allows you to customize the formatting of the calculated owner’s equity value. You can apply currency formatting or adjust decimal places as necessary. Additionally, you can use conditional formatting to highlight specific owner’s equity values or apply color-coding for easier analysis.
Now that you’ve calculated the owner’s equity, you can proceed to the next step and format the balance sheet to make it visually appealing and organized.
Step 6: Format the Balance Sheet
Formatting the balance sheet is crucial to ensure clarity, readability, and a professional appearance. By organizing and formatting your data appropriately, you can make your balance sheet easier to understand and analyze. Follow these steps to format your balance sheet in Google Sheets:
- Adjust column widths: Resize the columns to ensure that the data is visible and properly aligned. You can do this by hovering over the column letter and dragging it to the desired width.
- Add borders: Apply cell borders to differentiate the different sections of your balance sheet. This can be done by selecting the cells, clicking on the “Borders” button in the toolbar, and choosing the desired border style.
- Apply cell shading: Use background colors to highlight specific sections or categories. This can be done by selecting the cells, clicking on the “Fill color” button in the toolbar, and choosing the desired color.
- Format numbers: Format the numbers in your balance sheet to make them easier to read and understand. Use currency formatting or adjust the decimal places as necessary. You can do this by selecting the cells, right-clicking, and choosing the “Format cells” option.
- Add headings: Insert headings or titles for each section of the balance sheet to provide clear guidance and help readers navigate through the document.
- Include a title and date: Add a title to your balance sheet, such as “Balance Sheet as of [Date],” to indicate the period it represents. This provides important context for the financial information.
By formatting your balance sheet effectively, you enhance its visual appeal and make it easier for others to interpret and analyze. Additionally, a well-formatted balance sheet demonstrates professionalism and attention to detail.
Now that you’ve formatted your balance sheet, you’re ready for the final step—reviewing and finalizing your balance sheet before sharing or using it for decision-making purposes.
Step 7: Review and finalize your Balance Sheet
Before sharing or using your balance sheet, it’s crucial to review and finalize it to ensure accuracy and completeness. This step allows you to identify any errors, inconsistencies, or omissions and make necessary adjustments. Follow these steps to review and finalize your balance sheet:
- Double-check your data: Review all the numbers and ensure that they are entered correctly. Check for any typos or mistakes in the values of assets, liabilities, and owner’s equity.
- Verify formulas: If you have used formulas to calculate totals or perform calculations, make sure they are accurate and functioning properly. Check that the formulas have updated correctly when data values were changed.
- Reconcile with supporting documents: Compare your balance sheet figures with your bank statements, financial statements, and any other supporting documents. This helps ensure that your balance sheet reflects the true financial position of your business or personal finances.
- Consider additional details: Determine if there are any additional details or footnotes that need to be included in your balance sheet. For example, you may want to add explanations for significant changes in certain accounts or provide additional context for specific transactions.
- Proofread for clarity and readability: Review the language and formatting of your balance sheet to ensure it is clear, concise, and easy to understand. Eliminate any unnecessary jargon or technical terms that might confuse readers.
Once you have thoroughly reviewed and finalized your balance sheet, save it and consider creating a backup copy for future reference. You can easily update and modify the balance sheet as needed in Google Sheets, ensuring that you always have an up-to-date financial snapshot.
By carefully reviewing and finalizing your balance sheet, you can have confidence in the accuracy and reliability of the information displayed. This will enable you to make informed decisions, present your financial position to stakeholders, or use it as a tool for financial planning and analysis.
Congratulations! You have successfully created, formatted, and reviewed your balance sheet using Google Sheets. Your balance sheet is now ready to be utilized for various financial purposes.
Conclusion
Creating a balance sheet in Google Sheets is a straightforward process that provides valuable insights into your financial position. By following the steps outlined in this guide, you can successfully create a well-organized and accurate balance sheet that reflects your assets, liabilities, and owner’s equity.
A balance sheet is a powerful tool for evaluating your financial health, tracking progress over time, and making informed decisions about investments, loans, and financial planning. With Google Sheets’ user-friendly interface and cloud-based accessibility, you can easily create, modify, and share your balance sheet from any device with an internet connection.
Remember, accuracy is crucial when entering your assets, liabilities, and owner’s equity. Double-check your data, verify formulas, and reconcile with supporting documents to ensure the validity of your balance sheet. Take the time to format your balance sheet for clarity and readability, using borders, shading, and appropriate headings.
By reviewing and finalizing your balance sheet, you can be confident in the accuracy and completeness of the financial information it provides. Whether you are managing personal finances or running a business, a well-prepared and structured balance sheet is an essential tool for decision-making, financial analysis, and transparency.
Now that you have a comprehensive understanding of how to create a balance sheet in Google Sheets, you can apply this knowledge to better manage your finances and improve your overall financial well-being. Use your balance sheet to track your progress, analyze trends, and make informed financial decisions that align with your goals.
Remember, your balance sheet is a dynamic document that should be regularly updated to reflect changes in your financial position. By maintaining accurate and up-to-date records, you’ll have a clear picture of your financial health and be better equipped to navigate the complexities of your personal or business finances.
So, open up Google Sheets, follow the steps outlined in this guide, and start creating your balance sheet today!
What's Hot
Latest Articles
Related Post

By: • Finance

By: • Finance
By: • Finance

By: • Finance

By: • Finance
By: • Finance

By: • Finance


By: • Finance

By: • Finance

By: • Finance