
Finance
How To Remove Credit Card From Apple Pay
Published: October 26, 2023
Learn how to remove a credit card from Apple Pay in just a few simple steps. Safeguard your personal finance by managing your cards effectively.
(Many of the links in this article redirect to a specific reviewed product. Your purchase of these products through affiliate links helps to generate commission for LiveWell, at no extra cost. Learn more)
Table of Contents
Introduction
Apple Pay has revolutionized the way we make payments, offering a convenient and secure method for transactions. By adding your credit card to Apple Pay, you can easily make purchases using your iPhone, iPad, or Apple Watch. However, there may come a time when you need to remove a credit card from Apple Pay, whether it’s because the card has expired, you’ve lost the card, or you simply want to update your payment methods.
In this article, we will walk you through the step-by-step process of removing a credit card from Apple Pay. Whether you’re using an iPhone, iPad, or Apple Watch, we’ve got you covered.
Before we dive into the steps, it’s important to note that removing a credit card from Apple Pay will not cancel or deactivate the card itself. It simply removes it from your Apple Pay account, so you won’t be able to use that card for Apple Pay transactions anymore. If you want to completely cancel or deactivate your credit card, you will need to contact your bank or card issuer.
Now, let’s get started and learn how to remove a credit card from Apple Pay.
Step 1: Open Apple Pay Settings
The first step in removing a credit card from Apple Pay is to open the Apple Pay settings on your device. The process may vary slightly depending on the device you are using, but the general steps remain the same.
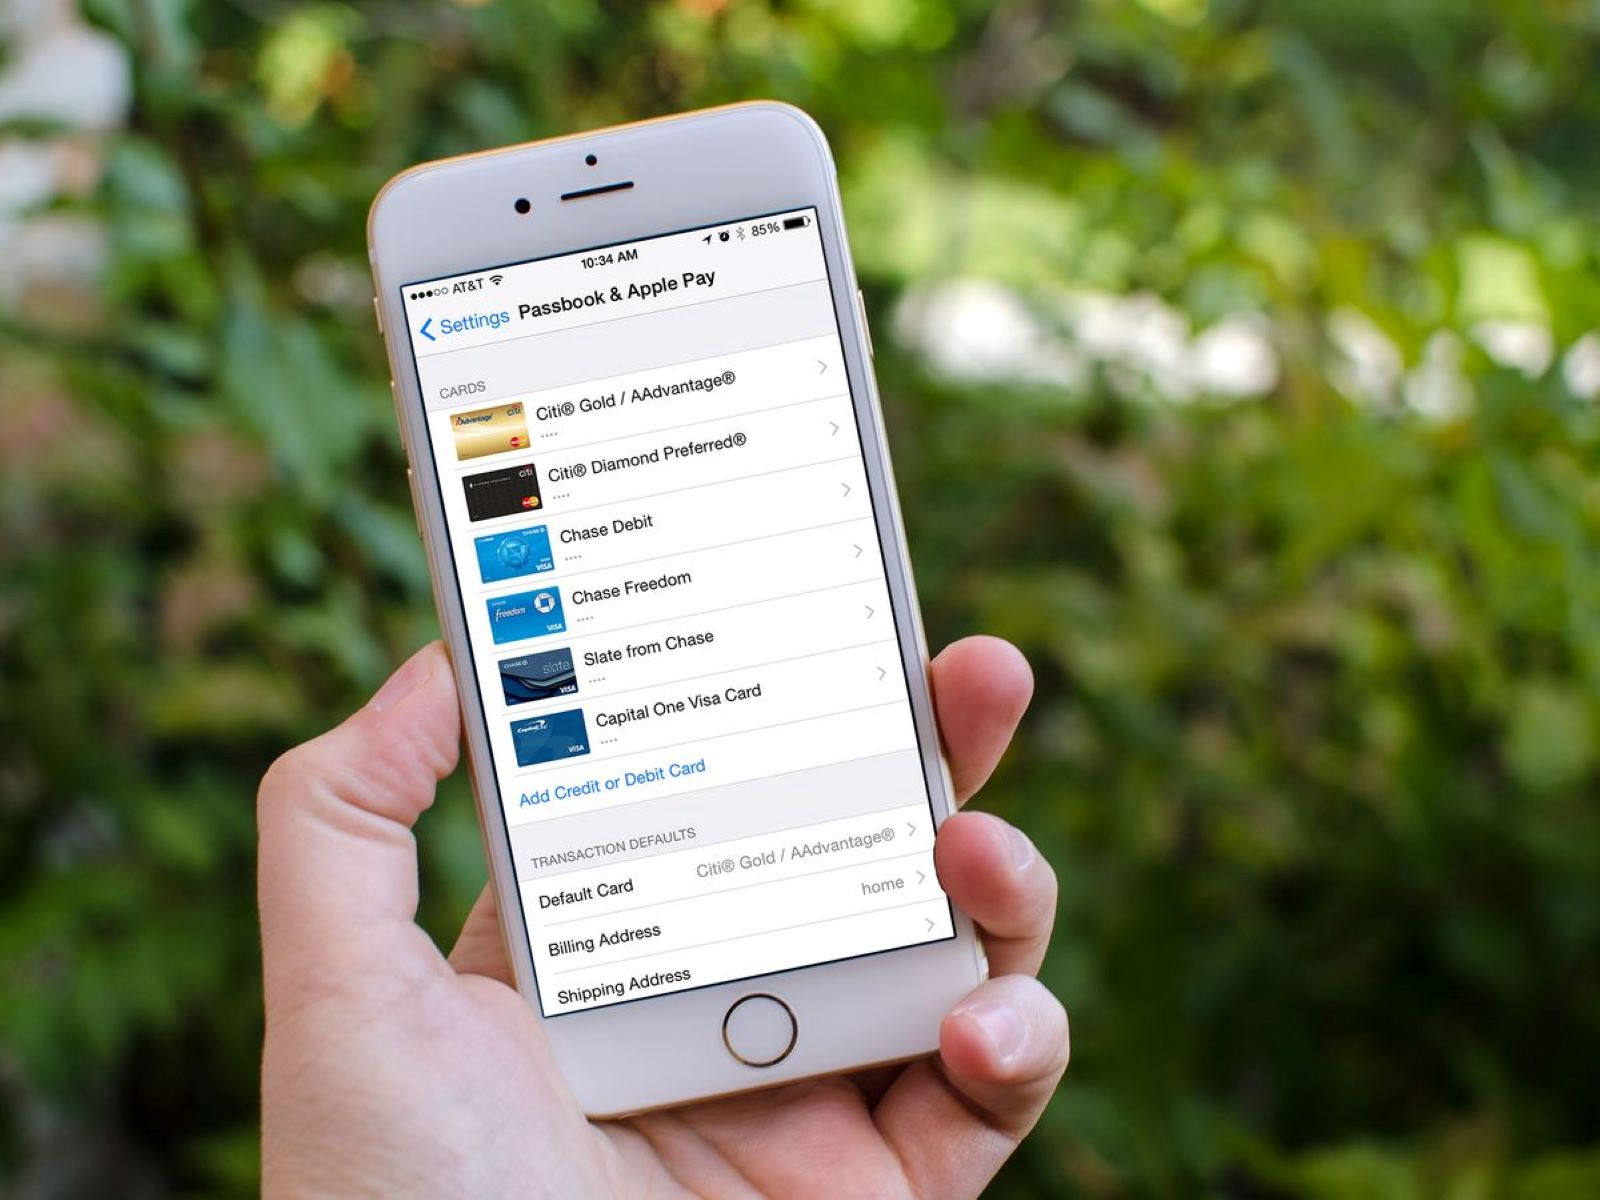
On an iPhone or iPad, open the Settings app and scroll down until you find “Wallet & Apple Pay.” Tap on it to access the Apple Pay settings. Alternatively, you can also open the Wallet app and tap on the “+” button in the top-right corner to access the Apple Pay settings.
On an Apple Watch, open the Watch app on your paired iPhone and go to the “My Watch” tab. Scroll down and tap on “Wallet & Apple Pay” to access the Apple Pay settings for your watch.
Once you are in the Apple Pay settings, you will see a list of your credit and debit cards that are linked to your Apple Pay account. This is where you can manage your payment methods and remove any unwanted cards.
In the next step, we will guide you on selecting the credit card that you want to remove from Apple Pay.
Step 2: Select the Credit Card
After accessing the Apple Pay settings on your device, the next step is to select the credit card that you want to remove from Apple Pay. This step is crucial as it ensures you are removing the correct card from your account.
In the Apple Pay settings, you will see a list of your linked credit and debit cards. Scroll through the list and locate the card that you wish to remove. Each card will typically be represented by its name, the last four digits of the card number, and the card issuer logo.
To select the card, simply tap on it. A checkmark or highlight will appear next to the card to indicate that it has been selected. Double-check to ensure that you have chosen the correct card before proceeding to the next step.
If you are unsure about the card details, you can tap on the selected card to view additional information such as the card number, expiration date, and billing address associated with that card. This can be helpful for confirmation purposes.
Once you have selected the card, you are ready to move on to the next step where we will guide you through the process of removing the card from Apple Pay.
Step 3: Tap on Remove Card
Now that you have selected the credit card you wish to remove from Apple Pay, it’s time to proceed with the removal process. The next step is to tap on the “Remove Card” option to initiate the removal.
In the Apple Pay settings, you will find the option to remove the selected card either as a button or a link, depending on your device. Look for the appropriate option and tap on it.
A confirmation prompt may appear, asking you to confirm the removal of the card. This is a security measure to prevent accidental removal. Take a moment to double-check and confirm that you are removing the correct card.
It’s worth noting that if you have set up Apple Pay on multiple devices, removing a card from one device will also remove it from all other devices linked to your Apple Pay account. This ensures consistency and synchronization across your Apple devices.
Once you have tapped on the “Remove Card” option and confirmed the removal, the selected credit card will be removed from your Apple Pay account.
In the next step, we will guide you through the final verification process to ensure that the card has been successfully removed from Apple Pay.
Step 4: Confirm Removal
After tapping on the “Remove Card” option, you will be prompted to confirm the removal of the selected credit card from your Apple Pay account. This step ensures that you intended to remove the card and helps prevent accidental removal.
When the confirmation prompt appears, carefully review the details to ensure that you are removing the correct card. Verify the card name, last four digits of the card number, and any other relevant information to confirm its accuracy.
If you are certain that you want to proceed with the removal, tap on the “Confirm” or “Yes” option to finalize the removal process. Alternatively, if you change your mind or realize that you have selected the wrong card, you can simply tap on “Cancel” or “No” to abort the removal.
By confirming the removal, you are approving the deletion of the selected credit card from your Apple Pay account. Once confirmed, the card will no longer be available for use with Apple Pay on any of your linked devices.
It’s worth noting that removing a card from Apple Pay does not delete or deactivate the physical card itself. You will still be able to use the card for traditional transactions using the card physically or through other payment methods.
Once you have confirmed the removal, we will move on to the final step where we will guide you on verifying the successful removal of the credit card from Apple Pay.
Step 5: Verify Card Removal
After confirming the removal of the credit card from your Apple Pay account, it’s important to verify that the card has been successfully removed. This final step will give you peace of mind and ensure that your payment methods are up to date.
To verify the card removal, you can follow these simple steps:
- Open the Wallet app on your iPhone or iPad, or the Wallet & Apple Pay settings on your Apple Watch.
- Scroll through the list of cards to find the previously removed card.
- If the card no longer appears in the list, it means that the removal was successful. Congratulations! The credit card has been successfully removed from your Apple Pay account.
In some cases, it may take a few moments for the card removal to be reflected in the Wallet app or the Apple Pay settings. If you don’t immediately see the card removed, try closing and reopening the app, or restarting your device.
If, after verifying, you still see the card listed in your Wallet app or Apple Pay settings, double-check that you followed the previous steps correctly. It’s possible that the removal process was not completed successfully. In such cases, repeat the steps from the beginning to ensure proper removal.
By verifying the successful removal of the credit card, you can have confidence that your Apple Pay account reflects your desired payment methods. This allows you to make transactions seamlessly and securely using your Apple devices.
With the card removal successfully verified, you have completed the process of removing a credit card from Apple Pay. Congratulations on updating your payment methods!
Remember, if you ever need to add a new credit card to Apple Pay or manage other payment methods, you can always revisit the Apple Pay settings on your device and follow the appropriate steps.
We hope this step-by-step guide has been helpful to you in removing a credit card from Apple Pay. If you have any further questions or need additional assistance, feel free to reach out to Apple Support or your card issuer for further guidance.
Thank you for choosing Apple Pay as your preferred payment method, and happy shopping!
Conclusion
Removing a credit card from Apple Pay is a straightforward process that allows you to update your payment methods and maintain control over your digital wallet. By following the step-by-step guide provided in this article, you can easily remove a credit card from Apple Pay on your iPhone, iPad, or Apple Watch.
Remember, removing a credit card from Apple Pay only removes it from your Apple Pay account and does not cancel or deactivate the physical card. If you wish to cancel or deactivate your credit card entirely, you will need to contact your card issuer or bank.
By regularly reviewing and managing your payment methods in Apple Pay, you can ensure that your digital wallet is up to date and reflects your current financial situation. This helps you make purchases seamlessly and securely using your Apple devices.
We hope this guide has been helpful to you in navigating the process of removing a credit card from Apple Pay. If you encounter any difficulties or have further questions, don’t hesitate to reach out to Apple Support or your card issuer for additional assistance.
Thank you for choosing Apple Pay as your preferred payment method. Enjoy the convenience and security it provides!

