Home>Finance>How To Enter A Credit From A Vendor In QuickBooks


Finance
How To Enter A Credit From A Vendor In QuickBooks
Modified: February 21, 2024
Learn how to enter a credit from a vendor in QuickBooks to effectively manage your finances. Simplify your financial transactions with this step-by-step guide.
(Many of the links in this article redirect to a specific reviewed product. Your purchase of these products through affiliate links helps to generate commission for LiveWell, at no extra cost. Learn more)
Table of Contents
Introduction
Entering a credit from a vendor in QuickBooks is an important step in accurately managing your company’s finances. Whether you received a refund, a discount, or any form of credit from a vendor, recording it in QuickBooks ensures that your books reflect the correct financial transactions.
QuickBooks, a popular accounting software, provides a straightforward process to enter vendor credits. This allows you to stay organized, keep track of outstanding credits, and maintain accurate financial records. By following a few simple steps, you can efficiently enter the vendor credits into your QuickBooks system.
In this article, we will guide you through the process of entering a credit from a vendor in QuickBooks. We will provide step-by-step instructions to help you navigate the software and enter the necessary information. By the end of this guide, you will be able to confidently record vendor credits and ensure the accuracy of your financial records.
Let’s begin by accessing the Vendor Center in QuickBooks.
Step 1: Access the Vendor Center
The first step in entering a credit from a vendor in QuickBooks is to access the Vendor Center. This is where you can easily manage all your vendors and their related transactions. To access the Vendor Center, follow these steps:
- Open QuickBooks on your computer and log in to your company file.
- Click on the “Vendors” tab located at the top of the screen. This will open the Vendor Center.
Once you have accessed the Vendor Center, you will be able to view a list of all your vendors and their associated transactions. This provides a comprehensive overview of your vendor-related activities, making it easier to locate and enter the vendor credit you need to record.
Now that you have accessed the Vendor Center, let’s move on to the next step: finding the vendor and opening the vendor credit form.
Step 2: Find the Vendor and Open the Vendor Credit Form
After accessing the Vendor Center in QuickBooks, the next step is to find the specific vendor for whom you want to enter the credit and open the vendor credit form. Follow these simple steps:
- In the Vendor Center, you will see a list of all your vendors. Scroll through the list or use the search bar to find the vendor for whom you received the credit.
- Once you have located the vendor, double-click on their name to open their vendor information.
- In the vendor information window, navigate to the “Transactions” tab.
- Look for the “Vendor Credit” option and click on it to open the vendor credit form for that specific vendor.
By following these steps, you will be able to access the vendor credit form, which is where you will enter the details of the credit received from the vendor. The vendor credit form allows you to accurately record the credit and associate it with the specific vendor to maintain clear and transparent financial records.
Now that you have opened the vendor credit form, let’s proceed to the next step: filling in the vendor credit details.
Step 3: Fill in the Vendor Credit Details
Once you have opened the vendor credit form in QuickBooks, you are ready to fill in the vendor credit details. This step involves providing the necessary information related to the credit received from the vendor. Follow these steps to accurately record the vendor credit:
- In the vendor credit form, enter the date of the credit. This is the date when you received the credit from the vendor.
- Next, specify the vendor credit number. This is an optional field, but it can be helpful for reference purposes, especially if you have multiple vendor credits to track.
- Under the “Account” field, select the appropriate expense account that corresponds to the credit you received. This ensures that the credit is properly categorized in your financial records.
- Enter the credit amount under the “Amount” field. Make sure to enter the correct value to accurately reflect the credit received from the vendor.
- If applicable, you can provide additional details or a description of the credit in the “Memo” field. This can be helpful for future reference or to provide any necessary context regarding the credit.
By following these steps and providing accurate information, you will ensure that the vendor credit is recorded correctly in QuickBooks. This step is crucial in maintaining accurate financial records and tracking your vendor credits efficiently.
Now that you have filled in the vendor credit details, let’s move on to the next step: applying the vendor credit to an open bill.
Step 4: Apply the Vendor Credit to an Open Bill
After filling in the vendor credit details, the next step is to apply the credit to an open bill in QuickBooks. This ensures that the credit is deducted from the amount owed to the vendor. Follow these steps to apply the vendor credit:
- In the vendor credit form, locate the “Apply to Bill” section.
- Click the drop-down menu to select the specific bill that you want to apply the credit to.
- If you have multiple bills from the same vendor, you can allocate the credit amount across different bills by entering the amount to apply in the “Amount to Apply” column for each bill.
- QuickBooks will automatically adjust the remaining balance of each bill and show you the updated amounts.
By applying the vendor credit to an open bill, QuickBooks will accurately reduce the amount owed to the vendor by the credit amount. It helps to keep your accounts payable records up-to-date and ensures that your financial statements reflect the correct liabilities owed to vendors.
Now that you have successfully applied the vendor credit to an open bill, let’s move on to the final step: reviewing and saving the vendor credit.
Step 5: Review and Save the Vendor Credit
After applying the vendor credit to an open bill, the final step is to review the vendor credit and save it in QuickBooks. This allows you to ensure the accuracy of the recorded credit and complete the process of entering the credit from a vendor. Follow these steps to review and save the vendor credit:
- Take a moment to review all the information entered on the vendor credit form. Verify that the date, credit amount, account, and any other details are correct.
- Double-check the applied amount on the associated bill(s) to confirm that the credit has been properly deducted.
- If everything appears to be accurate, click the “Save” or “Save & Close” button at the bottom of the vendor credit form to save the credit in QuickBooks.
By reviewing and saving the vendor credit, you complete the process of entering the credit from a vendor in QuickBooks. The credit will now be recorded in your financial records, helping you maintain accurate accounts payable information and reflecting the vendor credit in your financial statements.
Keep in mind that once the vendor credit is saved, you can easily access it in the future by navigating to the vendor’s transactions in the Vendor Center.
Congratulations! You have successfully entered a credit from a vendor in QuickBooks. By following these steps, you can effectively manage vendor credits, maintain accurate financial records, and ensure the integrity of your company’s finances.
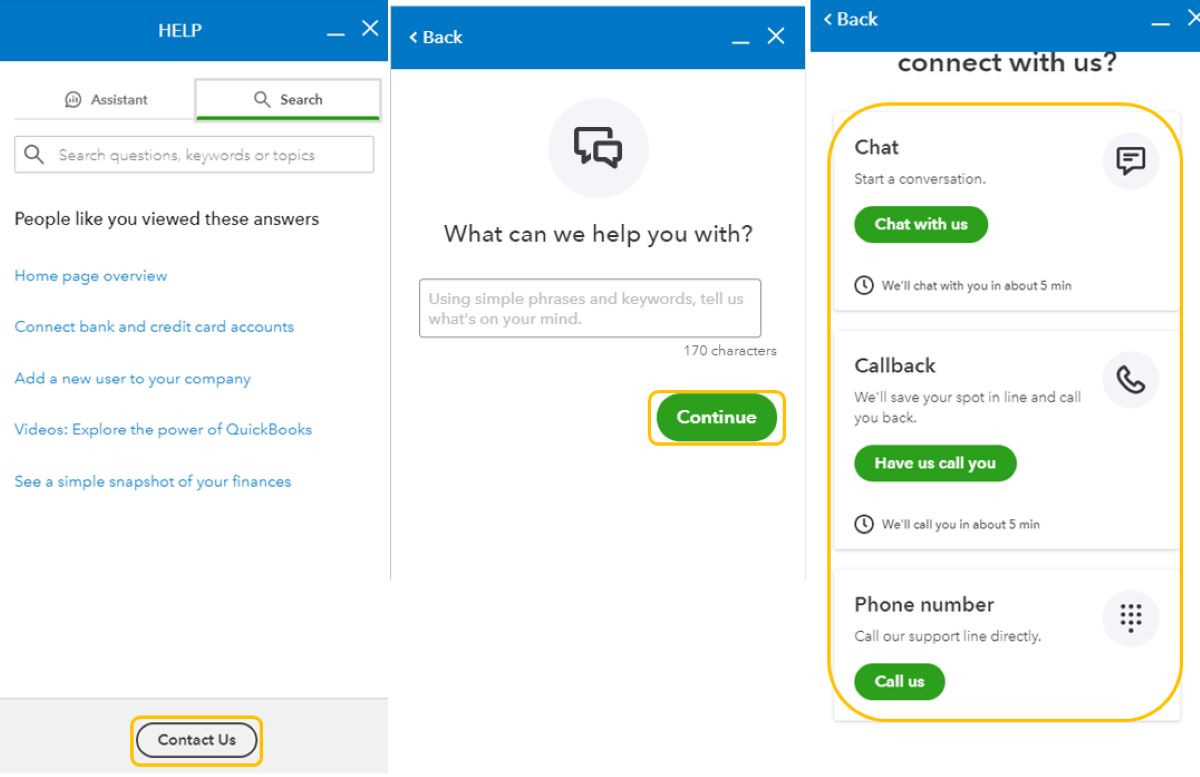
If you encountered any issues or have further questions, it is recommended to consult QuickBooks support or a financial professional for assistance.
Thank you for reading this guide, and we hope it has been helpful in navigating the process of entering a credit from a vendor in QuickBooks.
Conclusion
Entering a credit from a vendor in QuickBooks is a crucial task in managing your company’s finances accurately. By following the step-by-step process outlined in this guide, you can easily record vendor credits and maintain clear and transparent financial records.
In this article, we covered the following steps:
- Accessing the Vendor Center to manage your vendors and their transactions
- Finding the specific vendor and opening the vendor credit form
- Filling in the vendor credit details, including the credit date, number, account, and amount
- Applying the vendor credit to an open bill to deduct the credit amount from the amount owed
- Reviewing the vendor credit information and saving it in QuickBooks
By following these steps, you can ensure that your vendor credits are accurately recorded and reflected in your financial statements. This helps you maintain accurate accounts payable records and stay on top of your financial obligations to vendors.
Remember, QuickBooks is a powerful tool, but it’s always a good idea to seek assistance from QuickBooks support or consult a financial professional if you encounter any issues or need additional guidance.
Thank you for reading this guide, and we hope it has provided you with the necessary knowledge to confidently enter credits from vendors in QuickBooks. With proper record-keeping, you can effectively manage your company’s finances and make informed business decisions.


