Finance
How To Make A Credit Memo In QuickBooks
Published: January 6, 2024
Learn how to create a credit memo in QuickBooks to efficiently manage your finances. Streamline your accounting process with this step-by-step guide.
(Many of the links in this article redirect to a specific reviewed product. Your purchase of these products through affiliate links helps to generate commission for LiveWell, at no extra cost. Learn more)
Table of Contents
Introduction
In the world of business, maintaining accurate financial records is crucial for success. However, there are instances where errors occur, or circumstances arise that require you to issue a credit memo to a customer. A credit memo, also known as a credit note, is a document that reduces the amount owed by a customer due to returned goods, overpayment, or any other valid reason.
For small businesses and entrepreneurs, QuickBooks is a popular choice for managing finances. QuickBooks offers a variety of features, including the ability to create credit memos. Creating a credit memo in QuickBooks is a straightforward process that allows you to accurately track and manage customer credits.
In this article, we will guide you through the steps to create a credit memo in QuickBooks, ensuring that your financial records stay in order and your customer’s accounts are updated accurately. By following these steps, you can address customer refunds or credits swiftly and efficiently, maintaining a positive relationship with your customers.
Note that these instructions are based on the latest version of QuickBooks as of the date of this article. If you are using an older version, the steps may vary slightly.
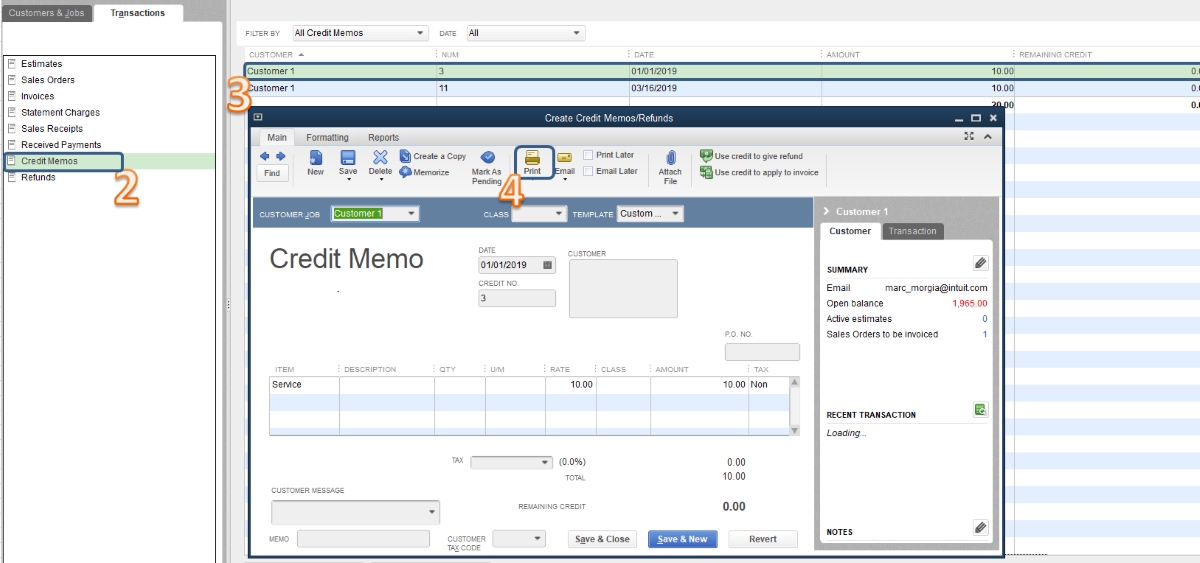
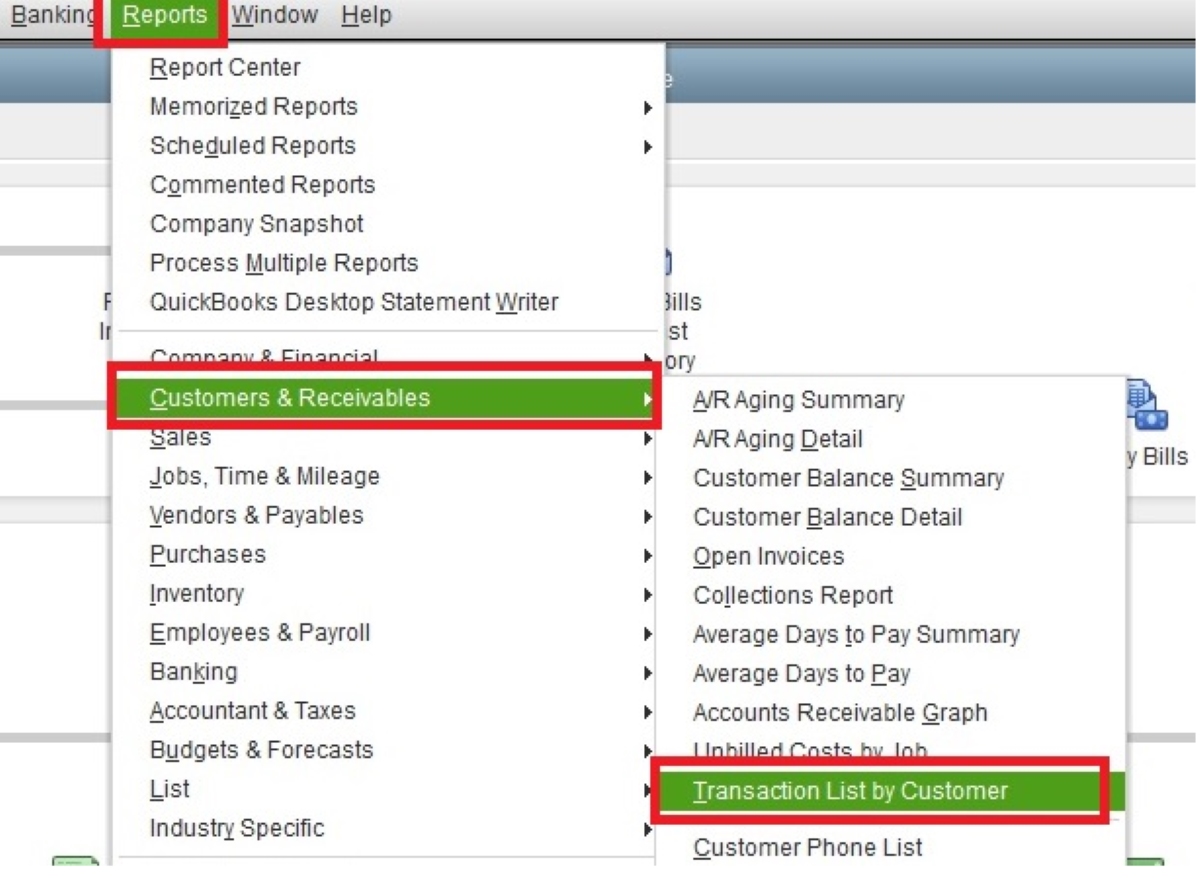
Step 1: Accessing the Credit Memo Feature in QuickBooks
Before you can create a credit memo in QuickBooks, you need to access the credit memo feature. Follow these steps to do so:
- Open QuickBooks on your computer and log in to your account.
- From the QuickBooks home screen, click on the “Customers” tab located at the top of the screen.
- A drop-down menu will appear. Select “Create Credit Memos/Refunds” from the list of options.
- The Credit Memo form will now open, allowing you to fill in the necessary information for the credit memo.
By following these steps, you will be able to access the credit memo feature within QuickBooks and proceed with creating a credit memo for your customer. Remember, it is important to ensure that you have the necessary permissions and access rights to create credit memos in QuickBooks. If you are unsure about your user permissions, consult with your QuickBooks administrator or system administrator.
Step 2: Filling out the Customer Information
Once you have accessed the credit memo feature in QuickBooks, the next step is to fill out the customer information. Follow these steps:
- From the Credit Memo form, locate the “Customer:Job” field at the top of the form. Click on the drop-down menu to select the customer for whom you are creating the credit memo.
- If necessary, enter the customer’s purchase order number or reference number in the “P.O. No.” field.
- In the “Date” field, enter the date of the credit memo. This is typically the date when the credit is being issued.
- Next, navigate to the “Memo” field. Here, you can enter any additional information or notes regarding the credit memo. This is an optional field but can be useful for providing additional context or details.
Once you have filled out the customer information, you can move on to selecting the items to be credited in the credit memo. Remember to double-check the accuracy of the customer’s details, as any errors can lead to confusion or delays in processing the credit memo.
Step 3: Selecting the Items to be Credited
After filling out the customer information in the credit memo form, the next step is to select the items that will be credited. Follow these steps:
- In the “Item” column of the credit memo form, click on the drop-down menu to view the list of available items. Select the item or items that the customer is returning or that need to be credited.
- Once you have selected the item, enter the quantity being returned or credited in the “Qty” column. If there are multiple items, repeat this step for each item.
- In the “Rate” column, enter the unit price or rate of the items being returned or credited. QuickBooks will automatically calculate the total amount.
- If applicable, you can also include a sales tax item by clicking on the “Tax” column and selecting the appropriate tax item from the drop-down menu. QuickBooks will calculate the sales tax amount based on the tax item and the total amount of the credited items.
Make sure to review your selections and verify that the quantities, rates, and tax items are accurate. This step is crucial in ensuring that the credit memo reflects the correct items and amounts being credited to the customer’s account.
Once you have selected the items to be credited, you can proceed to the next step: applying the credit to the customer’s account.
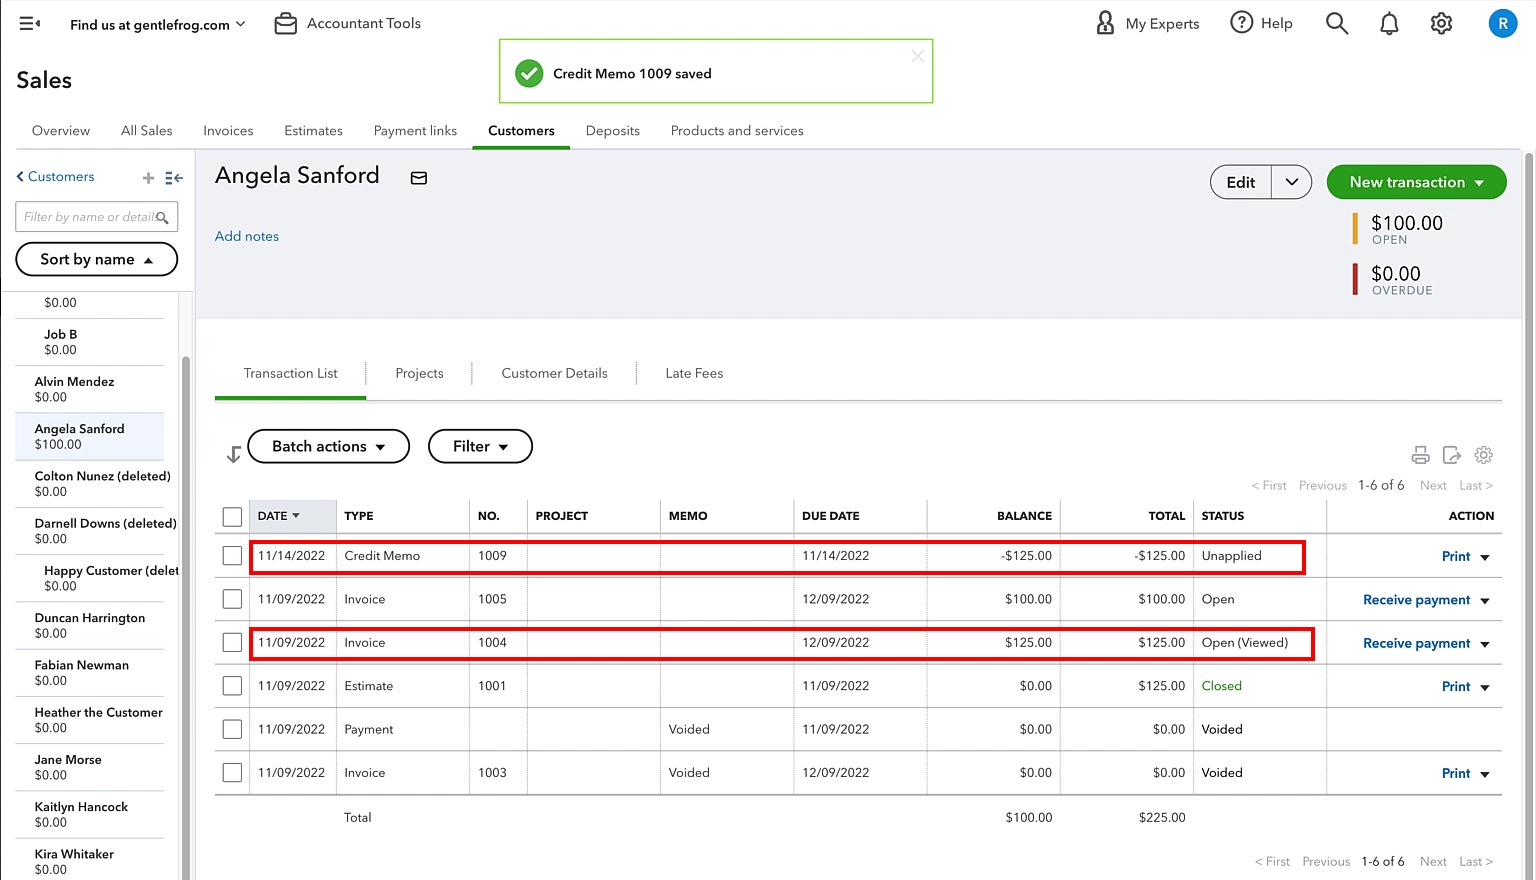
Step 4: Applying Credit to Customer’s Account
After selecting the items to be credited in the credit memo form, the next step is to apply the credit to the customer’s account. Follow these steps:
- In the “Amount” column of the credit memo form, QuickBooks will automatically calculate the total amount of the items being credited. Review this amount to ensure its accuracy.
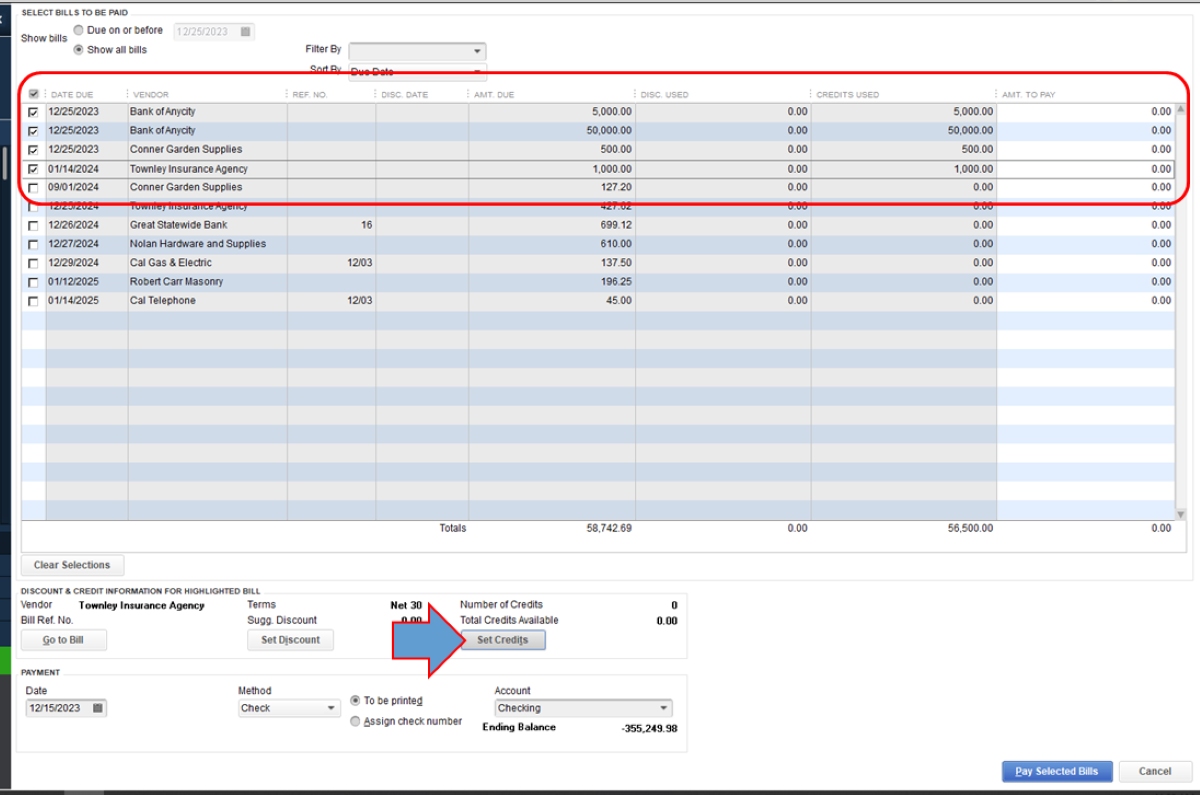
- If the customer has an outstanding balance or open invoices, you can apply the credit towards those amounts. To do this, go to the “Apply to Invoice” section of the credit memo form.
- In the “Credit” column, enter the amount of the credit you want to apply to a specific invoice or outstanding balance. QuickBooks will automatically adjust the remaining balance accordingly.
- If there are multiple invoices or outstanding balances, repeat the previous step for each one until the credit is fully applied.
By applying the credit to the customer’s account, you ensure that the credited amount is deducted from their outstanding balance or open invoices. This helps to streamline your customer’s account and maintain accurate financial records.
Once you have applied the credit to the customer’s account, you can move on to the final step: reviewing and finalizing the credit memo.
Step 5: Reviewing and Finalizing the Credit Memo
Before finalizing the credit memo in QuickBooks, it is important to review all the information entered to ensure accuracy. Follow these steps to review and finalize the credit memo:
- Double-check the customer information, including the name, purchase order number, date, and any additional notes or memos.
- Verify the items selected for credit, including the quantity, rate, and any applicable sales tax.
- Ensure that the applied credit amount is correctly allocated to any outstanding balances or open invoices.
- Review the overall total amount of the credit memo and confirm that it aligns with your intended credit to the customer.
Once you have reviewed and confirmed the accuracy of the credit memo, you can proceed to finalize it. To do this:
- Click on the “Save and Close” button located at the bottom of the credit memo form. This will save the credit memo and close the form.
- If you want to print or email the credit memo to your customer, you can select the appropriate option from the available buttons or menu items.
Finalizing the credit memo marks the completion of the process in QuickBooks. The credit memo will now be recorded in your financial records and the customer’s account will reflect the credited amount.
Remember to keep a copy of the credit memo for your records, as it serves as documentation of the credit issued to the customer. This will be useful for future reference, audit purposes, or any follow-up with the customer.
By following these steps and ensuring the accuracy of the credit memo, you can effectively manage customer credits in QuickBooks and maintain a smooth financial workflow.
Conclusion
Creating a credit memo in QuickBooks is a crucial step in managing customer refunds and maintaining accurate financial records. By following the step-by-step process outlined in this article, you can easily navigate the credit memo feature in QuickBooks and ensure that your customer’s accounts are updated accurately.
Remember to access the credit memo feature in QuickBooks by selecting the “Create Credit Memos/Refunds” option from the Customers tab. Fill out the customer information, including the customer’s name, purchase order number, and date of the credit memo. Then, select the items to be credited, ensuring the accuracy of quantities, rates, and any applicable tax items.
After selecting the items, apply the credit to the customer’s account by entering the amounts to be credited against outstanding balances or open invoices. Finally, review all the information entered and finalize the credit memo by saving and closing the form.
By diligently following these steps and reviewing the credit memo before finalizing it, you can effectively manage customer credits and keep your financial records in order. QuickBooks simplifies this process and provides a user-friendly interface to handle credit memos efficiently.
Remember to keep a copy of the credit memo for your records and consider emailing or printing a copy for your customer’s reference. This will ensure transparency and professionalism in your customer interactions.
With QuickBooks, you can streamline the process of issuing credit memos and maintain good customer relationships by addressing refunds and credits promptly. By utilizing this powerful feature, you can effectively manage your business finances and keep accurate track of customer credits.
Now that you have a comprehensive understanding of how to create a credit memo in QuickBooks, you can confidently handle customer credits and ensure the smooth operation of your business.
What's Hot
Latest Articles
Related Post
By: • Finance
By: • Finance

By: • Finance
By: • Finance
By: • Finance

By: • Finance

By: • Finance
By: • Finance


By: • Finance

By: • Finance

By: • Finance


By: • Finance