Home>Credit Cards>Accounting & Bookkeeping

Credit Cards
Accounting & Bookkeeping
Table of Contents
Getting set up to add credit card to QuickBooks
To add credit card to QuickBooks, the software needs a place to pull in your charges before you track a single transaction. If you want to learn how to add a credit card account to quickbooks online. Head to Transactions and then Bank transactions. On some screens you will see this as Bookkeeping > Transactions > Bank transactions or All apps > Accounting > Bank transactions. Choose Link account or Connect account if this is your first connection. Search for your provider, sign in with your banking credentials, and complete any security checks your bank requires. When the list of available accounts appears, select the right credit card and match it to the corresponding type in your chart of accounts. If the exact type is missing, pick Add new, set Account Type to Credit Card, give it a clear name, and save. This process to add credit card to quickbooks creates a live feed that imports activity automatically. Later you can decide whether each entry records the original purchase or the separate settlement that clears the balance. These are two distinct journal entries that keep your reports accurate.
Recording what you buy
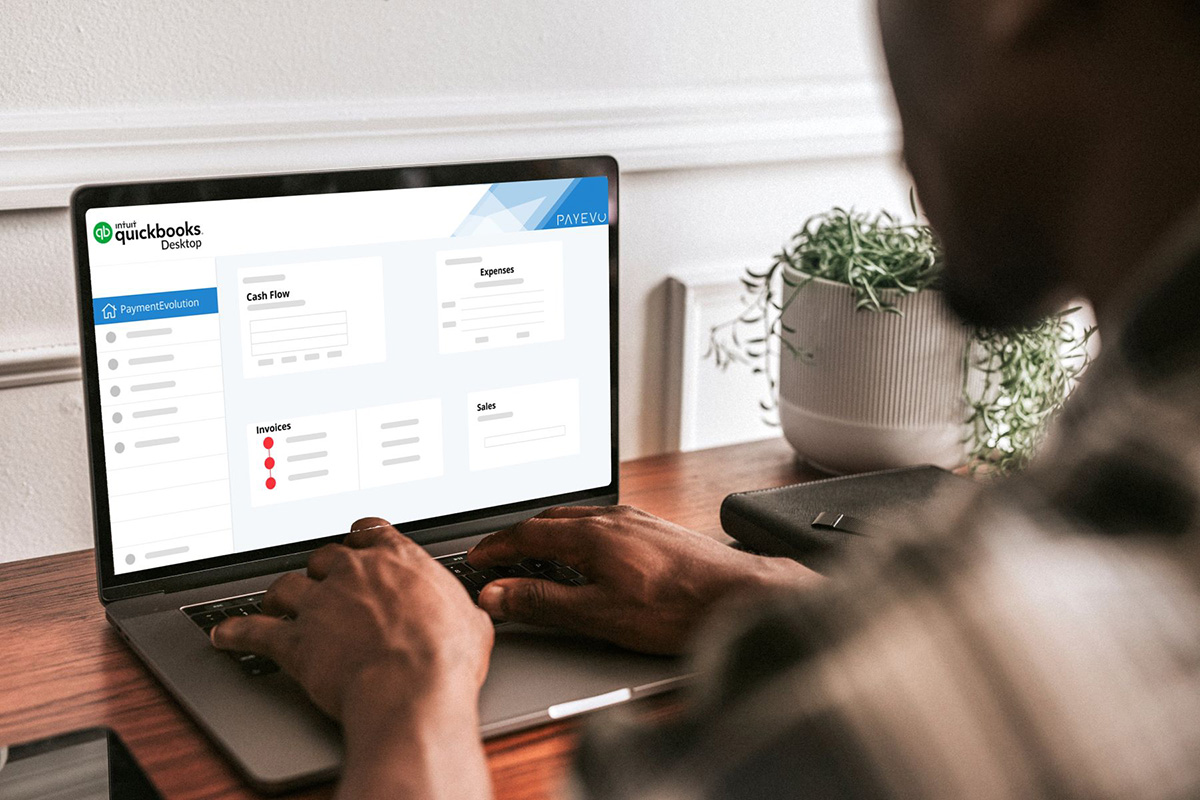
When you swipe your card at a supplier, the moment to capture that cost is right now, not when the bill arrives. To record credit card purchases in accounting properly, open an expense form and select the card as the settlement method. This books the debit to the correct expense category immediately. The offset sits safely in your credit card liability account. If you work in the cloud, you will appreciate that you enter credit card charges in QuickBooks Online to instantly sync your expenses with your bank feed, so the quickest way to enter credit card transactions in QuickBooks Online is to create a new Expense. Pick the card from the Payment account dropdown. Set the Payment method to Credit card before filling in the vendor details and hitting Save and Close. The desktop workflow is slightly different because you enter credit card charges in QuickBooks Desktop through a dedicated screen at Banking, then Enter Credit Card Charges. There you choose the card, confirm Purchase/Charge is selected, and assign the transaction to a vendor on the Expenses or Items tab. For higher volumes, you can bypass manual entry and import credit card transactions in QuickBooks Desktop by going to Banking, then Bank Feeds, and selecting Import Web Connect Files to bring in a QBO file. If your card is with Chase and you prefer to work offline first, you might download Chase credit card statements into Excel from your bank portal before formatting them for import. The direct bank-feed connection usually saves that extra step.
Paying the card bill
Paying the card bill is a transfer of money, not a second round of spending, which is why you must record credit card payments in accounting as a movement between your bank account and the credit card liability account, an article that will show you exactly how to set up that journal entry. The form that appears lets you pick the card you paid, enter the amount, and select the checking account the funds came from. If you need to record a credit card payment in quickbooks online that was made electronically, enter the EFT number in the Check no. field and click Save and close, which is why you should read the article on recording a single payment to prevent duplicate entries. When you categorize a credit card payment in quickbooks through the bank feed, go to All apps > Accounting > Bank transactions, select the account the payment came from, choose the transaction, set the transaction type to Credit Card Payment, select the credit card account being paid, and post it, because the article on categorizing a single payment clarifies how to handle one-offs without confusion. Then head to the card’s Pending tab and select Match to pair the two sides. The same logic applies when you categorize credit card payments in ynab: the software automatically moves money from your spending categories into the built-in Credit Card Payment category, and you simply record the outflow from checking to complete the transfer, which is why the YNAB article is essential for keeping your budget in sync.
- record a credit card payment in quickbooks online - How To Record A Credit Card Payment In Quickbooks Online
- record credit card payments in quickbooks online - How To Record Credit Card Payments In Quickbooks Online
- categorize a credit card payment in quickbooks - How To Categorize A Credit Card Payment In Quickbooks
- categorize credit card payments in quickbooks - How To Categorize Credit Card Payments In Quickbooks
- record credit card payments in accounting - How To Record Credit Card Payments In Accounting
- categorize credit card payments in ynab - How To Categorize Credit Card Payments In YNAB
Accepting customer card payments
When a customer pays you by card, the money lands in your bank account only after the processor deducts its fee, so your books must show both the full sale and that cost. To process credit card payments in quickbooks desktop, open the Customers menu and choose Receive Payments, select the open invoice, enter the card details or swipe through a connected reader, then click Process Payment and Save & Close. If you use the Mac version, you first need a linked QuickBooks Payments account, and the invoice itself must be set to accept online payments by choosing Accept Credit Cards on the form before you save and share it.
The fee that appears on your statement is a merchant service cost, not a bank charge. When you receive credit card payments in quickbooks through the Merchant Service Center, you sign in, go to Processing Tools, and charge a card directly, which is useful for phone orders. No matter which path the transaction takes, you still need to record the credit card fee for quickbooks as a separate expense entry so your revenue stays whole and the processing cost is visible on your profit and loss statement.
- process credit card payments in quickbooks desktop - How To Process Credit Card Payments In Quickbooks Desktop
- receive credit card payments in quickbooks - How To Receive Credit Card Payments In Quickbooks